
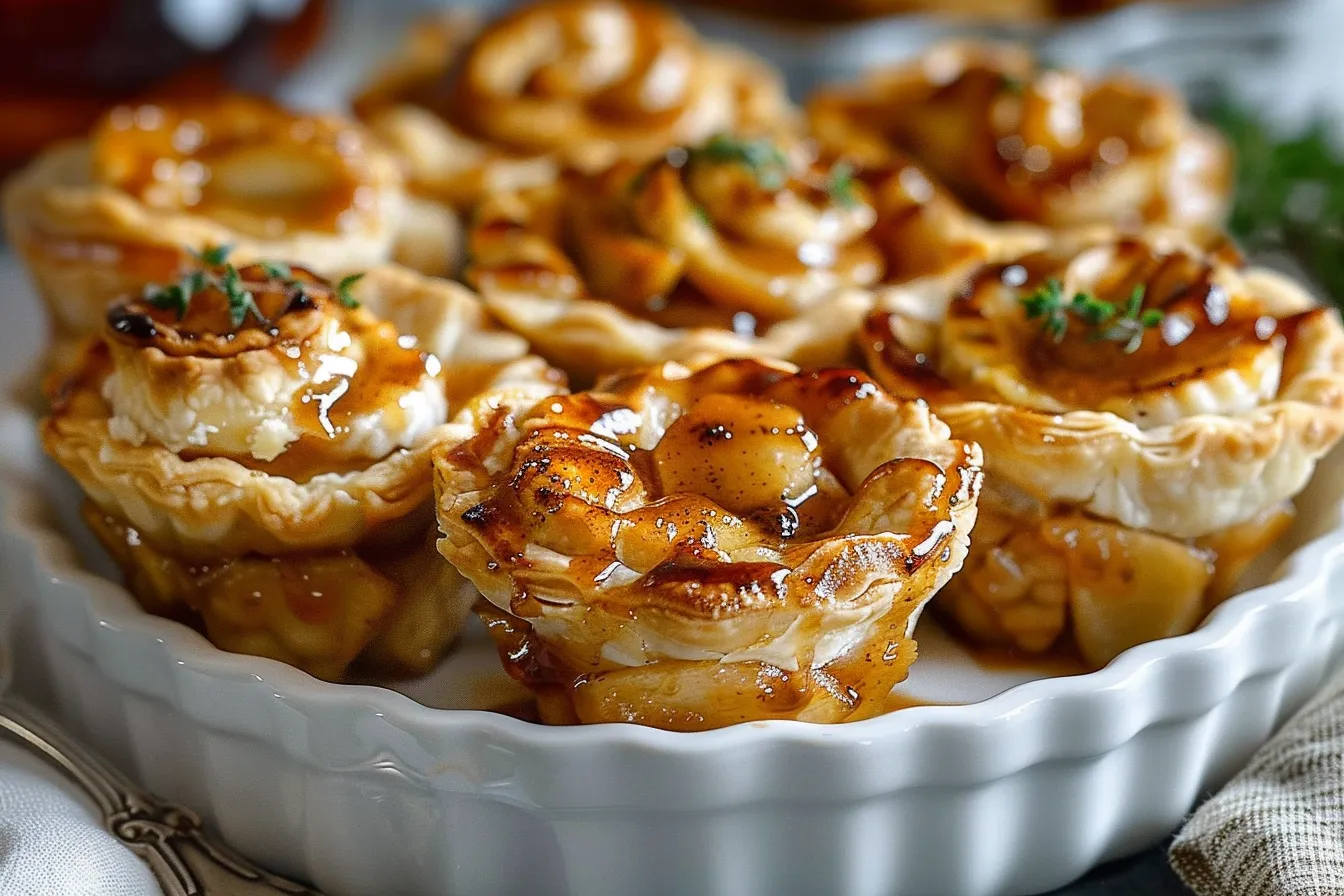
The first whiff of cinnamon and baked apples always takes me right back to my grandma’s kitchen in Waco. She always made the most incredible apple pies, and these Mini Apple Pie Bites are my little way of carrying on that tradition. They’re perfectly portioned, easy for the kids to handle (and devour!), and honestly? I think they might be even more fun to eat than a regular slice of pie. I’ve probably baked these a dozen times in the last few months refining the recipe, and I’m excited to share my secrets! This recipe gives you all the tips and tricks you need to make the flakiest, most delicious apple pie bites, perfect for a party or a sweet treat for the family.
Why This Recipe Works
Let’s be honest, life as a mom in Texas is busy! That’s why I’m all about recipes that are delicious and doable. These Mini Apple Pie Bites fit the bill perfectly. They’re:
- Quick: Using store-bought pie crust cuts down on prep time dramatically.
- Kid-Approved: My two kiddos absolutely love these, and they’re a great way to get them involved in the baking process.
- Portable: Perfect for lunchboxes, picnics, or potlucks.
- Customizable: You can easily swap out the apples for other fruits, like peaches or berries.
After many, many test batches in my own kitchen (thank you, willing taste testers!), I’ve landed on a method that’s both foolproof and flavorful. You’re going to love these!
Ingredients
- 2 (14.1 oz) refrigerated pie crusts
- 4 medium apples (Granny Smith, Honeycrisp, or a mix), peeled, cored, and diced
- 1/4 cup granulated sugar
- 2 tablespoons all-purpose flour
- 1 teaspoon ground cinnamon
- 1/4 teaspoon ground nutmeg
- 2 tablespoons butter, cut into small pieces
- 1 egg, beaten (for egg wash)
- 2 tablespoons milk (for egg wash)
- Turbinado sugar, for sprinkling (optional)
Ingredient Notes
Apples: I like using a mix of Granny Smith and Honeycrisp apples because the Granny Smith provides a tartness that balances the sweetness of the Honeycrisp. Feel free to use your favorite apple variety, but try to choose one that holds its shape well during baking. Braeburn and Jonagold are other good options.
Flour: The flour helps to thicken the apple filling and prevent it from becoming too runny. You can substitute with cornstarch if you prefer, using 1 tablespoon of cornstarch for every 2 tablespoons of flour.
Pie Crust: Store-bought pie crust is a lifesaver for busy weeknights! I typically use Pillsbury or similar brands. If you prefer to make your own pie crust, that’s perfectly fine too! Just make sure it’s chilled before you start.

Step-by-Step Instructions
Step 1: Prepare the Apple Filling.
In a large bowl, combine the diced apples, granulated sugar, flour, cinnamon, and nutmeg. Toss everything together until the apples are evenly coated. The aroma alone is enough to make your mouth water! This is where the magic begins.
Step 2: Assemble the Pie Bites.
Preheat your oven to 375°F (190°C). Gently unroll one of the pie crusts on a lightly floured surface. Using a 2-inch round cookie cutter, cut out as many circles as possible. I like to re-roll the scraps to get a few more bites out of each crust.
Step 3: Fill the Pie Bites.
Place the pie crust circles onto a baking sheet lined with parchment paper. Spoon a small amount of the apple filling (about 1-2 teaspoons) onto the center of each circle. Don’t overfill them, or they’ll be difficult to seal!
Step 4: Top and Seal the Pie Bites.
Unroll the second pie crust and cut out more 2-inch circles. Place a circle on top of each filled pie bite. Gently press the edges together to seal. You can use a fork to crimp the edges for a decorative touch and to ensure a good seal. This prevents the filling from leaking out during baking.
Step 5: Add Butter and Egg Wash.
Dot each pie bite with a tiny piece of butter. This adds richness and flavor. In a small bowl, whisk together the egg and milk. Brush the tops of the pie bites with the egg wash. This will give them a beautiful golden-brown color.
Step 6: Bake.
Sprinkle the tops of the pie bites with turbinado sugar (if using). Bake for 15-20 minutes, or until the crust is golden brown and the filling is bubbly. Keep a close eye on them, as baking times can vary depending on your oven.
Step 7: Cool and Enjoy.
Let the pie bites cool on the baking sheet for a few minutes before transferring them to a wire rack to cool completely. These are delicious warm or at room temperature. I dare you to eat just one!
Expert Tips from My Kitchen
After making these dozens of times, here’s what I’ve learned:
Storage & Meal Prep
Storage: Store the cooled pie bites in an airtight container at room temperature for up to 2 days or in the refrigerator for up to 5 days.
Reheating: Reheat the pie bites in a 350°F (175°C) oven for 5-10 minutes, or until warmed through. You can also microwave them for a few seconds, but the crust won’t be as crispy.
Make-Ahead: You can assemble the pie bites ahead of time and store them in the refrigerator for up to 24 hours before baking. Just add the egg wash right before baking.
Freezing: Freeze baked pie bites in a single layer on a baking sheet. Once frozen, transfer them to a freezer-safe bag or container. Reheat in a 350°F (175°C) oven until warmed through.
Substitutions & Variations
Gluten-Free: Use a gluten-free pie crust to make these pie bites gluten-free.
Dairy-Free: Use a dairy-free pie crust and substitute the butter with a dairy-free butter alternative.
Other Fruits: Get creative with the filling! Try using peaches, berries, cherries, or even a combination of fruits.
Caramel Apple Pie Bites: Drizzle the baked pie bites with caramel sauce for a decadent treat.
Frequently Asked Questions
Can I make these ahead of time?
Absolutely! You can assemble the pie bites and store them in the refrigerator for up to 24 hours before baking. Just brush them with the egg wash right before popping them in the oven.
How do I know when they’re done?
The pie bites are done when the crust is golden brown and the filling is bubbly. Keep a close eye on them, as baking times can vary depending on your oven.
What can I substitute for cinnamon?
If you’re not a fan of cinnamon, you can try using apple pie spice or a combination of nutmeg and allspice. Just use a little less, as these spices can be quite strong.
How do I store leftovers?
Store the cooled pie bites in an airtight container at room temperature for up to 2 days or in the refrigerator for up to 5 days.
Are these kid-friendly?
Yes! My kids absolutely love these Mini Apple Pie Bites. They’re the perfect size for little hands, and they’re a great way to get them involved in the baking process.
My filling is too runny! What did I do wrong?
This can happen if your apples are particularly juicy. Next time, try adding a little more flour or cornstarch to the filling to help thicken it up.
Can I use puff pastry instead of pie crust?
I haven’t personally tried it, but I think it would work! The texture will be a bit different (puff pastry is flakier), but they should still be delicious.
These Mini Apple Pie Bites are the perfect treat for busy families who crave a taste of homemade goodness without spending hours in the kitchen. They’re quick, easy, and oh-so-delicious. Whether you’re baking them for a special occasion or just a sweet treat for a weeknight, these little bites are sure to bring a smile to everyone’s face.
So go ahead, grab your pie crust and apples, and give this recipe a try. I promise you won’t be disappointed! Let me know how it turns out in the comments below, and don’t forget to tag me on social media when you share your creations. I can’t wait to see what you come up with! Looking for more dessert recipes? Check out my Mini Cheesecakes recipe. And if you are looking for the perfect addition to your next dinner, this Roasted Asparagus recipe will do the trick!
Happy baking, y’all!
– Susan Lirden, FamiliesRecipes.com
PrintMini Apple Pie Bites

Bake easy Mini Apple Pie Bites My kids love this homemade treat tested in my Texas kitchen Quick familyapproved comfort food Get the recipe
- Prep Time: 15 minutes
- Cook Time: 20 minutes
- Total Time: 35 minutes
- Yield: 24
- Category: Dessert
- Cuisine: American
Ingredients
- 2 (14.1 oz) refrigerated pie crusts
- 4 medium apples (Granny Smith, Honeycrisp, or a mix), peeled, cored, and diced
- 1/4 cup granulated sugar
- 2 tablespoons all-purpose flour
- 1 teaspoon ground cinnamon
- 1/4 teaspoon ground nutmeg
- 2 tablespoons butter, cut into small pieces
- 1 egg, beaten (for egg wash)
- 2 tablespoons milk (for egg wash)
- Turbinado sugar, for sprinkling (optional)
Instructions
- In a large bowl, combine the diced apples, granulated sugar, flour, cinnamon, and nutmeg. Toss together until evenly coated.
- Preheat oven to 375°F (190°C). Unroll one pie crust on a lightly floured surface and cut out circles using a 2-inch round cookie cutter.
- Place circles on a baking sheet lined with parchment paper. Spoon 1-2 teaspoons of apple filling onto each circle.
- Unroll the second pie crust and cut out more circles. Place a circle on top of each filled pie bite. Gently press the edges together to seal.
- Dot each pie bite with a tiny piece of butter. Whisk together the egg and milk and brush over the tops of the pie bites.
- Sprinkle with turbinado sugar (if using). Bake for 15-20 minutes, or until golden brown and bubbly.
- Cool on the baking sheet before transferring to a wire rack.
