
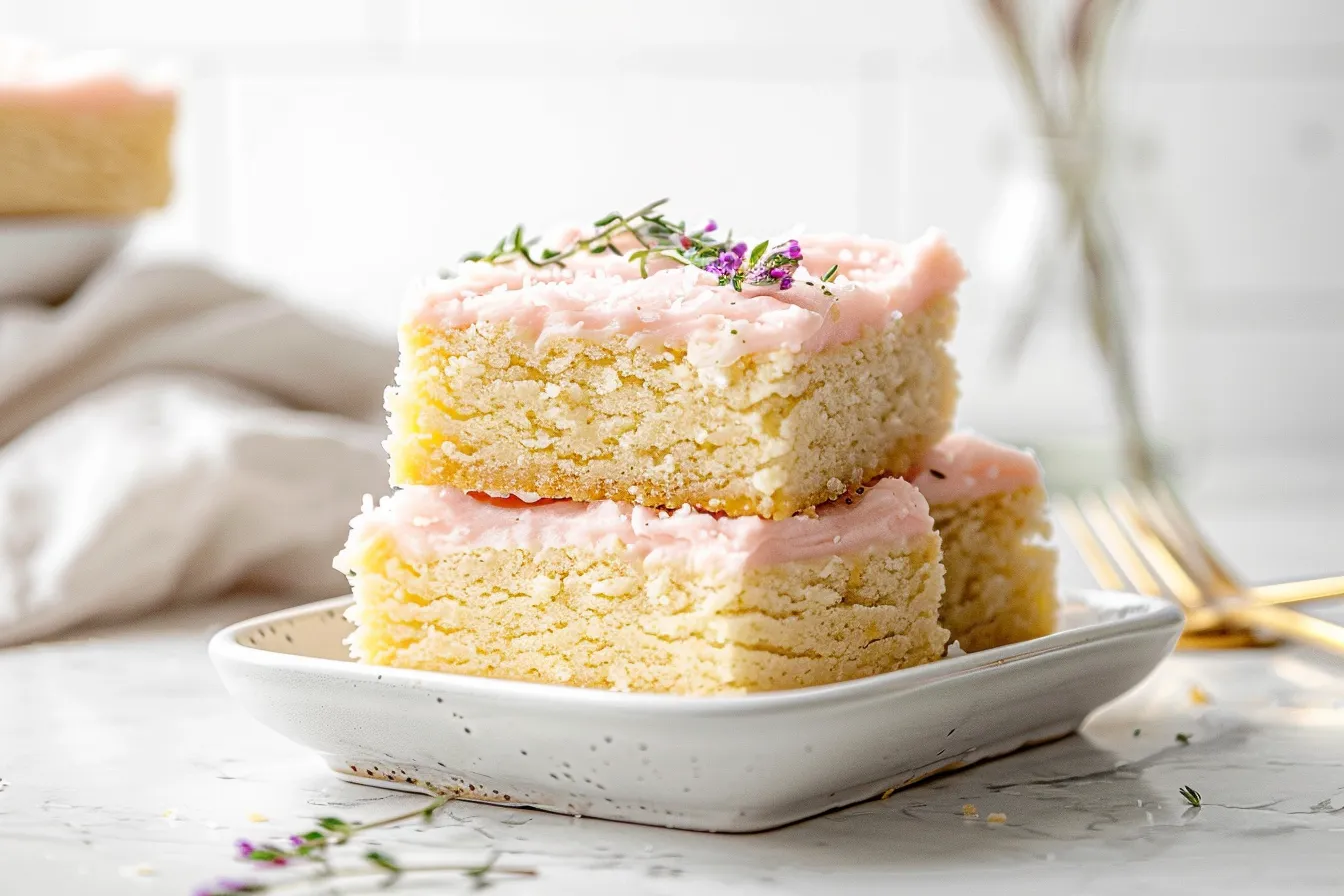
Y’all know I love a good sugar cookie, especially around the holidays. But let’s be honest, rolling and cutting out dozens of cookies can be a real time-suck. That’s why I’m head-over-heels for these Frosted Sugar Cookie Bars! They have all the delicious, buttery sweetness of a classic sugar cookie, but in an easy-to-bake bar form. The smell of these baking fills my Texas home with so much warmth, it’s just the best. I’ve made this recipe at least a dozen times, and it’s always a hit with my family. Promise: you’ll get a no-fuss, crowd-pleasing dessert that’s perfect for everything from school bake sales to holiday gatherings.
Why This Recipe Works
These Frosted Sugar Cookie Bars are a game-changer for busy families. Here’s why:
- Quick & Easy: No rolling or cookie cutters required! Just press the dough into a pan and bake.
- Kid-Approved: The sweet, buttery flavor and fun frosting are always a hit with kids (and adults!).
- Perfect for Sharing: These bars are easy to slice and serve, making them ideal for parties and potlucks.
- Make-Ahead Friendly: You can bake the bars ahead of time and frost them later, or even freeze them for future enjoyment.
In my testing, I found that slightly underbaking the bars results in a chewier, more tender texture. Don’t be afraid to pull them out of the oven when they still look a little soft in the center!
Ingredients
- For the Bars:
- 1 cup (2 sticks) unsalted butter, softened
- 1 ½ cups granulated sugar
- 2 large eggs
- 1 teaspoon vanilla extract
- 3 cups all-purpose flour
- 1 teaspoon baking powder
- ½ teaspoon salt
- For the Frosting:
- ½ cup (1 stick) unsalted butter, softened
- 3 cups powdered sugar
- 3-4 tablespoons milk
- 1 teaspoon vanilla extract
- Sprinkles, for decorating (optional)
Ingredient Notes:
Butter: Using softened, but not melted, butter is crucial for a tender cookie bar. Take the butter out of the fridge about an hour before you start baking.
Vanilla Extract: A good quality vanilla extract makes a big difference in the flavor of these bars. I love using Texas vanilla extract whenever I can find it!
Flour: Be sure to measure your flour correctly. Spoon it into your measuring cup and level it off with a knife. Adding too much flour can make the bars dry.
Milk: You can use any kind of milk you like for the frosting. Whole milk will make it richer, but 2% or even almond milk will work just fine.
Step-by-Step Instructions
Step 1: Preheat and Prep. Preheat your oven to 350°F (175°C). Grease and flour a 9×13 inch baking pan. This helps the bars release easily after baking. I like to use baking spray with flour already in it for extra insurance.
Step 2: Cream Butter and Sugar. In a large bowl, cream together the softened butter and granulated sugar until light and fluffy. This usually takes about 3-5 minutes with an electric mixer. Scrape down the sides of the bowl occasionally to make sure everything is evenly combined. This step is crucial for a good texture!
Step 3: Add Eggs and Vanilla. Beat in the eggs one at a time, then stir in the vanilla extract. Make sure each egg is fully incorporated before adding the next. The mixture should be smooth and creamy.
Step 4: Combine Dry Ingredients. In a separate bowl, whisk together the flour, baking powder, and salt. Whisking ensures that the baking powder is evenly distributed, which will help the bars rise properly.
Step 5: Gradually Add Dry Ingredients to Wet Ingredients. Gradually add the dry ingredients to the wet ingredients, mixing until just combined. Be careful not to overmix, as this can result in tough bars. I usually mix until there are still a few streaks of flour visible, then stop and finish mixing by hand.
Step 6: Press Dough into Pan. Press the dough evenly into the prepared baking pan. You can use your hands or the back of a spoon to do this. Make sure the dough is evenly distributed so the bars bake evenly.
Step 7: Bake. Bake for 20-25 minutes, or until the edges are lightly golden brown and a toothpick inserted into the center comes out with moist crumbs. After testing this several times, I learned that slightly underbaking the bars results in a chewier, more tender texture. Don’t be afraid to pull them out of the oven when they still look a little soft in the center!
Step 8: Cool Completely. Let the bars cool completely in the pan before frosting. This will prevent the frosting from melting. Trust me on this one; I’ve made this mistake before!
Step 9: Make the Frosting. While the bars are cooling, make the frosting. In a large bowl, cream together the softened butter and powdered sugar until light and fluffy. Gradually add the milk, one tablespoon at a time, until the frosting reaches your desired consistency. Stir in the vanilla extract.
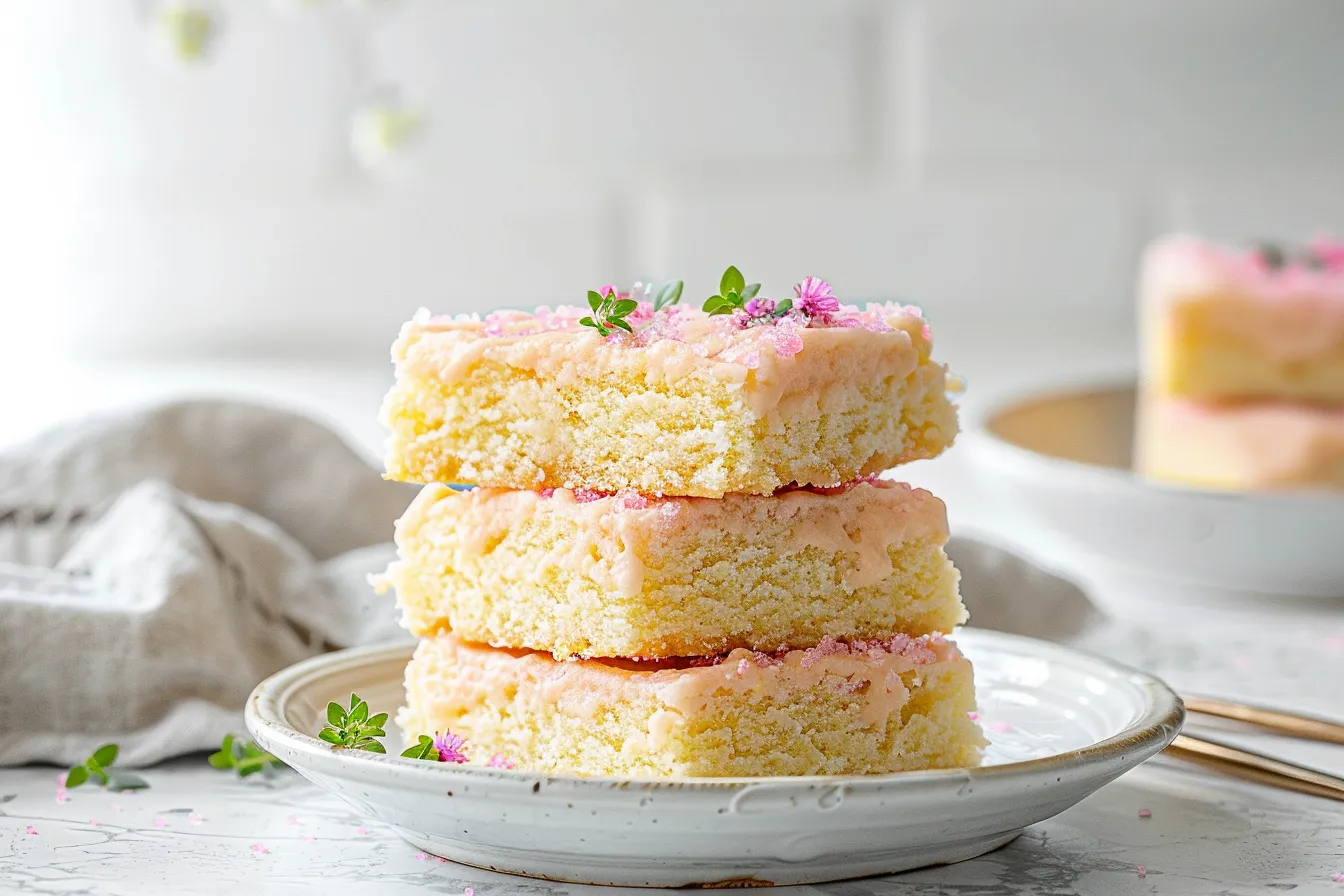
Step 10: Frost and Decorate. Frost the cooled bars with the frosting. Decorate with sprinkles, if desired. I like to let the kids help with this part – they always have fun adding the sprinkles!
Expert Tips from My Kitchen
- Don’t Overmix: Overmixing the dough can result in tough bars. Mix until just combined, and then finish mixing by hand.
- Soft Butter is Key: Make sure your butter is softened, but not melted. This will help create a tender and chewy texture.
- Evenly Distribute Sprinkles: For even sprinkle coverage, gently press the sprinkles into the frosting with your hand.
- Cut Cleanly: For clean cuts, use a sharp knife and wipe it clean between each slice.
- Kid-Friendly Fun: Let the kids help with decorating! They can add sprinkles, candies, or even draw designs with different colored frostings.
- Bake Time Matters: Keep a close eye on your bars while they bake, as oven temperatures can vary. The bars are done when the edges are golden brown and a toothpick inserted into the center comes out with moist crumbs.
Storage & Meal Prep
Storage: Store frosted sugar cookie bars in an airtight container at room temperature for up to 3 days. For longer storage, you can freeze them for up to 2 months. Thaw overnight in the refrigerator before serving.
Make-Ahead: You can bake the bars ahead of time and store them in an airtight container at room temperature for up to 2 days. Frost them just before serving.
Meal Prep: These bars are perfect for meal prepping! You can bake a batch on the weekend and enjoy them throughout the week. They’re also great for packing in lunchboxes or taking to picnics.
Substitutions & Variations
Gluten-Free: To make these bars gluten-free, use a 1:1 gluten-free flour blend. I haven’t tested this personally, but others have had success with it.
Dairy-Free: Use dairy-free butter and milk for a dairy-free version. Make sure to choose a dairy-free butter that’s designed for baking.
Lemon Sugar Cookie Bars: Add 1 tablespoon of lemon zest to the dough for a bright and zesty twist. You can also add a teaspoon of lemon extract to the frosting.
Chocolate Chip Sugar Cookie Bars: Add ½ cup of chocolate chips to the dough for a chocolatey treat. White chocolate chips would also be delicious!
Frequently Asked Questions
Can I make this ahead of time?
Yes, you can bake the bars 1-2 days in advance. Store them, unfrosted, in an airtight container at room temperature. Frost them just before serving.
How do I know when the bars are done?
The bars are done when the edges are lightly golden brown and a toothpick inserted into the center comes out with moist crumbs. They should still be slightly soft in the center.
Can I use a different size pan?
Yes, you can use an 8×8 inch pan, but the bars will be thicker and may require a longer baking time. Keep a close eye on them and adjust the baking time as needed.
Can I freeze these bars?
Yes, you can freeze these bars for up to 2 months. Wrap them tightly in plastic wrap and then place them in a freezer-safe bag or container. Thaw overnight in the refrigerator before serving.
Are these bars kid-friendly?
Absolutely! These bars are always a hit with kids. The sweet, buttery flavor and fun frosting make them a perfect treat for little ones. Plus, letting them help decorate is always a fun activity.
What if my frosting is too thick or too thin?
If your frosting is too thick, add a little more milk, one tablespoon at a time, until it reaches your desired consistency. If it’s too thin, add a little more powdered sugar.
Can I use salted butter instead of unsalted?
Yes, you can use salted butter, but reduce the amount of salt in the recipe to ¼ teaspoon. I prefer using unsalted butter because it gives me more control over the saltiness of the bars.
These Frosted Sugar Cookie Bars are more than just a recipe; they’re a shortcut to sweet family memories. They are such a delicious treat and also so easy to make. I hope y’all will give them a try and let me know what you think in the comments below. I love hearing from you! Be sure to check out my other cookie recipes for more easy and delicious dessert ideas, and don’t forget to sign up for my newsletter to get even more recipes delivered straight to your inbox. Happy baking, y’all!
PrintEasy Frosted Sugar Cookie Bars A Texas Moms Secret

Bake easy Frosted Sugar Cookie Bars with this familyapproved recipe from my Texas kitchen So simple and delicious my kids love this Get the recipe
- Prep Time: 15 minutes
- Cook Time: 25 minutes
- Total Time: 40 minutes
- Yield: 16 servings
- Category: Dessert
- Cuisine: American
Ingredients
Instructions
Notes
Easy and delicious Frosted Sugar Cookie Bars! These bars have all the delicious, buttery sweetness of a classic sugar cookie, but in an easy-to-bake bar form. Perfect for bake sales and holiday gatherings.
