
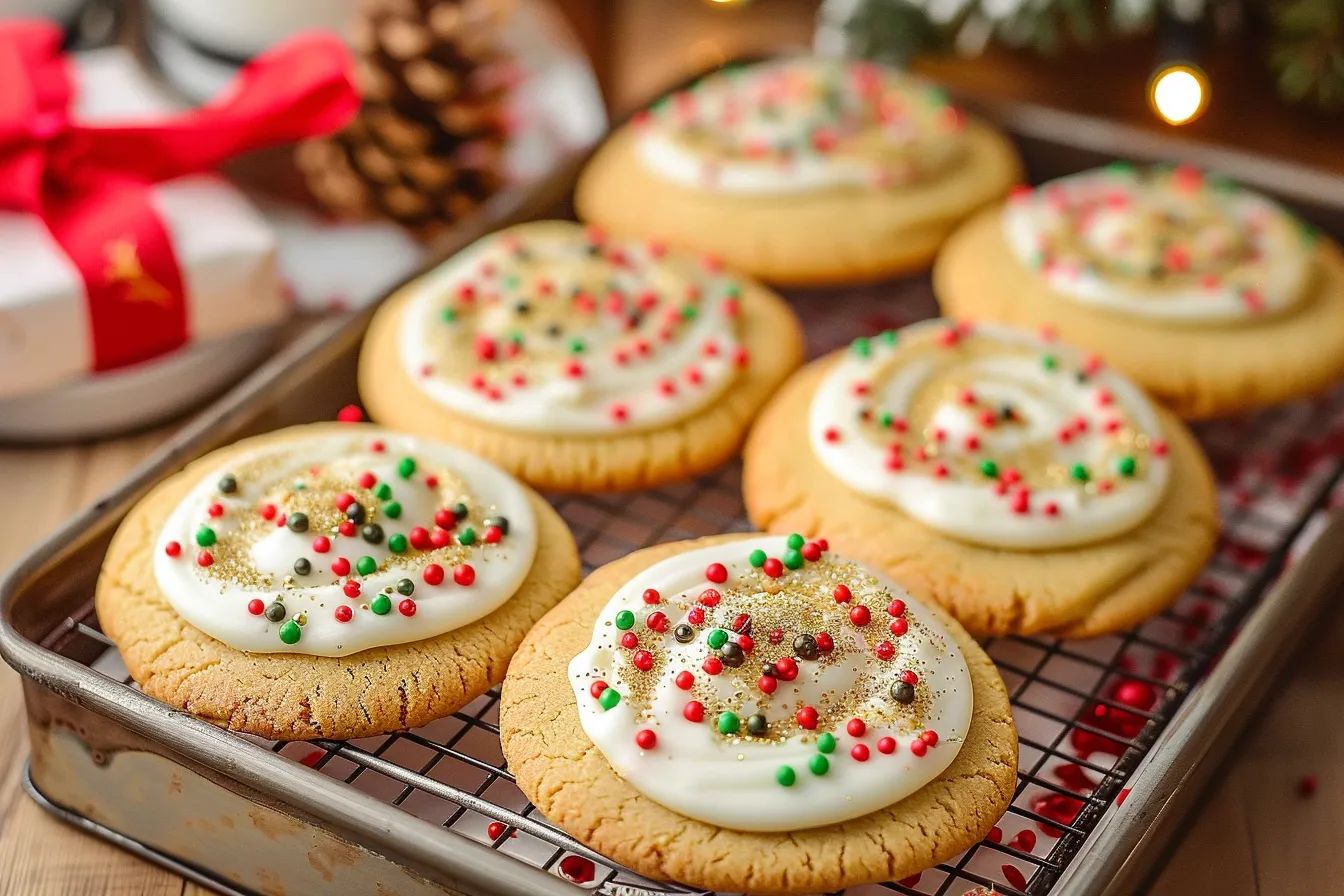
The scent of vanilla and sprinkles baking in the oven? That’s pure Christmas magic in my Texas kitchen. And let me tell you, these cake batter Christmas cookies are about as simple and delightful as it gets. I’ve made these cookies at least a dozen times, tweaking them each time to get that perfect soft-baked texture and vibrant holiday look. My kids, bless their hearts, practically attack the cooling rack every time! This recipe promises you easy-to-make, festive cookies that’ll bring joy (and maybe a little sugar rush) to your holiday season.
Why This Recipe Works
Between school plays, present wrapping, and trying to keep up with Santa’s elves, time is precious during the holidays. That’s why I adore this recipe. It’s a lifesaver for busy families like mine because:
- Quick & Easy: Seriously, from mixing bowl to cookie sheet in under 20 minutes.
- Kid-Approved: What kid doesn’t love sprinkles and cake batter?
- Customizable: Change up the sprinkles, frosting, or extracts for endless variations.
I’ve tested this recipe with different cake mixes and sprinkle combinations. The results? Always delicious. It’s my go-to recipe when I need a quick and festive treat.
Ingredients
- 1 box (15.25 oz) yellow cake mix
- 1/2 cup (1 stick) unsalted butter, softened
- 2 large eggs
- 1 teaspoon vanilla extract
- 1/2 cup all-purpose flour
- 1/2 cup Christmas sprinkles, plus more for topping
Ingredient Notes
Cake Mix: Yellow cake mix is my preference for that classic cookie taste and bright color. However, feel free to experiment! White cake mix works beautifully too. Avoid mixes with pudding already added, as they can make the cookies too soft.
Butter: Make sure your butter is softened, not melted. Softened butter creams better with the other ingredients and contributes to a chewier texture. I like to let mine sit out for about an hour before baking.
Sprinkles: This is where the fun begins! Use any Christmas-themed sprinkles you like. Jimmies, nonpareils, even sugar crystals work great. I usually grab a mix from the baking aisle at my local H-E-B.
Step-by-Step Instructions
Step 1: Preheat and Prep. Preheat your oven to 350°F (175°C). Line a baking sheet with parchment paper or a silicone baking mat. This prevents sticking and makes cleanup a breeze. I always keep a roll of parchment paper on hand – it’s a game-changer!
Step 2: Combine Wet Ingredients. In a large mixing bowl, cream together the softened butter and cake mix until light and fluffy. This usually takes about 2-3 minutes with an electric mixer. Make sure to scrape down the sides of the bowl to ensure everything is evenly mixed.
Step 3: Add Eggs and Vanilla. Beat in the eggs one at a time, then stir in the vanilla extract. The batter will start to come together at this point. Don’t overmix – just combine until everything is incorporated.
Step 4: Add Flour and Sprinkles. Gradually add the flour, mixing until just combined. The dough will be slightly thick. Gently fold in the sprinkles. Be careful not to overmix, as this can develop the gluten in the flour and make the cookies tough.
Step 5: Scoop and Bake. Drop by rounded tablespoons onto the prepared baking sheet, leaving about 2 inches between cookies. Sprinkle additional sprinkles on top, if desired. After testing this several times, I learned that gently pressing the cookies down slightly before baking helps them bake evenly.
Step 6: Bake. Bake for 8-10 minutes, or until the edges are lightly golden brown and the centers are set. Keep a close eye on them, as baking times may vary depending on your oven. The cookies will continue to set up as they cool.
Step 7: Cool. Let the cookies cool on the baking sheet for a few minutes before transferring them to a wire rack to cool completely. This prevents them from breaking apart while they are still warm and soft.
Storage & Meal Prep
Storage: Store these cookies in an airtight container at room temperature for up to 3 days. They also freeze well! Place them in a freezer-safe container or bag for up to 2 months.
Make-Ahead: You can make the dough ahead of time and store it in the refrigerator for up to 2 days. Just bring it to room temperature for about 30 minutes before scooping and baking.
Reheating: If you froze the cookies, let them thaw at room temperature. There’s really no need to reheat them – they’re delicious cold!
Substitutions & Variations
Gluten-Free: Use a gluten-free cake mix and a gluten-free all-purpose flour blend.
Dairy-Free: Use a dairy-free butter substitute. I’ve had good luck with plant-based butter sticks.
Flavor Variations: Experiment with different extracts, such as almond, peppermint, or lemon. You can also add a teaspoon of citrus zest for extra flavor. A few drops of food coloring can also add an extra festive look.
Cake Mix Swaps: Try red velvet cake mix for a festive red cookie, or chocolate cake mix for a rich, fudgy treat. The possibilities are endless!
Frequently Asked Questions
Can I use a different kind of cake mix?
Absolutely! Yellow cake mix is my go-to, but white, chocolate, and even red velvet cake mixes work great. Just avoid mixes with pudding already added, as they can make the cookies too soft.
My cookies are spreading too thin. What am I doing wrong?
This usually happens when the butter is too soft or melted. Make sure your butter is softened but still cool to the touch. You can also try chilling the dough for 30 minutes before baking.
Can I add frosting to these cookies?
Definitely! A simple buttercream or cream cheese frosting would be delicious. You could also drizzle them with melted chocolate or white chocolate. Just let the cookies cool completely before frosting.
How do I know when the cookies are done?
The edges should be lightly golden brown, and the centers should be set. They will continue to set up as they cool, so don’t overbake them. I always start checking them around the 8-minute mark.
Are these cookies kid-friendly?
Oh yes! These cookies are a huge hit with kids. They’re soft, sweet, and covered in sprinkles – what’s not to love? My kids love to help me decorate them with extra sprinkles and frosting.
Can I make these cookies ahead of time?
Yes, you can make the dough ahead of time and store it in the refrigerator for up to 2 days. Just bring it to room temperature for about 30 minutes before scooping and baking. You can also bake the cookies ahead of time and store them in an airtight container for up to 3 days.
Can I freeze these cookies?
Yes, these cookies freeze well! Place them in a freezer-safe container or bag for up to 2 months. Let them thaw at room temperature before serving.
Serving Suggestions
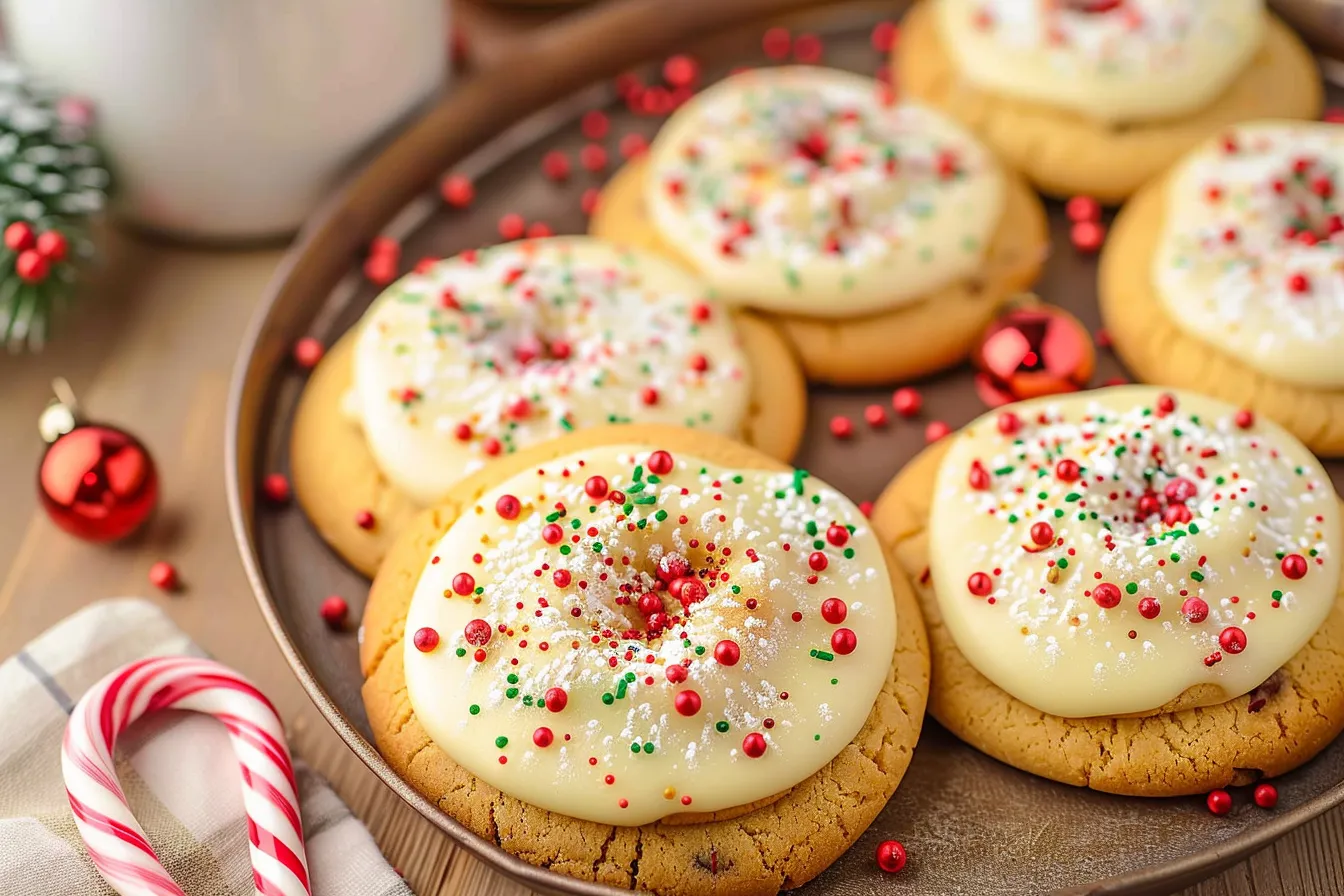
These cake batter Christmas cookies are perfect on their own with a glass of milk or a cup of hot cocoa. You can also serve them as part of a holiday dessert platter alongside other festive treats like gingerbread men and sugar cookies. For a simple plating idea, arrange the cookies on a festive plate and dust with powdered sugar. I also like to add a dollop of whipped cream and a sprinkle of crushed peppermint candies for extra flair.
As for portion sizes, I usually allocate two to three cookies per person. If you have little ones, one or two may be enough, depending on their appetite. Remember, it’s all about enjoying the flavors of the season with friends and family!
These cake batter Christmas cookies are more than just a recipe; they’re a little slice of holiday happiness, made simple enough for even the busiest Texas mama (that’s me!). I hope you try them out and share the joy with your loved ones. Don’t forget to snap a picture and tag me on social media I can’t wait to see your creations! And if you loved this recipe, be sure to sign up for my newsletter for more easy family recipes and kitchen tips. Happy baking, y’all!
PrintCake Batter Christmas Cookies

Bake easy Cake Batter Christmas Cookies tested in my Texas kitchen These festive fun cookies are kidapproved and so simple to make Get the recipe
- Prep Time: 10 minutes
- Cook Time: 10 minutes
- Total Time: 20 minutes
- Yield: Approximately 24 cookies
- Category: Cookie
- Cuisine: American
Ingredients
- 1 box (15.25 oz) yellow cake mix
- 1/2 cup (1 stick) unsalted butter, softened
- 2 large eggs
- 1 teaspoon vanilla extract
- 1/2 cup all-purpose flour
- 1/2 cup Christmas sprinkles, plus more for topping
Instructions
- Preheat your oven to 350°F (175°C). Line a baking sheet with parchment paper or a silicone baking mat.
- In a large mixing bowl, cream together the softened butter and cake mix until light and fluffy (2-3 minutes with an electric mixer). Scrape down the sides of the bowl.
- Beat in the eggs one at a time, then stir in the vanilla extract. Combine until just incorporated.
- Gradually add the flour, mixing until just combined. Gently fold in the sprinkles. Be careful not to overmix.
- Drop by rounded tablespoons onto the prepared baking sheet, leaving about 2 inches between cookies. Sprinkle additional sprinkles on top. Gently press the cookies down slightly before baking.
- Bake for 8-10 minutes, or until the edges are lightly golden brown and the centers are set.
- Let the cookies cool on the baking sheet for a few minutes before transferring them to a wire rack to cool completely.
Notes
Easy-to-make, festive cake batter Christmas cookies with a soft-baked texture and vibrant holiday look. Quick, kid-approved, and customizable with different sprinkles and extracts.
