
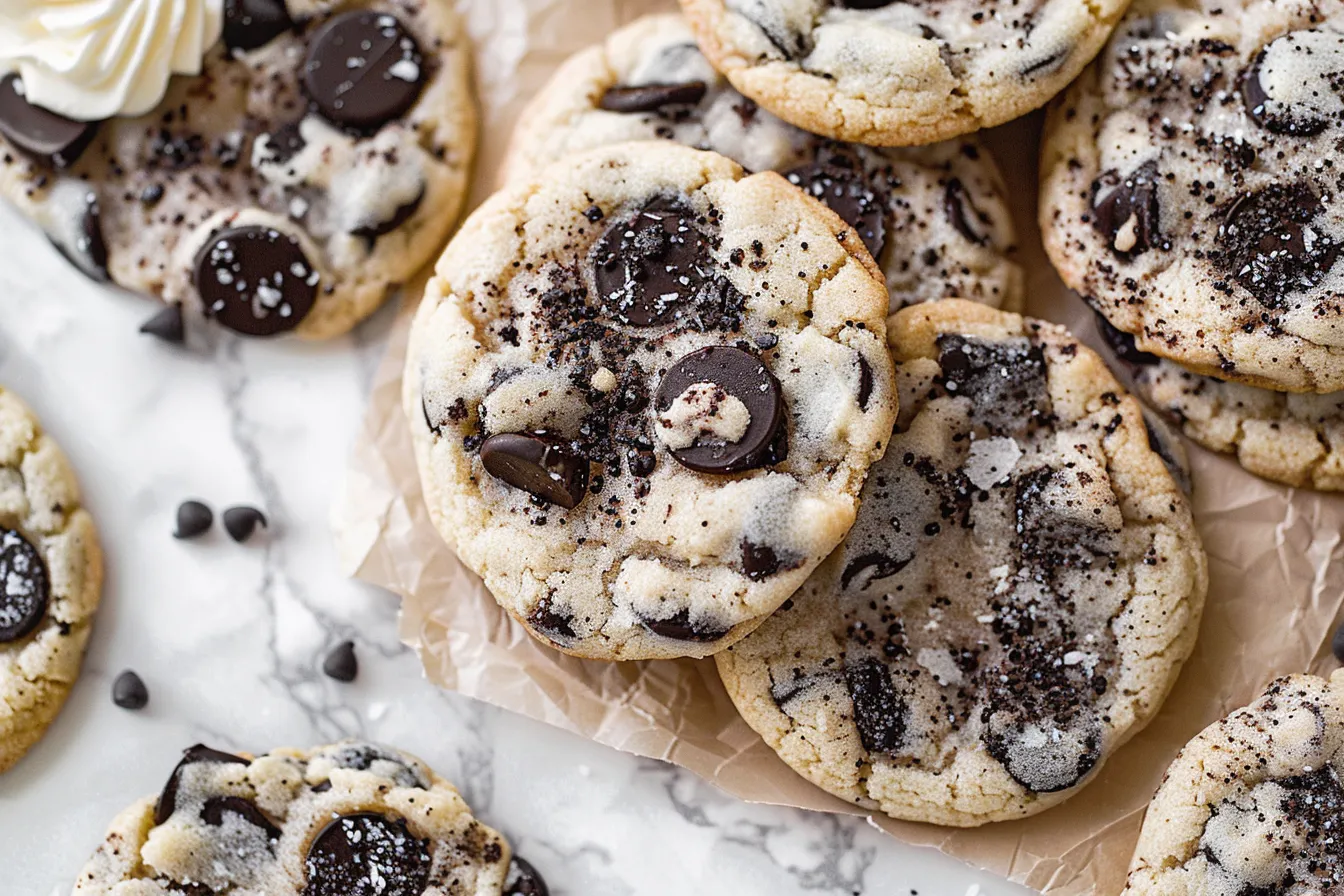
The smell of freshly baked cookies wafting through the house? That’s a core memory right there. Especially when those cookies are loaded with chunks of creamy, dreamy Oreo cookies! My kids practically do backflips when they know I’m making these cookies and cream cookies. There’s just something about the classic combination of chocolate and vanilla that hits the spot, every single time. I’ve probably made this recipe a dozen times in my own Texas kitchen, tweaking it until it’s just right. The result? A soft, chewy cookie packed with Oreo goodness. Trust me, you’re about to have a new family favorite.
Why This Recipe Works
Let’s be honest, as busy parents, we need recipes that deliver big flavor without a ton of fuss. That’s exactly what these cookies and cream cookies do. They’re:
- Quick & Easy: From start to finish, you’re looking at under an hour.
- Kid-Approved: I haven’t met a kid (or adult!) who can resist these.
- Adaptable: Easily customizable with different Oreo flavors or mix-ins.
I’ve tested this recipe countless times to make sure it’s foolproof, even when you’re juggling a toddler and a conference call. You’ll get a consistently delicious batch of cookies every time.
Ingredients
- 1 cup (2 sticks) unsalted butter, softened
- ¾ cup granulated sugar
- ¾ cup packed brown sugar
- 2 large eggs
- 1 teaspoon vanilla extract
- 2 ¼ cups all-purpose flour
- 1 teaspoon baking soda
- 1 teaspoon salt
- 1 ½ cups coarsely crushed Oreo cookies (about 18 cookies)
Ingredient Notes
Butter: Using softened, not melted, butter is crucial for achieving that soft, chewy texture. Take it out of the fridge about an hour before you start baking. I always use unsalted butter so I can control the amount of salt in the recipe.
Oreo Cookies: Feel free to get creative with the Oreo flavors! Golden Oreos, Mint Oreos, or even the limited-edition flavors will work. I like to crush them in a large zip-top bag using a rolling pin, but a food processor works too. Don’t crush them too finely – you want those nice chunks of Oreo goodness in every bite.
Vanilla Extract: I always recommend using pure vanilla extract for the best flavor. It makes a big difference!
Step-by-Step Instructions
Step 1: Cream the butter and sugars. In a large bowl, cream together the softened butter, granulated sugar, and brown sugar until light and fluffy. This usually takes about 3-5 minutes with an electric mixer. Make sure to scrape down the sides of the bowl occasionally to ensure everything is evenly combined.
Step 2: Add the eggs and vanilla. Beat in the eggs one at a time, then stir in the vanilla extract. The mixture should be smooth and creamy at this point.
Step 3: Combine the dry ingredients. In a separate bowl, whisk together the flour, baking soda, and salt. This ensures that the baking soda and salt are evenly distributed throughout the flour, which is important for the texture and flavor of the cookies.
Step 4: Gradually add the dry ingredients to the wet ingredients. Gradually add the dry ingredients to the wet ingredients, mixing until just combined. Be careful not to overmix, as this can result in tough cookies. A few streaks of flour are okay at this point.
Step 5: Fold in the Oreo cookies. Gently fold in the crushed Oreo cookies until they are evenly distributed throughout the dough. I like to use a rubber spatula for this to avoid overmixing.
Step 6: Chill the dough (optional). For best results, cover the dough and chill it in the refrigerator for at least 30 minutes. This helps prevent the cookies from spreading too much while baking and intensifies the flavors. If you’re short on time, you can skip this step, but the cookies might be a little thinner.
Step 7: Preheat the oven and prepare the baking sheets. Preheat the oven to 375°F (190°C). Line baking sheets with parchment paper or silicone baking mats. This prevents the cookies from sticking and makes cleanup a breeze.
Step 8: Drop the dough onto the baking sheets. Drop rounded tablespoons of dough onto the prepared baking sheets, leaving about 2 inches between each cookie. I like to use a cookie scoop to ensure that the cookies are all the same size.
Step 9: Bake the cookies. Bake for 9-11 minutes, or until the edges are golden brown and the centers are set. The cookies will continue to set up as they cool on the baking sheets.
Step 10: Cool the cookies. Let the cookies cool on the baking sheets for a few minutes before transferring them to a wire rack to cool completely. This prevents them from breaking apart while they’re still warm and soft.
Storage & Meal Prep
These cookies are best enjoyed fresh, but they can be stored in an airtight container at room temperature for up to 3 days. For longer storage, you can freeze the baked cookies for up to 2 months. Just make sure to thaw them completely before serving.
Make-Ahead Tip: You can make the cookie dough ahead of time and store it in the refrigerator for up to 2 days. When you’re ready to bake, simply bring the dough to room temperature for about 30 minutes, then scoop and bake as directed.
Substitutions & Variations
Gluten-Free: Use a gluten-free all-purpose flour blend in place of the regular flour. I recommend using a blend that contains xanthan gum for the best results.
Dairy-Free: Use a dairy-free butter substitute in place of the regular butter. You can also use dairy-free Oreo cookies.
Other Oreo Flavors: Experiment with different Oreo flavors! Peanut Butter Oreos, Birthday Cake Oreos, or even seasonal flavors like Pumpkin Spice Oreos would be delicious in this recipe.
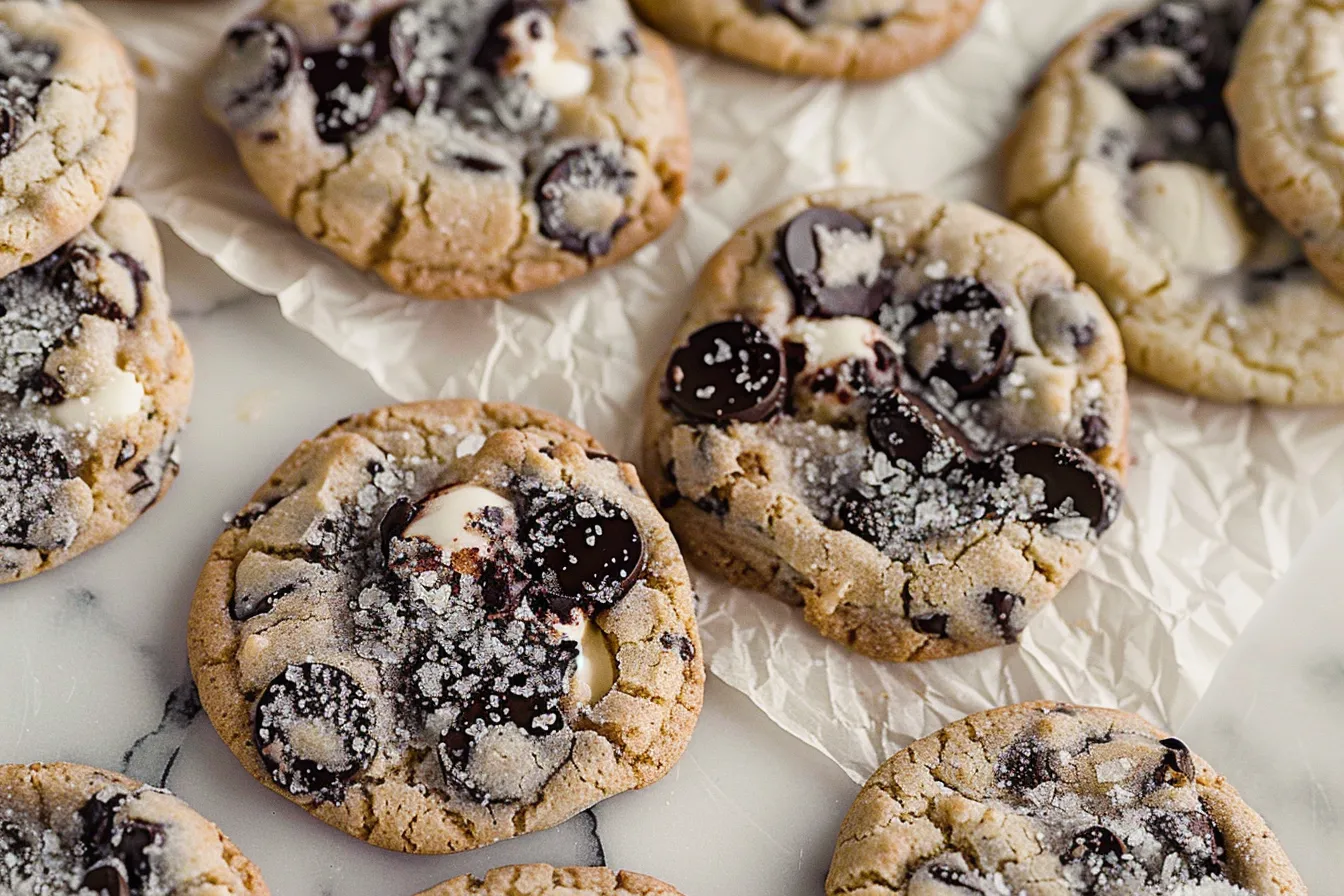
Chocolate Chips: Add ½ cup of chocolate chips to the dough for an extra chocolatey treat.
Frequently Asked Questions
Can I make this dough ahead of time?
Absolutely! Cookie dough can be made 1-2 days in advance. Cover it tightly and store it in the refrigerator. Let it sit at room temperature for about 30 minutes before scooping and baking.
How do I know when the cookies are done?
The edges should be lightly golden brown, and the centers should be set but still slightly soft. They will continue to firm up as they cool.
Can I freeze these cookies?
Yes, you can! Once completely cooled, place the cookies in a freezer-safe bag or container. They can be stored in the freezer for up to 2 months.
My cookies are spreading too thin. What am I doing wrong?
This can happen if your butter is too soft or melted, or if you didn’t chill the dough long enough. Try chilling the dough for a longer period of time, and make sure your butter is softened but not melted.
Can I use a different type of cookie instead of Oreos?
While Oreos are the star of the show here, you could certainly experiment with other cookies! Chocolate sandwich cookies or even chocolate chip cookies would work in a pinch.
These cookies and cream cookies are more than just a recipe; they’re a chance to create a sweet memory with your family. That’s what FamiliesRecipes.com is all about. From the satisfying crunch of the Oreo pieces to the soft, chewy texture of the cookie, every bite is pure bliss. I hope you’ll give this recipe a try and share your cookie creations with me in the comments below! Don’t forget to check out some of my other family-friendly dessert recipes, and sign up for my newsletter to get even more delicious recipes delivered straight to your inbox. And be sure to tag me in your cookie pics – I want to see those beautiful cookies and cream cookies!
PrintEasy Cookies and Cream Cookie Recipe
Bake the perfect Cookies and Cream Cookie Recipe today This easy familyapproved treat was tested in my Texas kitchen My kids love this Get the recipe
- Prep Time: 15 minutes
- Cook Time: 11 minutes
- Total Time: 26 minutes
- Yield: About 24 cookies
- Category: Dessert
- Cuisine: American
Ingredients
- 1 cup (2 sticks) unsalted butter, softened
- ¾ cup granulated sugar
- ¾ cup packed brown sugar
- 2 large eggs
- 1 teaspoon vanilla extract
- 2 ¼ cups all-purpose flour
- 1 teaspoon baking soda
- 1 teaspoon salt
- 1 ½ cups coarsely crushed Oreo cookies (about 18 cookies)
Instructions
- Cream the butter and sugars. In a large bowl, cream together the softened butter, granulated sugar, and brown sugar until light and fluffy. This usually takes about 3-5 minutes with an electric mixer. Make sure to scrape down the sides of the bowl occasionally to ensure everything is evenly combined.
- Add the eggs and vanilla. Beat in the eggs one at a time, then stir in the vanilla extract. The mixture should be smooth and creamy at this point.
- Combine the dry ingredients. In a separate bowl, whisk together the flour, baking soda, and salt. This ensures that the baking soda and salt are evenly distributed throughout the flour, which is important for the texture and flavor of the cookies.
- Gradually add the dry ingredients to the wet ingredients. Gradually add the dry ingredients to the wet ingredients, mixing until just combined. Be careful not to overmix, as this can result in tough cookies. A few streaks of flour are okay at this point.
- Fold in the Oreo cookies. Gently fold in the crushed Oreo cookies until they are evenly distributed throughout the dough. I like to use a rubber spatula for this to avoid overmixing.
- Chill the dough (optional). For best results, cover the dough and chill it in the refrigerator for at least 30 minutes. This helps prevent the cookies from spreading too much while baking and intensifies the flavors. If you’re short on time, you can skip this step, but the cookies might be a little thinner.
- Preheat the oven and prepare the baking sheets. Preheat the oven to 375°F (190°C). Line baking sheets with parchment paper or silicone baking mats. This prevents the cookies from sticking and makes cleanup a breeze.
- Drop the dough onto the baking sheets. Drop rounded tablespoons of dough onto the prepared baking sheets, leaving about 2 inches between each cookie. I like to use a cookie scoop to ensure that the cookies are all the same size.
- Bake the cookies. Bake for 9-11 minutes, or until the edges are golden brown and the centers are set. The cookies will continue to set up as they cool on the baking sheets.
- Cool the cookies. Let the cookies cool on the baking sheets for a few minutes before transferring them to a wire rack to cool completely. This prevents them from breaking apart while they’re still warm and soft.
Notes
Soft, chewy cookies packed with Oreo goodness. This cookies and cream cookie recipe is quick, easy, and kid-approved!
