
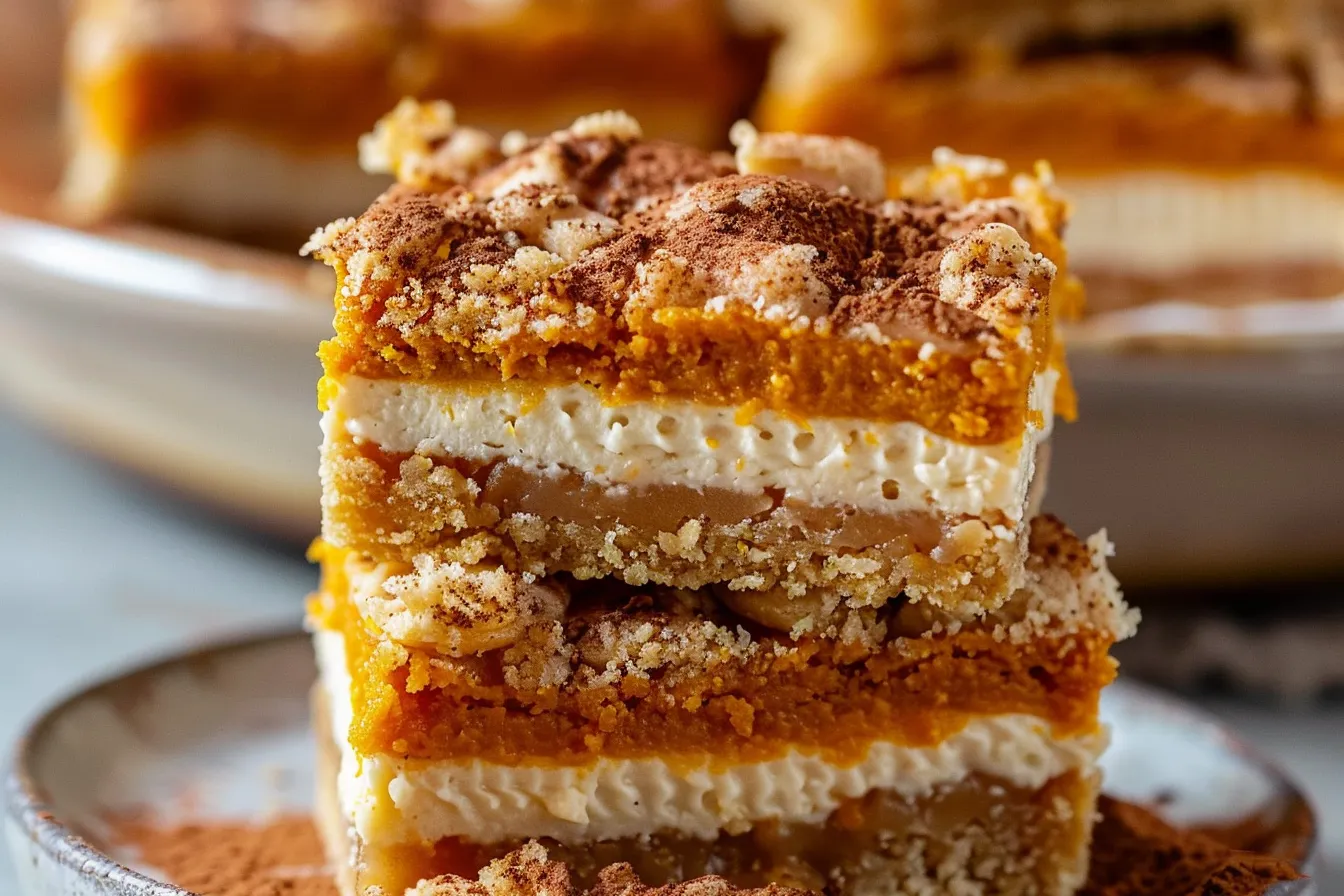
The smell of pumpkin spice wafting through the kitchen always takes me back to crisp autumn days in Texas. This year, I wanted to create a treat that everyone could enjoy, even those of us steering clear of gluten. That’s how these Gluten-Free Pumpkin Pie Bars were born! I’ve made this recipe at least a half dozen times in my kitchen, tweaking it until it was just right – a creamy, spiced pumpkin filling nestled on a buttery, gluten-free crust. My kids devour them, and I think your family will too. Get ready for a delicious and easy fall dessert that’s perfect for sharing!
With this recipe, you’ll get: A simple, crowd-pleasing dessert that captures all the flavors of pumpkin pie, but in an easy-to-serve bar form, a naturally gluten-free recipe that tastes just like the real deal without any complicated ingredients, and a dessert that is perfect for potlucks or any holiday gathering.
Why This Recipe Works
As a busy mom, I need recipes that are both delicious and manageable. These Gluten-Free Pumpkin Pie Bars check all the boxes! Here’s why I think you’ll love them:
- Easy to make: With a simple press-in crust and a straightforward filling, these bars come together quickly.
- Kid-approved: My kids absolutely love these! The creamy filling and sweet crust are always a hit.
- Perfect for sharing: Bars are so much easier to transport and serve than a traditional pie, making them ideal for potlucks and holiday gatherings.
- Make-ahead friendly: You can easily make these bars a day or two in advance, saving you time on the big day.
Ingredients
- For the Crust:
- 1 ½ cups gluten-free all-purpose flour blend (with xanthan gum)
- ½ cup (1 stick) unsalted butter, cold and cubed
- ¼ cup granulated sugar
- ¼ teaspoon salt
- 4-6 tablespoons ice water
- For the Filling:
- 1 (15-ounce) can pumpkin puree (not pumpkin pie filling)
- ¾ cup granulated sugar
- ½ cup packed light brown sugar
- 1 teaspoon pumpkin pie spice
- ½ teaspoon ground cinnamon
- ¼ teaspoon ground ginger
- ¼ teaspoon ground cloves
- ¼ teaspoon salt
- 2 large eggs
- 1 cup heavy cream
- 1 teaspoon vanilla extract
Ingredient Notes
Gluten-Free Flour Blend: Using a blend that already contains xanthan gum is key for the right texture. If your blend doesn’t have it, add ½ teaspoon of xanthan gum. I’ve had good results with Bob’s Red Mill 1-to-1 Baking Flour and King Arthur Measure for Measure Gluten-Free Flour.
Pumpkin Puree: Make sure you’re using 100% pumpkin puree, not pumpkin pie filling, which already has spices and sugar added. Libby’s is a reliable brand.
Pumpkin Pie Spice: If you don’t have pumpkin pie spice on hand, you can make your own by combining cinnamon, ginger, nutmeg, and allspice.
Heavy Cream: Using heavy cream makes the filling rich and creamy. You can substitute with half-and-half for a slightly lighter texture, but I prefer the results with heavy cream.
Step-by-Step Instructions
Let’s get baking! Follow these easy steps to make the perfect Gluten-Free Pumpkin Pie Bars.
Step 1: Prepare the Crust
In a large bowl, whisk together the gluten-free flour, sugar, and salt. Add the cold, cubed butter. Using a pastry blender or your fingers, cut the butter into the flour mixture until it resembles coarse crumbs. This is important for creating a flaky crust.
Step 2: Add Water
Gradually add the ice water, one tablespoon at a time, mixing until the dough just comes together. Be careful not to overmix, as this can make the crust tough. I usually need about 5 tablespoons, but it can vary depending on the humidity.
Step 3: Press into Pan
Press the dough evenly into the bottom of a 9×13 inch baking pan. I like to use the bottom of a measuring cup to get a nice, even surface. Prick the crust all over with a fork to prevent it from puffing up during baking.
Step 4: Bake the Crust
Bake the crust in a preheated oven at 350°F (175°C) for 15-20 minutes, or until lightly golden brown. While the crust is baking, prepare the filling.
Step 5: Make the Filling
In a large bowl, whisk together the pumpkin puree, granulated sugar, brown sugar, pumpkin pie spice, cinnamon, ginger, cloves, and salt until well combined. The aroma alone is enough to get you in the fall spirit!
Step 6: Add Eggs and Cream
Beat in the eggs one at a time, then stir in the heavy cream and vanilla extract until smooth. The filling should be nice and creamy at this point.
Step 7: Pour and Bake
Pour the pumpkin filling over the pre-baked crust. Bake in the preheated oven for 35-40 minutes, or until the filling is set but still has a slight jiggle in the center. After testing this several times, I learned that a slight jiggle is okay – it will firm up as it cools.
Step 8: Cool Completely
Let the bars cool completely in the pan before cutting into squares. This is important for preventing the filling from running. I usually chill them in the refrigerator for at least an hour to make them easier to cut.
Expert Tips from My Kitchen
Here are some extra tips and tricks I’ve learned along the way to help you make the best Gluten-Free Pumpkin Pie Bars:
- Chill the dough: If you have time, chill the crust dough for 30 minutes before pressing it into the pan. This will help prevent it from shrinking during baking.
- Prevent soggy crust: Blind bake your crust. Place parchment paper over the dough and add pie weights to prevent the crust from puffing up too much. Bake for 15 minutes, then remove the weights and paper and bake for another 5 minutes to lightly brown.
- Don’t overbake: Overbaking the filling can result in cracks. A slight jiggle in the center is okay – it will firm up as it cools.
- Clean cuts: For clean cuts, chill the bars completely before slicing. Use a sharp knife and wipe it clean between each cut.
- Kid-friendly: Let your kids help with measuring ingredients or pressing the crust into the pan. It’s a great way to get them involved in the baking process.
- Spice it up: For a spicier flavor, add a pinch of cayenne pepper to the filling.
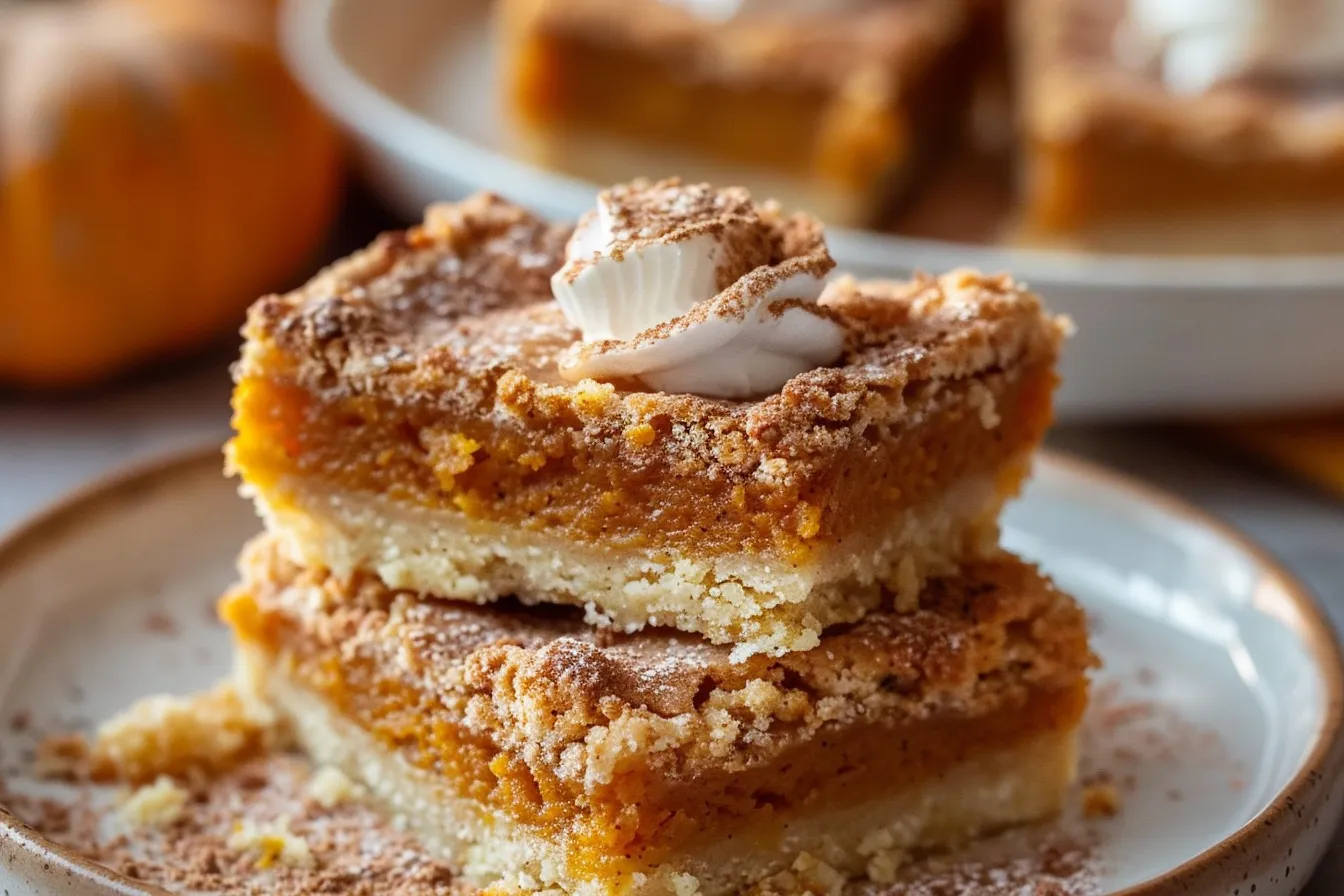
- Garnish: Before serving, dust the bars with powdered sugar or top with whipped cream for an extra special treat.
Storage & Meal Prep
These Gluten-Free Pumpkin Pie Bars are great for making ahead and storing. Here’s how:
- Storage: Store the cooled bars in an airtight container in the refrigerator for up to 5 days.
- Freezing: For longer storage, you can freeze the bars. Cut them into squares and wrap them individually in plastic wrap, then place them in a freezer bag. They can be frozen for up to 2 months. Let them thaw in the refrigerator before serving.
- Make-ahead: You can make the crust dough a day or two in advance and store it in the refrigerator. You can also bake the crust ahead of time and store it at room temperature until you’re ready to make the filling.
Frequently Asked Questions
Can I make this ahead of time?
Absolutely! These bars are perfect for making ahead. You can prepare them a day or two in advance and store them in the refrigerator until you’re ready to serve. The flavors actually meld together even more as they sit, making them even tastier.
How do I know when the bars are done?
The filling should be set but still have a slight jiggle in the center when they’re done. If you overbake them, the filling can crack. A toothpick inserted near the edge should come out clean, but it’s okay if the center is still a little soft.
Can I use a different type of gluten-free flour?
I recommend using a gluten-free all-purpose blend that already contains xanthan gum. If your blend doesn’t have it, add ½ teaspoon of xanthan gum. I’ve found that different blends can yield slightly different results, so stick with one you trust.
Can I make this dairy-free?
Yes, you can! Substitute the butter in the crust with a dairy-free butter substitute (make sure it’s cold) and the heavy cream in the filling with coconut cream. The taste will be slightly different, but still delicious.
Are these bars kid-friendly?
Definitely! My kids love these bars. They’re sweet, creamy, and easy to eat. You can even let your kids help with measuring ingredients or pressing the crust into the pan.
Serving Suggestions
These Gluten-Free Pumpkin Pie Bars are delicious on their own, but here are a few ideas to make them even more special:
- Whipped cream: Top with a dollop of whipped cream or dairy-free whipped topping.
- Powdered sugar: Dust with powdered sugar for a simple and elegant presentation.
- Caramel sauce: Drizzle with caramel sauce for an extra touch of sweetness.
- Ice cream: Serve with a scoop of vanilla ice cream for a decadent dessert.
I hope you and your family enjoy these Gluten-Free Pumpkin Pie Bars as much as we do! They’re a perfect way to celebrate the flavors of fall, no matter the dietary needs. These bars are special because they bring all the warmth and comfort of pumpkin pie into an easy-to-make and shareable form. Give them a try and let me know what you think in the comments below! And don’t forget to sign up for my newsletter for more family-friendly recipes and baking tips. Happy baking, y’all!
PrintEasy GlutenFree Pumpkin Pie Bars
Bake easy GlutenFree Pumpkin Pie Bars with this recipe tested in my Texas kitchen These bars are familyapproved delicious comfort food Get the recipe
- Prep Time: 20 minutes
- Cook Time: 40 minutes
- Total Time: 1 hour
- Yield: 12-16 bars
- Category: Dessert
- Cuisine: American
Ingredients
- 1 ½ cups gluten-free all-purpose flour blend (with xanthan gum)
- ½ cup (1 stick) unsalted butter, cold and cubed
- ¼ cup granulated sugar
- ¼ teaspoon salt
- 4–6 tablespoons ice water
- 1 (15-ounce) can pumpkin puree (not pumpkin pie filling)
- ¾ cup granulated sugar
- ½ cup packed light brown sugar
- 1 teaspoon pumpkin pie spice
- ½ teaspoon ground cinnamon
- ¼ teaspoon ground ginger
- ¼ teaspoon ground cloves
- ¼ teaspoon salt
- 2 large eggs
- 1 cup heavy cream
- 1 teaspoon vanilla extract
Instructions
- In a large bowl, whisk together the gluten-free flour, sugar, and salt. Add the cold, cubed butter. Using a pastry blender or your fingers, cut the butter into the flour mixture until it resembles coarse crumbs.
- Gradually add the ice water, one tablespoon at a time, mixing until the dough just comes together. Be careful not to overmix, as this can make the crust tough.
- Press the dough evenly into the bottom of a 9×13 inch baking pan. Prick the crust all over with a fork to prevent it from puffing up during baking.
- Bake the crust in a preheated oven at 350°F (175°C) for 15-20 minutes, or until lightly golden brown. While the crust is baking, prepare the filling.
- In a large bowl, whisk together the pumpkin puree, granulated sugar, brown sugar, pumpkin pie spice, cinnamon, ginger, cloves, and salt until well combined.
- Beat in the eggs one at a time, then stir in the heavy cream and vanilla extract until smooth.
- Pour the pumpkin filling over the pre-baked crust. Bake in the preheated oven for 35-40 minutes, or until the filling is set but still has a slight jiggle in the center.
- Let the bars cool completely in the pan before cutting into squares. Chill them in the refrigerator for at least an hour to make them easier to cut.
Notes
Creamy, spiced pumpkin filling nestled on a buttery, gluten-free crust. A delicious and easy fall dessert that’s perfect for sharing!
