
The smell of chocolate and peanut butter simmering on the stove instantly takes me back to my childhood in Texas. My grandma always whipped up a batch of these no bake cookies, especially during the hot summer months when turning on the oven was unthinkable. Now, as a busy mom myself, I carry on the tradition with my own little ones. I’ve made this recipe more times than I can count, tweaking it to be gluten-free and dairy-free so everyone can enjoy them! Trust me, these cookies are a lifesaver when you need a quick, satisfying treat. They’re simple, delicious, and guaranteed to disappear fast!
This recipe will give you perfectly fudgy, chewy no bake cookies every single time. You’ll get a simple recipe that is easy to adapt to dietary needs and makes for a quick dessert that everyone will love.
Why This Recipe Works
Let’s be real, as busy parents, we need recipes that are quick, easy, and that the kids will actually eat! These no bake cookies are all that and more. Here’s why this recipe is a winner:
- Quick & Easy: Ready in under 30 minutes, from start to finish.
- Kid-Approved: The combination of chocolate and peanut butter is a guaranteed hit with kids of all ages.
- No Oven Required: Perfect for hot days or when you just don’t want to heat up the kitchen.
- Adaptable: Easily made gluten-free, dairy-free, or vegan to suit your dietary needs.
Ingredients
- 2 cups granulated sugar
- ½ cup (1 stick) dairy-free butter (or regular butter if not dairy-free)
- ½ cup dairy-free milk (almond, soy, or oat milk work well)
- 4 tablespoons unsweetened cocoa powder
- 3 cups gluten-free quick-cooking oats (or regular quick-cooking oats if not gluten-free)
- ½ cup peanut butter (smooth or crunchy)
- 1 teaspoon vanilla extract
- Pinch of sea salt
Ingredient Notes
Let’s talk about the ingredients. A few simple substitutions can make this recipe perfect for everyone!
- Dairy-Free Butter: I prefer using a stick-style dairy-free butter for this recipe, as it tends to melt and behave more like regular butter.
- Dairy-Free Milk: Almond, soy, or oat milk all work great. Just be sure to use unsweetened, as the cookies are already quite sweet.
- Gluten-Free Oats: Be sure to use certified gluten-free oats if you need these cookies to be 100% gluten-free, to prevent cross-contamination.
- Peanut Butter: Feel free to use smooth or crunchy peanut butter, depending on your preference. If you have a peanut allergy, you can substitute with sunbutter (sunflower seed butter) for a nut-free option, though the taste will be different.
Step-by-Step Instructions
Follow these steps carefully for perfect no bake cookies every time!
- Step 1: Combine Sugar, Butter, Milk, and Cocoa: In a medium saucepan, combine the sugar, dairy-free butter, dairy-free milk, and cocoa powder. Whisk well to ensure there are no lumps of cocoa powder.
- Step 2: Bring to a Boil: Place the saucepan over medium heat and bring the mixture to a rolling boil, stirring constantly. Once boiling, set a timer for 1 minute and continue to boil, stirring constantly. This step is crucial for achieving the right consistency.
- Step 3: Remove From Heat: After 1 minute, remove the saucepan from the heat immediately. Don’t overcook, or the cookies will be dry.
- Step 4: Add Peanut Butter, Vanilla, and Salt: Stir in the peanut butter, vanilla extract, and salt until everything is smooth and well combined. The mixture should be glossy and easily pourable.
- Step 5: Stir in Oats: Add the gluten-free quick-cooking oats to the saucepan and stir until they are evenly coated with the chocolate mixture. Make sure all the oats are moistened.
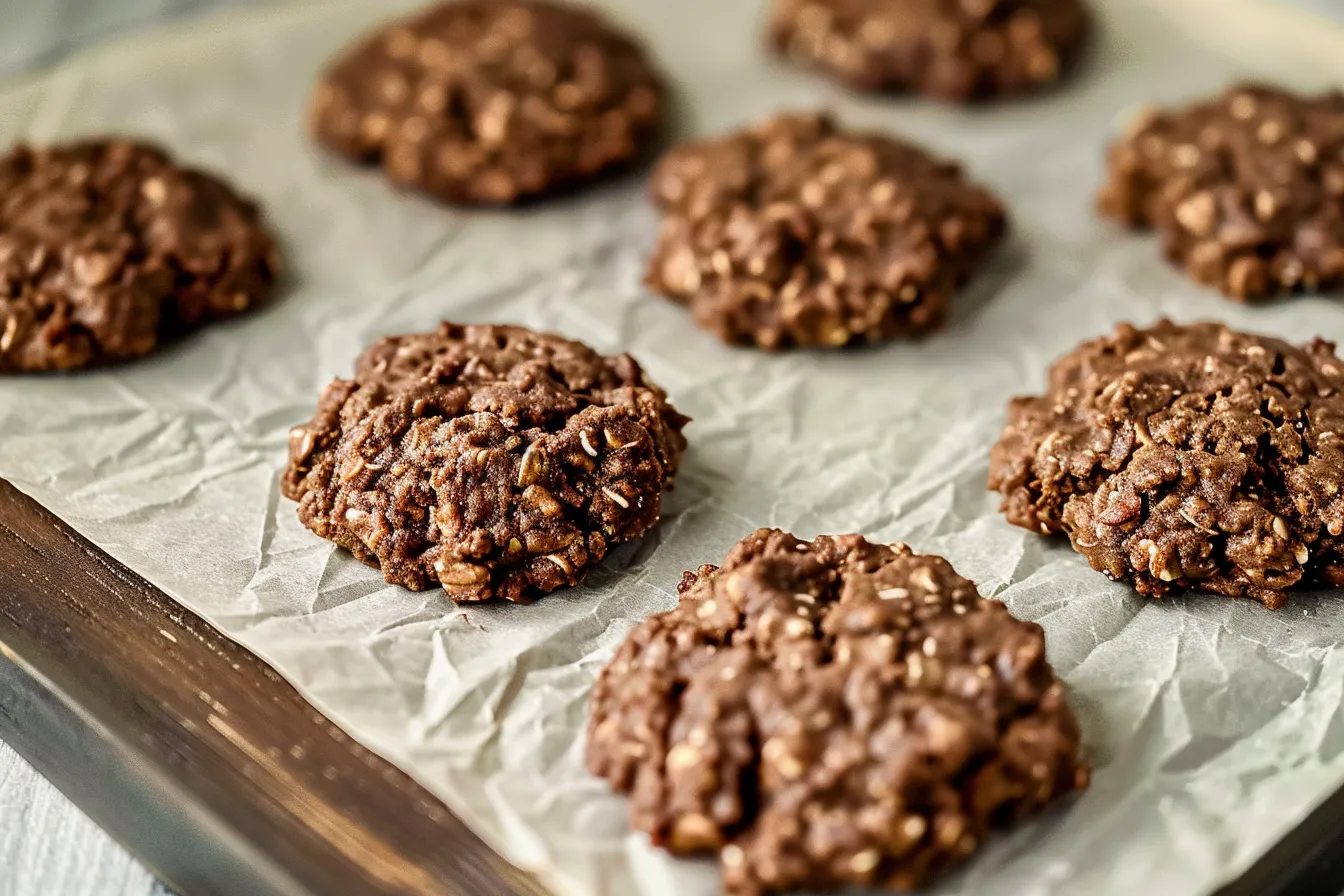
- Step 6: Drop Onto Baking Sheet: Drop spoonfuls of the mixture onto a parchment-lined baking sheet. I like to use a cookie scoop to ensure they are all the same size.
- Step 7: Let Set: Allow the cookies to set at room temperature for about 30 minutes, or until they are firm to the touch. You can speed up the process by placing them in the refrigerator.
Storage & Meal Prep
These no bake cookies are perfect for making ahead or storing for later!
- Storage: Store the cookies in an airtight container at room temperature for up to 3 days, or in the refrigerator for up to a week.
- Freezing: For longer storage, you can freeze the cookies for up to 2 months. Thaw them at room temperature before serving.
- Make-Ahead: These cookies are great for making ahead of time. You can prepare them a day or two in advance and store them in the refrigerator until you’re ready to serve them.
Substitutions & Variations
Want to customize these cookies to your liking? Here are a few ideas:
- Nut-Free: Substitute the peanut butter with sunflower seed butter (sunbutter). Keep in mind that the taste will be slightly different.
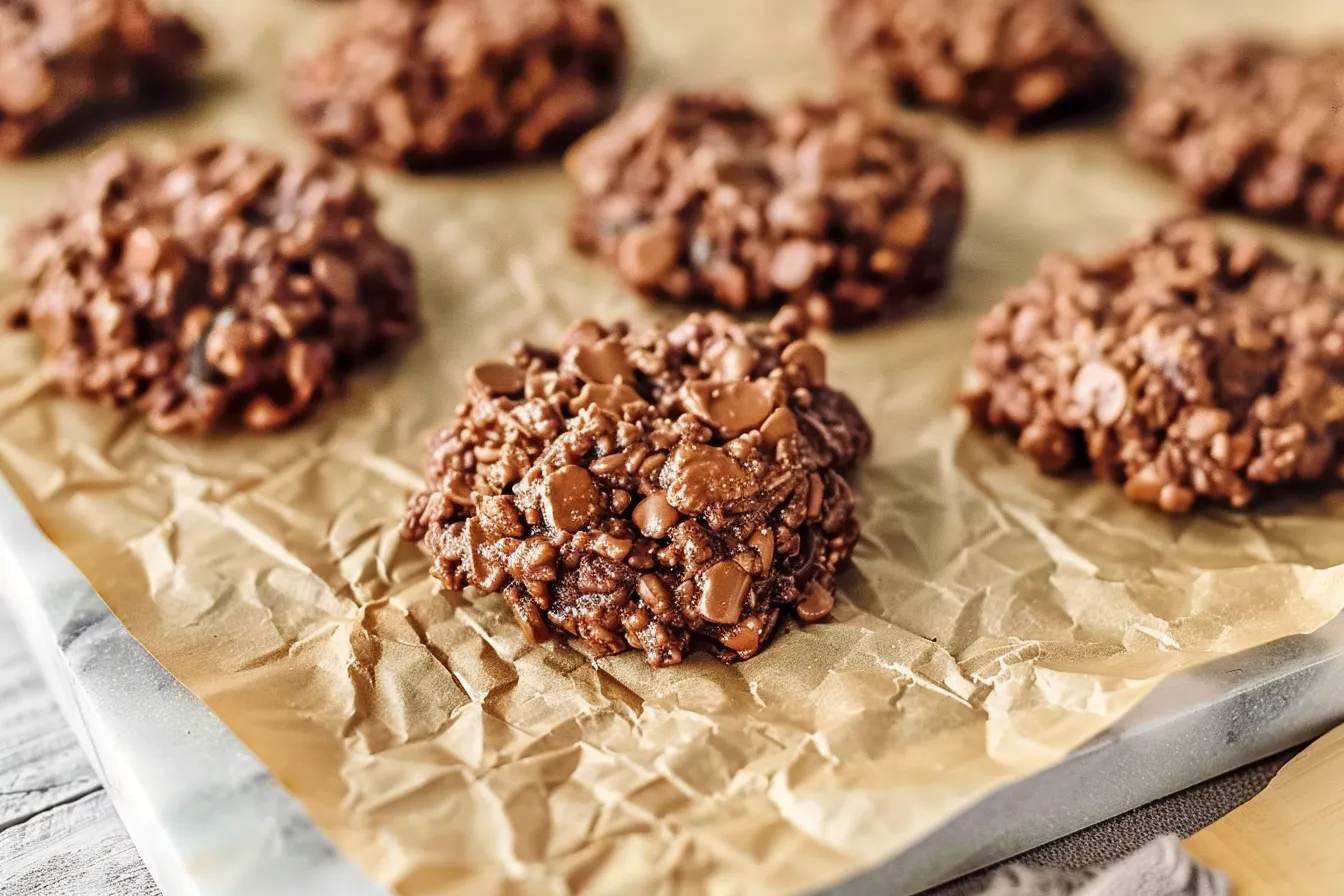
- Chocolate Chips: Stir in ½ cup of dairy-free chocolate chips along with the oats for an extra chocolatey treat.
- Sprinkles: Add sprinkles immediately after dropping the cookies onto the baking sheet for a festive touch.
- Coconut Flakes: Mix in ½ cup of shredded coconut along with the oats for added texture and flavor.
Frequently Asked Questions
Can I use regular oats instead of quick-cooking oats?
While you can use regular rolled oats, the texture of the cookies will be slightly different. Quick-cooking oats absorb the liquid better and create a smoother, more cohesive cookie. If you use rolled oats, your cookies may be a little chewier and less uniform.
Can I make these cookies without peanut butter?
Yes! Sunbutter (sunflower seed butter) is a great substitute for peanut butter. Just be aware that it will alter the flavor slightly. You could also try other nut butters like almond or cashew butter, if allergies aren’t a concern.
How do I know when the cookies are set?
The cookies are set when they are firm to the touch. If they are still sticky, give them a little more time. You can also place them in the refrigerator to speed up the setting process.
Can I make these cookies vegan?
Absolutely! Just be sure to use dairy-free butter and dairy-free milk. The recipe is naturally vegan otherwise.
Why are my cookies dry and crumbly?
The most common reason for dry and crumbly no bake cookies is overcooking the sugar mixture. Make sure to only boil for the specified time (1 minute) and remove from the heat immediately afterward.
My cookies didn’t set properly, what did I do wrong?
One of the main reasons for no-bake cookies not setting correctly is not bringing the sugar, butter, and milk to a proper rolling boil for the correct amount of time (1 minute). This step is crucial for ensuring the right consistency. Also, make sure to use the correct ratio of ingredients.
Are these cookies kid-friendly?
Absolutely! These cookies are a hit with kids. You can even get them involved in the process of stirring in the oats and dropping the cookies onto the baking sheet (with supervision, of course!).
Serving Suggestions
These no bake cookies are delicious on their own, but here are a few ideas for serving them:
- Pair with a glass of dairy-free milk for a classic and comforting treat.
- Pack them in lunchboxes for a sweet surprise.
- Serve them at parties or gatherings for a crowd-pleasing dessert.
I hope you and your family enjoy these classic no bake cookies as much as we do. They’re a taste of my Texas childhood, made healthier and easier for today’s busy families. Give them a try and let me know what you think in the comments below! I love hearing your variations and seeing your photos.
And if you’re looking for more quick and easy family recipes, be sure to check out the rest of FamiliesRecipes.com and sign up for my newsletter to stay in the loop!
PrintNo Bake Cookies GF DF Vegan Recipe

Whip up Classic No Bake Cookies glutenfree dairyfree vegan option too This easy homemade recipe tested in my Texas kitchen is familyapproved Get the recipe
- Prep Time: 10 minutes
- Cook Time: 5 minutes
- Total Time: 15 minutes
- Yield: Approximately 24 cookies
- Category: Dessert
- Cuisine: American
Ingredients
- 2 cups granulated sugar
- ½ cup (1 stick) dairy-free butter (or regular butter if not dairy-free)
- ½ cup dairy-free milk (almond, soy, or oat milk work well)
- 4 tablespoons unsweetened cocoa powder
- 3 cups gluten-free quick-cooking oats (or regular quick-cooking oats if not gluten-free)
- ½ cup peanut butter (smooth or crunchy)
- 1 teaspoon vanilla extract
- Pinch of sea salt
Instructions
- Combine Sugar, Butter, Milk, and Cocoa: In a medium saucepan, combine the sugar, dairy-free butter, dairy-free milk, and cocoa powder. Whisk well to ensure there are no lumps of cocoa powder.
- Bring to a Boil: Place the saucepan over medium heat and bring the mixture to a rolling boil, stirring constantly. Once boiling, set a timer for 1 minute and continue to boil, stirring constantly. This step is crucial for achieving the right consistency.
- Remove From Heat: After 1 minute, remove the saucepan from the heat immediately. Don’t overcook, or the cookies will be dry.
- Add Peanut Butter, Vanilla, and Salt: Stir in the peanut butter, vanilla extract, and salt until everything is smooth and well combined. The mixture should be glossy and easily pourable.
- Stir in Oats: Add the gluten-free quick-cooking oats to the saucepan and stir until they are evenly coated with the chocolate mixture. Make sure all the oats are moistened.
- Drop Onto Baking Sheet: Drop spoonfuls of the mixture onto a parchment-lined baking sheet. I like to use a cookie scoop to ensure they are all the same size.
- Let Set: Allow the cookies to set at room temperature for about 30 minutes, or until they are firm to the touch. You can speed up the process by placing them in the refrigerator.
Notes
Perfectly fudgy, chewy no bake cookies that are easy to adapt to dietary needs and make for a quick dessert that everyone will love. Gluten-free, dairy-free, and vegan options available!
