
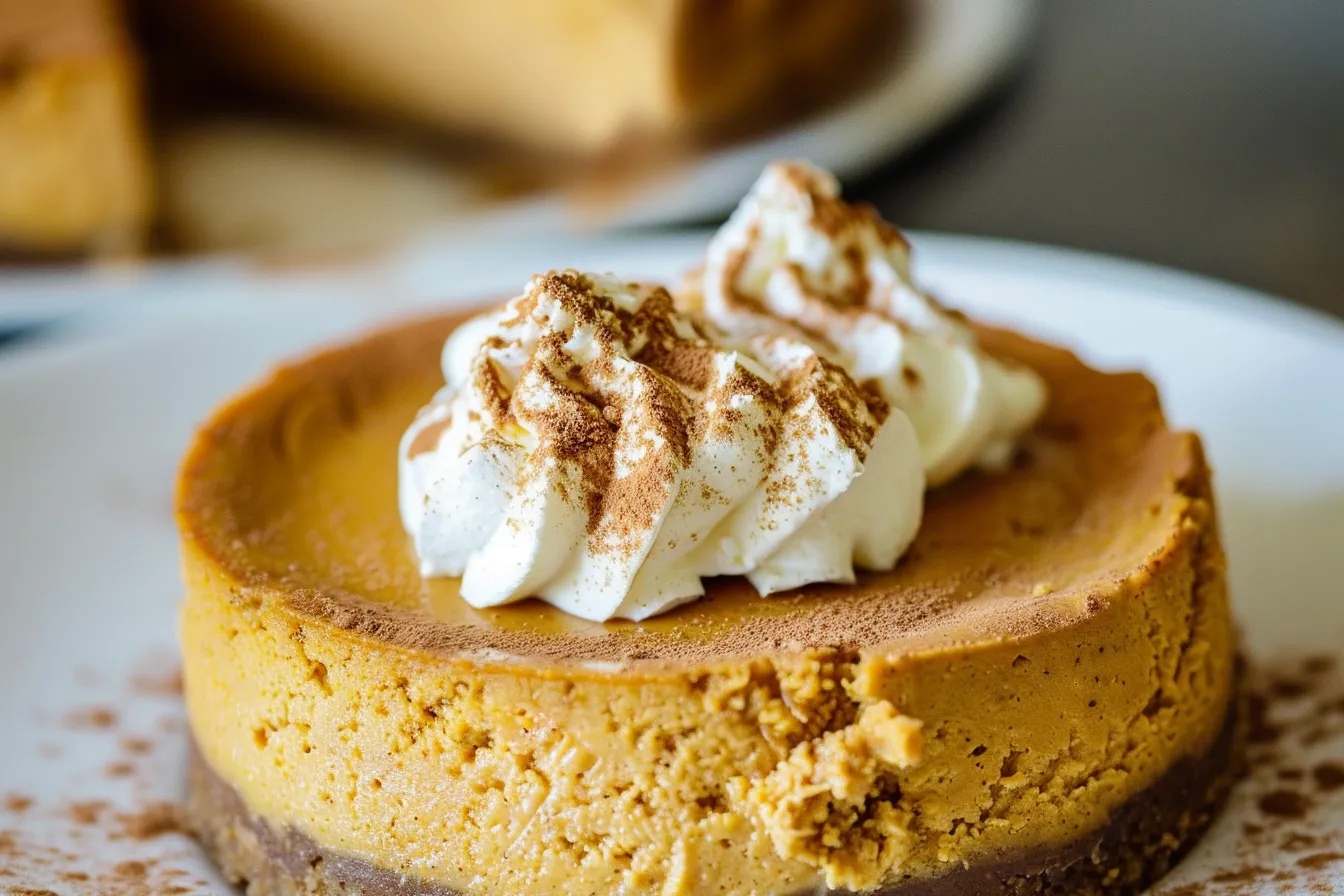
Y’all, there’s just somethin’ about pumpkin spice that makes me feel like fall in Texas, even if it’s still 80 degrees outside! My kids practically beg for pumpkin everything once September hits. This Easy Gluten-Free Pressure Cooker Pumpkin Cheesecake? It’s a total game-changer. I’ve made this cheesecake at least a dozen times in my kitchen, tweaking it until it’s just right. The best part? It’s so darn easy, even on those crazy weeknights. This recipe promises you a creamy, dreamy pumpkin cheesecake that’s gluten-free and practically foolproof, even if you’re new to pressure cooking.
Why This Recipe Works
As a busy mama of two, I need recipes that are quick, easy, and, let’s be honest, don’t create a mountain of dishes! This pressure cooker pumpkin cheesecake checks all the boxes. Here’s why it works so well for families:
- Speedy Cooking: The pressure cooker cuts down the baking time significantly compared to a traditional oven-baked cheesecake.
- Gluten-Free Goodness: Uses gluten-free graham crackers for the crust, making it friendly for those with dietary restrictions.
- Make-Ahead Marvel: You can make this cheesecake a day or two in advance, allowing the flavors to meld together beautifully.
- Kid-Approved: The creamy texture and comforting pumpkin spice flavor are always a hit with kids.
Ingredients
- For the Crust:
- 1 ½ cups gluten-free graham cracker crumbs
- 6 tablespoons unsalted butter, melted
- 2 tablespoons granulated sugar
- For the Filling:
- 3 (8-ounce) packages cream cheese, softened
- 1 ½ cups granulated sugar
- 1 (15-ounce) can pumpkin puree (not pumpkin pie filling)
- 3 large eggs
- 2 large egg yolks
- ¼ cup heavy cream
- 2 tablespoons cornstarch
- 2 teaspoons pumpkin pie spice
- 1 teaspoon vanilla extract
- ¼ teaspoon salt
Ingredient Notes
Let’s talk ingredients, y’all. Cream cheese is the foundation of this dessert, so make sure it’s fully softened for a smooth, lump-free cheesecake. Trust me, it makes a difference! If you can’t find gluten-free graham crackers, you can use gluten-free vanilla wafers or even a gluten-free shortbread cookie. Just adjust the sugar in the crust to taste. And remember – pumpkin puree, not pumpkin pie filling! We want pure pumpkin goodness, not added sweeteners and spices (we’ll add our own!).
Step-by-Step Instructions
Ready to make some magic? Follow these simple steps, and you’ll have a show-stopping cheesecake in no time!
- Prepare the Crust: In a medium bowl, combine the gluten-free graham cracker crumbs, melted butter, and sugar. Mix well until the crumbs are evenly moistened. Press the mixture firmly into the bottom of a 7-inch springform pan. I like to use the bottom of a measuring cup to really compact it.
- Make the Filling: In a large bowl, beat the softened cream cheese and sugar until smooth and creamy. This usually takes about 3-4 minutes. Scrape down the sides of the bowl to ensure everything is evenly incorporated.
- Add Pumpkin and Spices: Add the pumpkin puree, eggs, egg yolks, heavy cream, cornstarch, pumpkin pie spice, vanilla extract, and salt to the cream cheese mixture. Beat until just combined. Be careful not to overmix, as this can incorporate too much air and cause cracks in the cheesecake.
- Pour into Crust: Pour the filling over the prepared crust in the springform pan. Gently smooth the top with a spatula.
- Prepare the Pressure Cooker: Pour 1 ½ cups of water into the bottom of your pressure cooker. Place a trivet inside. Gently lower the springform pan onto the trivet. I like to use a foil sling to make it easier to lift the cheesecake in and out.
- Pressure Cook: Close and lock the lid of the pressure cooker. Cook on high pressure for 32 minutes, followed by a 15-minute natural pressure release. After 15 minutes, manually release any remaining pressure.
- Cool and Chill: Carefully remove the cheesecake from the pressure cooker using the foil sling. Let it cool completely on a wire rack before covering and refrigerating for at least 4 hours, or preferably overnight. This chilling time is crucial for the cheesecake to set properly.
- Serve: Before serving, gently run a thin knife around the edge of the cheesecake to loosen it from the pan. Release the sides of the springform pan and carefully transfer the cheesecake to a serving plate.

Storage & Meal Prep
This cheesecake is a fantastic make-ahead dessert! Store it in the refrigerator, covered, for up to 5 days. You can also freeze it for up to 2 months. To freeze, wrap the cheesecake tightly in plastic wrap, then in foil. Thaw it overnight in the refrigerator before serving. I often make this cheesecake on Sunday afternoon to enjoy throughout the week. It’s also perfect for potlucks and holiday gatherings!
Substitutions & Variations
Want to get creative? Here are a few substitutions and variations I’ve tried:
- Dairy-Free: Use dairy-free cream cheese and coconut cream instead of heavy cream. I haven’t tested this myself, but I’ve heard good things!
- Spice It Up: Add a pinch of ground ginger or cloves to the pumpkin pie spice for an extra kick.
- Chocolate Swirl: Swirl in melted dark chocolate before pressure cooking for a decadent twist.
- Pecan Crust: Use crushed pecans instead of graham crackers for a nutty crust.
Frequently Asked Questions
Can I make this cheesecake ahead of time?
Absolutely! In fact, I recommend it. Making it a day or two in advance allows the flavors to meld together, making it even more delicious. Just store it covered in the refrigerator.
How do I know when the cheesecake is done?
The cheesecake will still jiggle slightly in the center when it’s done. Don’t worry, it will continue to set as it cools in the refrigerator.
Can I use regular graham crackers instead of gluten-free?
Yes, you can! If you don’t need it to be gluten-free, regular graham crackers will work just fine for the crust.
What if my cheesecake cracks?
Don’t sweat it! Cracks happen sometimes. They usually occur due to rapid temperature changes. The taste will still be amazing. You can also cover the cracks with whipped cream or a sprinkle of cinnamon.
Is this recipe kid-friendly?
Definitely! My kids love this cheesecake. The pumpkin spice flavor is comforting and not too overwhelming. You can even let them help you make it!
Can I freeze this cheesecake?
Yes, you can freeze it for up to 2 months. Wrap it tightly in plastic wrap and then in foil. Thaw it overnight in the refrigerator before serving.
Serving Suggestions
This cheesecake is delicious on its own, but here are a few ideas to take it to the next level:
- Top with whipped cream and a sprinkle of cinnamon.
- Drizzle with caramel sauce or chocolate sauce.
- Serve with fresh berries like raspberries or blueberries.
- Add a dollop of sweetened sour cream.
Well, there you have it, friends! My Easy Gluten-Free Pressure Cooker Pumpkin Cheesecake. It’s a recipe that brings a little bit of Texas fall right into your kitchen. This recipe is special because it’s not just a dessert; it’s a reminder of cozy family moments and shared laughter. It’s simple, delicious, and perfect for any occasion. So, go ahead, give it a try and let me know how it turns out! I’d love to hear your feedback in the comments below. And if you’re looking for more easy family recipes, be sure to sign up for my newsletter! Happy baking, y’all!
PrintEasy GlutenFree Pumpkin Cheesecake Pressure Cooker Recipe
Whip up this Easy GlutenFree Pressure Cooker Pumpkin Cheesecake So easy and delicious tested in my Texas kitchen My kids love this recipe Get the recipe
- Prep Time: 20 minutes
- Cook Time: 32 minutes
- Total Time: 52 minutes
- Yield: 8 servings
- Category: Dessert
- Cuisine: American
Ingredients
- 1 ½ cups gluten-free graham cracker crumbs
- 6 tablespoons unsalted butter, melted
- 2 tablespoons granulated sugar
- 3 (8-ounce) packages cream cheese, softened
- 1 ½ cups granulated sugar
- 1 (15-ounce) can pumpkin puree (not pumpkin pie filling)
- 3 large eggs
- 2 large egg yolks
- ¼ cup heavy cream
- 2 tablespoons cornstarch
- 2 teaspoons pumpkin pie spice
- 1 teaspoon vanilla extract
- ¼ teaspoon salt
Instructions
- Prepare the Crust: In a medium bowl, combine the gluten-free graham cracker crumbs, melted butter, and sugar. Mix well until the crumbs are evenly moistened. Press the mixture firmly into the bottom of a 7-inch springform pan.
- Make the Filling: In a large bowl, beat the softened cream cheese and sugar until smooth and creamy. Scrape down the sides of the bowl to ensure everything is evenly incorporated.
- Add Pumpkin and Spices: Add the pumpkin puree, eggs, egg yolks, heavy cream, cornstarch, pumpkin pie spice, vanilla extract, and salt to the cream cheese mixture. Beat until just combined.
- Pour into Crust: Pour the filling over the prepared crust in the springform pan. Gently smooth the top with a spatula.
- Prepare the Pressure Cooker: Pour 1 ½ cups of water into the bottom of your pressure cooker. Place a trivet inside. Gently lower the springform pan onto the trivet.
- Pressure Cook: Close and lock the lid of the pressure cooker. Cook on high pressure for 32 minutes, followed by a 15-minute natural pressure release. After 15 minutes, manually release any remaining pressure.
- Cool and Chill: Carefully remove the cheesecake from the pressure cooker. Let it cool completely on a wire rack before covering and refrigerating for at least 4 hours, or preferably overnight.
- Serve: Before serving, gently run a thin knife around the edge of the cheesecake to loosen it from the pan. Release the sides of the springform pan and carefully transfer the cheesecake to a serving plate.
Notes
Enjoy a creamy, dreamy, and practically foolproof gluten-free pumpkin cheesecake made easily in your pressure cooker. Perfect for busy families!
