
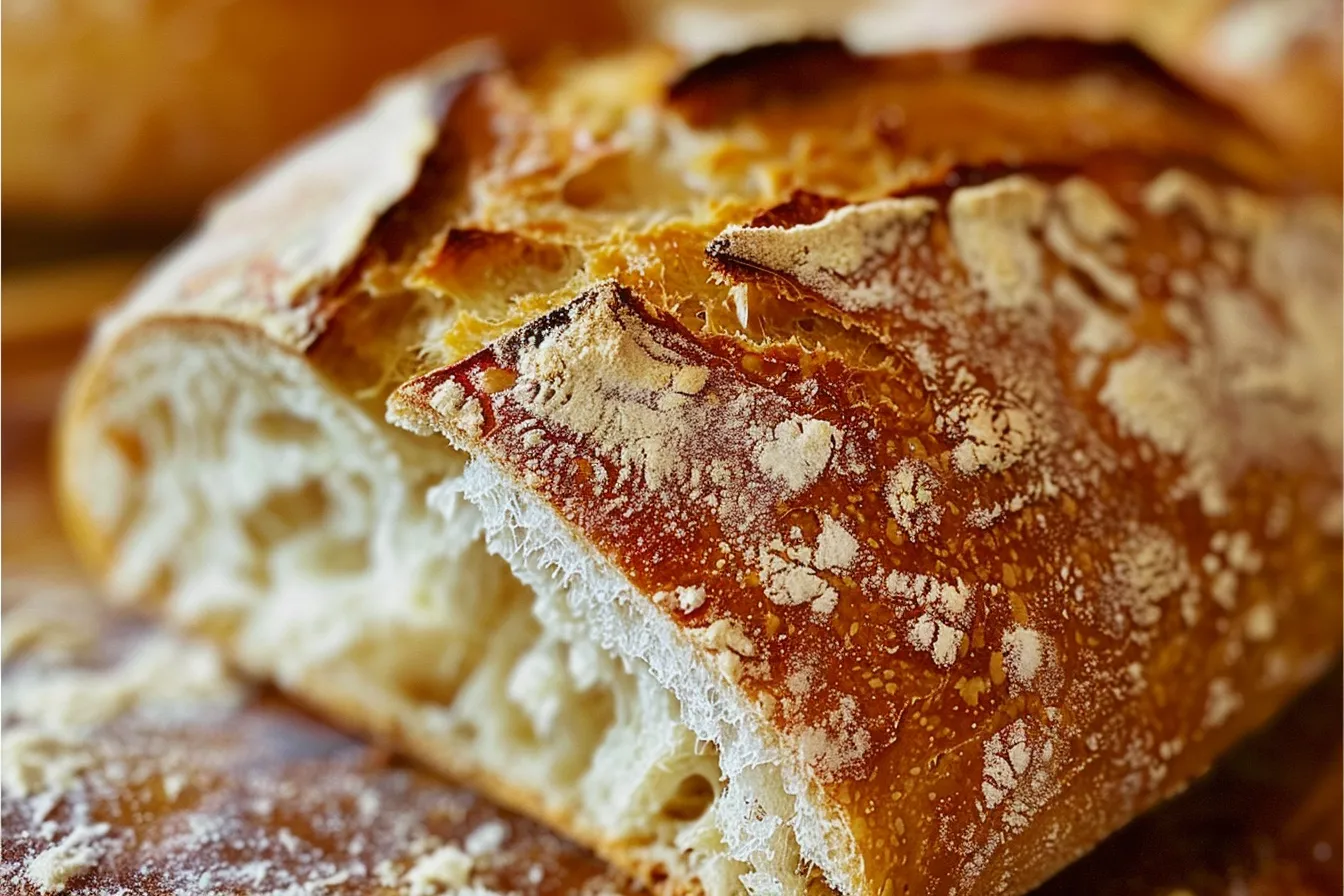
Y’all know I love a good slice of bread, especially fresh out of the oven. But with two little ones running around and a never-ending to-do list, who has time for kneading? That’s where this no knead gluten free bread recipe comes in! I’ve made this loaf at least a dozen times in my Texas kitchen, tweaking it until it was just right – perfectly crusty on the outside, soft and chewy on the inside, and easy enough for even the busiest weeknights. This recipe promises a delicious, hassle-free bread experience that will satisfy everyone at your table.
Why This Recipe Works
Let’s be honest, gluten-free baking can be a little intimidating. But this recipe is designed to be foolproof and family-friendly. Here’s why it works so well:
- No Kneading Required: Seriously! Just mix the ingredients, let it rise, and bake.
- Simple Ingredients: You probably already have most of these in your pantry.
- Kid-Approved: Even my picky eaters love this bread! It’s great for sandwiches, toast, or just slathered with butter.
After many, many test batches (and happy taste testers!), I’m confident this recipe will become a staple in your home.
Ingredients
- 3 cups gluten-free all-purpose flour blend (with xanthan gum)
- 1 teaspoon salt
- 1 teaspoon sugar
- 1/2 teaspoon instant dry yeast
- 1 1/2 cups warm water (about 110°F)
- 1 tablespoon apple cider vinegar
- 2 tablespoons olive oil, plus more for greasing
Ingredient Notes
Gluten-Free Flour Blend: This is the most important ingredient! Make sure your blend contains xanthan gum, which acts as a binder since we’re missing the gluten. My go-to is Bob’s Red Mill Gluten Free 1-to-1 Baking Flour, but any similar blend should work. Avoid single-ingredient flours like almond or coconut flour, as they won’t provide the necessary structure.
Yeast: I use instant dry yeast because it’s easy and doesn’t require proofing. If you’re using active dry yeast, you’ll need to proof it in the warm water for about 5-10 minutes before adding the other ingredients.
Apple Cider Vinegar: This helps to create a slightly tangy flavor and improve the texture of the bread. You can substitute with lemon juice if you don’t have any on hand.
Step-by-Step Instructions
Step 1: Combine Dry Ingredients. In a large bowl, whisk together the gluten-free flour, salt, sugar, and instant dry yeast until well combined. This ensures that all the ingredients are evenly distributed.
Step 2: Add Wet Ingredients. Pour in the warm water, apple cider vinegar, and olive oil. Stir with a wooden spoon or spatula until a shaggy dough forms. It will be quite wet and sticky, and that’s perfectly fine!
Step 3: First Rise. Cover the bowl with plastic wrap or a clean kitchen towel and let it rise in a warm place for at least 2 hours, or up to 4 hours. The dough should roughly double in size. Don’t worry if it doesn’t rise perfectly; this recipe is very forgiving. This is where all the flavor starts to develop!
Step 4: Shape the Dough. Gently deflate the dough and turn it out onto a well-floured surface (I use gluten-free flour for this). Shape it into a round or oval loaf. Be gentle! You don’t want to overwork the dough.
Step 5: Second Rise. Line a bowl with parchment paper and dust generously with gluten-free flour. Place the shaped loaf into the bowl, seam-side up. Cover with plastic wrap or a clean towel and let it rise for another 30-45 minutes. While it rises, preheat your oven to 450°F (232°C) with a Dutch oven inside. This is crucial for that crusty exterior!
Step 6: Bake the Bread. Carefully remove the hot Dutch oven from the oven. Remove the plastic wrap from the dough. Using the parchment paper, lift the dough and gently place it into the hot Dutch oven. Score the top of the dough with a sharp knife or razor blade. This allows the bread to expand properly while baking.
Step 7: Bake Covered. Cover the Dutch oven with the lid and bake for 30 minutes.
Step 8: Bake Uncovered. Remove the lid and bake for another 15-20 minutes, or until the bread is golden brown and the internal temperature reaches 200-210°F (93-99°C). I like to use a digital thermometer to be sure.
Step 9: Cool Completely. Carefully remove the bread from the Dutch oven and let it cool completely on a wire rack before slicing. This is important! Slicing it while it’s still warm will result in a gummy texture.
Storage & Meal Prep
This gluten-free bread is best enjoyed fresh, but it can be stored in an airtight container at room temperature for up to 2 days. For longer storage, you can slice it and freeze it for up to 2 months. To reheat, simply toast it or bake it in a preheated oven at 350°F (175°C) for a few minutes until warmed through.
Make-Ahead Tip: You can prepare the dough up to 24 hours in advance. After the first rise, punch down the dough, cover it tightly, and refrigerate. Let it come to room temperature for about 30 minutes before shaping and baking as directed.
Substitutions & Variations
Dairy-Free: This recipe is naturally dairy-free, so no substitutions are needed!
Egg-Free: This recipe is also naturally egg-free.
Herbs and Spices: Add 1-2 teaspoons of dried herbs like rosemary, thyme, or oregano to the dry ingredients for a savory twist. You can also add a pinch of red pepper flakes for a little heat.
Seeds: Mix in 1/4 cup of seeds like sunflower, pumpkin, or sesame seeds for added texture and flavor.
Frequently Asked Questions
Can I use a different type of gluten-free flour?
While I haven’t tested this recipe with every gluten-free flour blend on the market, I recommend sticking to a blend that contains xanthan gum for the best results. Single-ingredient flours like almond or coconut flour won’t work in this recipe.
My dough didn’t rise very much. What did I do wrong?
Several factors can affect the rise of your dough. Make sure your yeast isn’t expired, and that your water is warm enough (around 110°F/43°C). Also, be sure to let the dough rise in a warm place. If your kitchen is cold, you can try placing the bowl in a slightly warmed oven (turned off!) or near a sunny window.
How do I know when the bread is done?
The best way to check for doneness is to use a digital thermometer. The internal temperature of the bread should reach 200-210°F (93-99°C). You can also tap on the bottom of the loaf; it should sound hollow.
Can I make this bread without a Dutch oven?
While I highly recommend using a Dutch oven for the best crust, you can bake this bread on a baking sheet. Preheat the baking sheet in the oven while it preheats. Place the dough directly on the hot baking sheet and bake as directed, but be sure to add a pan with water in the oven to create steam, which helps with crust formation.
Is this recipe kid-friendly?
Absolutely! My kids love this bread. It’s soft, chewy, and perfect for sandwiches or toast. You can even let them help with mixing the ingredients (with supervision, of course!).
This no knead gluten free bread recipe has truly become a family favorite. It’s the perfect solution when you crave homemade bread but don’t have a ton of time. It’s simple enough for a weeknight bake, and impressive enough to share with friends and family. Give it a try, and let me know what you think in the comments below! I love hearing about your baking adventures. And if you’re looking for more easy and delicious family recipes, be sure to sign up for my newsletter at FamiliesRecipes.com. Happy baking, y’all!
PrintNo Knead Gluten Free Bread
Bake easy No Knead Gluten Free Bread tested in my Texas kitchen This familyapproved homemade bread recipe is quick to make and delicious Get the recipe
- Prep Time: 15 minutes
- Cook Time: 45 minutes
- Total Time: 3 hours
- Yield: 1 Loaf
- Category: Bread
- Cuisine: American
Ingredients
- 3 cups gluten-free all-purpose flour blend (with xanthan gum)
- 1 teaspoon salt
- 1 teaspoon sugar
- 1/2 teaspoon instant dry yeast
- 1 1/2 cups warm water
- 1 tablespoon apple cider vinegar
- 2 tablespoons olive oil
Instructions
- Combine Dry Ingredients. In a large bowl, whisk together the gluten-free flour, salt, sugar, and instant dry yeast until well combined.
- Add Wet Ingredients. Pour in the warm water, apple cider vinegar, and olive oil. Stir with a wooden spoon or spatula until a shaggy dough forms.
- First Rise. Cover the bowl and let it rise in a warm place for at least 2 hours, or up to 4 hours. The dough should roughly double in size.
- Shape the Dough. Gently deflate the dough and turn it out onto a well-floured surface. Shape it into a round or oval loaf.
- Second Rise. Line a bowl with parchment paper and dust generously with gluten-free flour. Place the shaped loaf into the bowl, seam-side up. Cover and let it rise for another 30-45 minutes. While it rises, preheat your oven to 450°F (232°C) with a Dutch oven inside.
- Bake the Bread. Carefully remove the hot Dutch oven from the oven. Remove the plastic wrap from the dough. Using the parchment paper, lift the dough and gently place it into the hot Dutch oven. Score the top of the dough with a sharp knife or razor blade.
- Bake Covered. Cover the Dutch oven with the lid and bake for 30 minutes.
- Bake Uncovered. Remove the lid and bake for another 15-20 minutes, or until the bread is golden brown and the internal temperature reaches 200-210°F (93-99°C).
- Cool Completely. Carefully remove the bread from the Dutch oven and let it cool completely on a wire rack before slicing.
Notes
This no knead gluten free bread recipe promises a delicious, hassle-free bread experience that will satisfy everyone at your table. Perfectly crusty on the outside, soft and chewy on the inside, and easy enough for even the busiest weeknights.
