
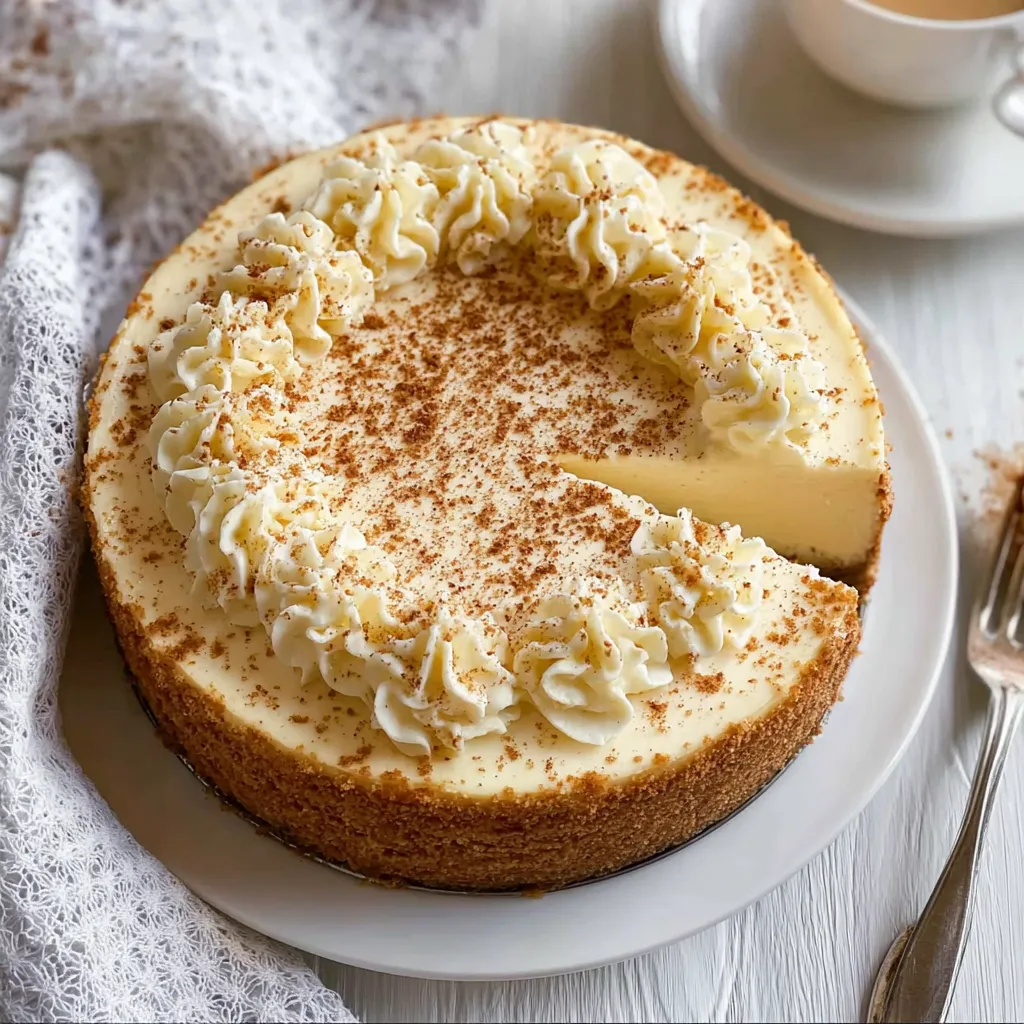
As the chill of winter settles in and the scent of holiday treats wafts through the air, there’s something magical about indulging in a slice of Nutmeg Eggnog Cheesecake. Imagine the velvety richness of cream cheese mixed with the warming spices of nutmeg and cinnamon, creating a dessert that strikes the perfect balance between tradition and decadence. Each bite is a hug in dessert form, transporting you to cozy family gatherings filled with laughter and joy. This holiday season, why not surprise your loved ones with a dessert that’s not just a feast for the palate but for the spirit as well? It’s a seasonal treat that demands to be shared—so let’s make some magic together.
This recipe is close to my heart. The first time I made a version of this Nutmeg Eggnog Cheesecake, my family was abuzz with the festive spirit, and the aroma of nutmeg filled my kitchen as I whisked the ingredients together. With every swirl of the mixer, memories of childhood holidays flooded back—the sound of laughter, the sight of twinkling lights, and the taste of sweet treats. Over the years, I’ve refined this recipe, drawing on both classic cheesecake principles and the latest trends that emphasize ingredient quality and presentation. Seasonal baking is all the rage right now, and there’s no better time to dive into something indulgent yet sophisticated.
Nutmeg Eggnog Cheesecake Ingredients
- Crust:
- Gingersnap cookies – bring a spicy crunch
- Unsalted butter – binds the crust and enhances richness
- Filling:
- cream cheese – the base that provides that creamy luxury
- sour cream – adds tang and moisture
- granulated sugar – sweetens and smooths
- eggnog – infuses seasonal flavor
- flour – helps stabilize the filling
- nutmeg and cinnamon – classic warm spices that elevate the flavor
- Toppings:
- whipped cream – for a fluffy finish
- grated nutmeg – enhances aroma and visual appeal
For a gluten-free option, consider using gluten-free gingersnap cookies or almond flour as a base. If you want to lighten things up, using Greek yogurt instead of sour cream can work wonders without compromising flavor or texture. This flexibility makes it easy to adapt without losing that festive touch.
Step-by-Step Instructions
Start by preheating your oven to 350°F (175°C) and greasing your springform pan. This step is crucial for ensuring your cheesecake releases easily after baking.
To create the crust, pulse the gingersnap cookies into fine crumbs using a food processor. In a mixing bowl, combine the crumbs with melted butter until the mixture resembles wet sand. Press this mixture firmly into the bottom of your prepared pan, making sure to pack it tightly for a sturdy base.
Next, for the filling, in a large mixing bowl, beat the cream cheese until smooth and creamy. Gradually add sugar and mix until incorporated. The key to a creamy filling is to ensure there are no lumps; take your time here!
Then, mix in the sour cream, eggnog, and flour, followed by the spices. Each ingredient plays a part: sour cream keeps it moist, while eggnog contributes that unique holiday flavor. Once everything is blended, pour the filling over the crust. Smooth the top gently for an even bake.
Transfer the cheesecake to the oven and bake for about 50-60 minutes. You’ll know it’s done when the edges are set, but the center has a slight jiggle. It will firm up as it cools. Allow it to cool at room temperature for an hour before chilling it in the refrigerator for at least four hours, preferably overnight. The patience will pay off!
Expert Tips
Here are some tips to ensure your Nutmeg Eggnog Cheesecake is a show-stopper:
- When mixing the filling, beat ingredients at room temperature. This ensures a smoother blend and avoids clumps from cold ingredients.
- Don’t skip the water bath! It prevents the cheesecake from cracking by regulating the temperature during baking.
- If you’re worried about overbaking, consider turning off the oven once the edges are set, leaving the cheesecake inside with the door ajar to lower the temperature gradually.
For an adventurous twist, consider infusing the cheesecake with a splash of rum or bourbon—this enhances the holiday spirit while staying true to traditional eggnog flavors. And if you ever encounter cracks on the surface, don’t fret! A dollop of whipped cream will cover it beautifully and add an extra layer of delight.
Storage & Substitutions
Your Nutmeg Eggnog Cheesecake can be stored tightly covered in the refrigerator for up to a week. For longer storage, wrap slices individually in plastic wrap and freeze them for up to three months. When you’re ready to enjoy a slice, simply thaw overnight in the fridge before serving.
If you find yourself short on ingredients, here are a few substitutions:
- Swap out eggnog with a non-dairy milk plus a touch of nutmeg and vanilla for a dairy-free option.
- Gluten-free gingersnaps can replace traditional cookies for a gluten-free crust.
How do I make this recipe ahead?
You can prepare the cheesecake up to two days in advance and store it in the refrigerator. This allows the flavors to meld beautifully, enhancing the overall taste.
Can I use low-fat cream cheese?
Low-fat cream cheese can be used, but it may alter the texture slightly, resulting in a denser cheesecake. If you prefer a lighter option, consider using half cream cheese and half Greek yogurt.
What should I serve with my cheesecake?
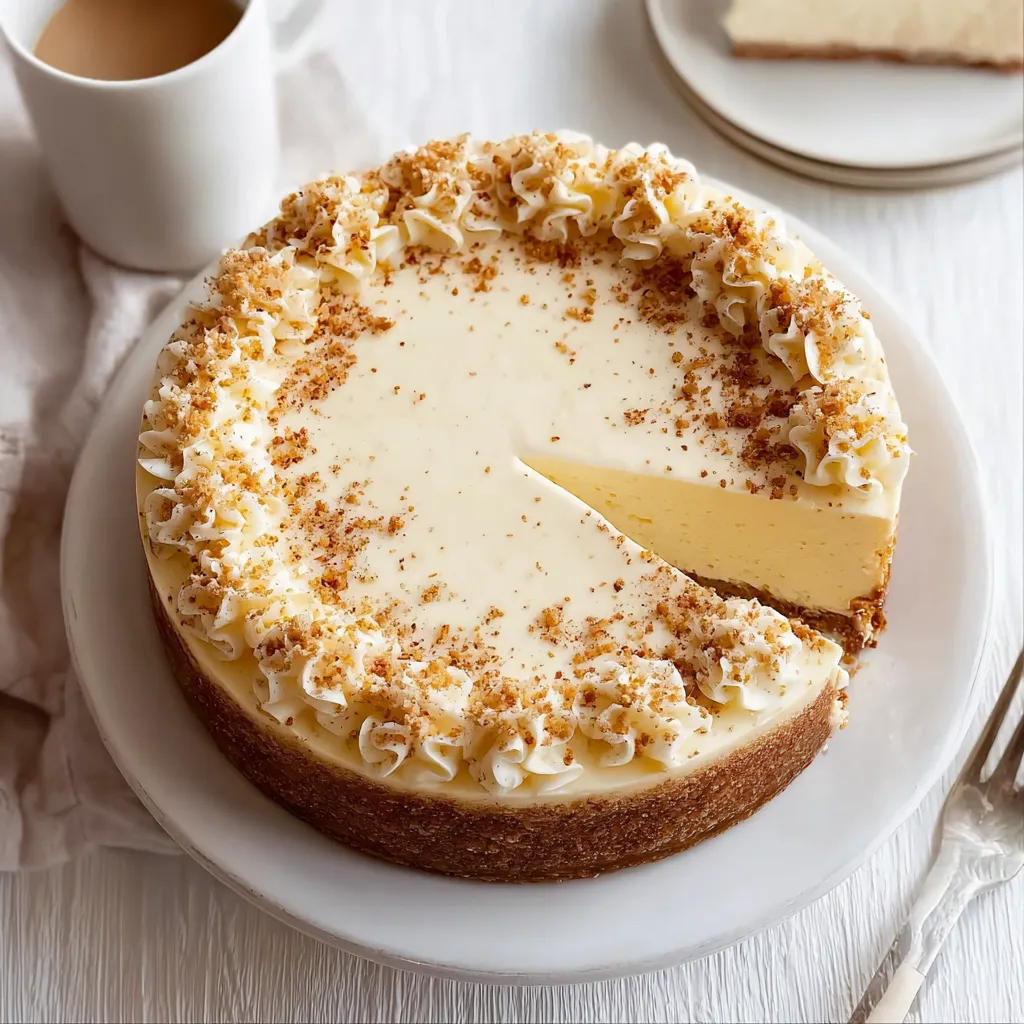
Pair your cheesecake with a glass of spiced eggnog or a warm cup of latte to enhance the flavors. Freshly grated nutmeg sprinkled on top is a lovely finishing touch.
How do I prevent my cheesecake from cracking?
A water bath is essential for even baking and can prevent drying out. Additionally, be careful not to overmix; overwhipping can incorporate too much air, leading to cracks.
Can I make mini cheesecakes?
Absolutely! Pour the crust and filling into a muffin tin lined with cupcake liners for delightful mini cheesecakes perfect for parties.
This Nutmeg Eggnog Cheesecake is sure to become a holiday tradition in your home, blending nostalgia with irresistible flavors. I encourage you to give it a try, and don’t forget to share your experiences in the comments! Your feedback and stories make this culinary journey all the more enjoyable. If you love this recipe, save it for your holiday baking, and share it with friends and family who would appreciate a slice of joy this season.
PrintEggnog Cheesecake Recipe
Create a delightful Nutmeg Eggnog Cheesecake with my easy familyapproved recipe tested in my Texas kitchen Your kids will love this Get the recipe
- Prep Time: 30 minutes
- Cook Time: 60 minutes
- Total Time: 90 minutes
- Yield: 12 servings
- Category: Dessert
- Cuisine: American
Ingredients
- 200 grams of gingersnap cookies
- 100 grams of unsalted butter, melted
- 450 grams of cream cheese, softened
- 240 grams of sour cream
- 150 grams of granulated sugar
- 120 ml of eggnog
- 30 grams of all-purpose flour
- 1 teaspoon of nutmeg, ground
- 1 teaspoon of cinnamon, ground
- Whipped cream for topping
- Grated nutmeg for garnish
Instructions
- Preheat your oven to 350°F (175°C) and grease your springform pan.
- Pulse the gingersnap cookies into fine crumbs in a food processor. Combine crumb mixture with melted butter until it resembles wet sand. Press firmly into the bottom of the prepared pan.
- In a large mixing bowl, beat the cream cheese until smooth. Gradually add sugar and mix until incorporated.
- Mix in sour cream, eggnog, flour, nutmeg, and cinnamon until fully combined. Pour the filling over the crust and smooth the top.
- Bake for 50-60 minutes until the edges are set and the center has a slight jiggle. Allow to cool at room temperature for 1 hour, then refrigerate for at least 4 hours or overnight.
- Serve topped with whipped cream and grated nutmeg.
Notes
Indulge in a slice of Nutmeg Eggnog Cheesecake, a rich and festive dessert that captures the essence of holiday gatherings filled with warmth and joy.
