
Imagine biting into a rich, creamy truffle that explodes with chocolatey goodness and a crunchy surprise—welcome to the world of Oreo balls! This decadent treat is not just a dessert; it’s a nostalgic moment that transports you back to childhood celebrations. Whether it’s a chilly winter evening or a festive gathering, these Oreo truffles have a knack for making any occasion feel special. The scent of sweet cream cheese mingled with crushed Oreos fills the air as you prepare these heavenly bites, creating an atmosphere of warmth and care. Trust me, once you try making them, you’ll never want to settle for store-bought sweets again.
My journey with Oreo balls began during a busy holiday season when I was tasked with creating quick but impressive treats for family gatherings. With my kitchen filled with the aromas of baking cookies and simmering cocoa, I decided to mix things up with these truffles. After experimenting with different flavors and textures, I found the perfect balance that not only satisfied my sweet tooth but also wowed my loved ones. As trends lean towards no-bake and easy desserts, these Oreo balls fit perfectly, allowing you to indulge without hours in the kitchen. Plus, they’re utterly customizable, making them the go-to treat for every occasion.
Oreo Balls Recipe Ingredients
- Oreo cookies: The base ingredient, providing both flavor and texture.
- Cream cheese: Adds a rich, creamy consistency that binds the cookies.
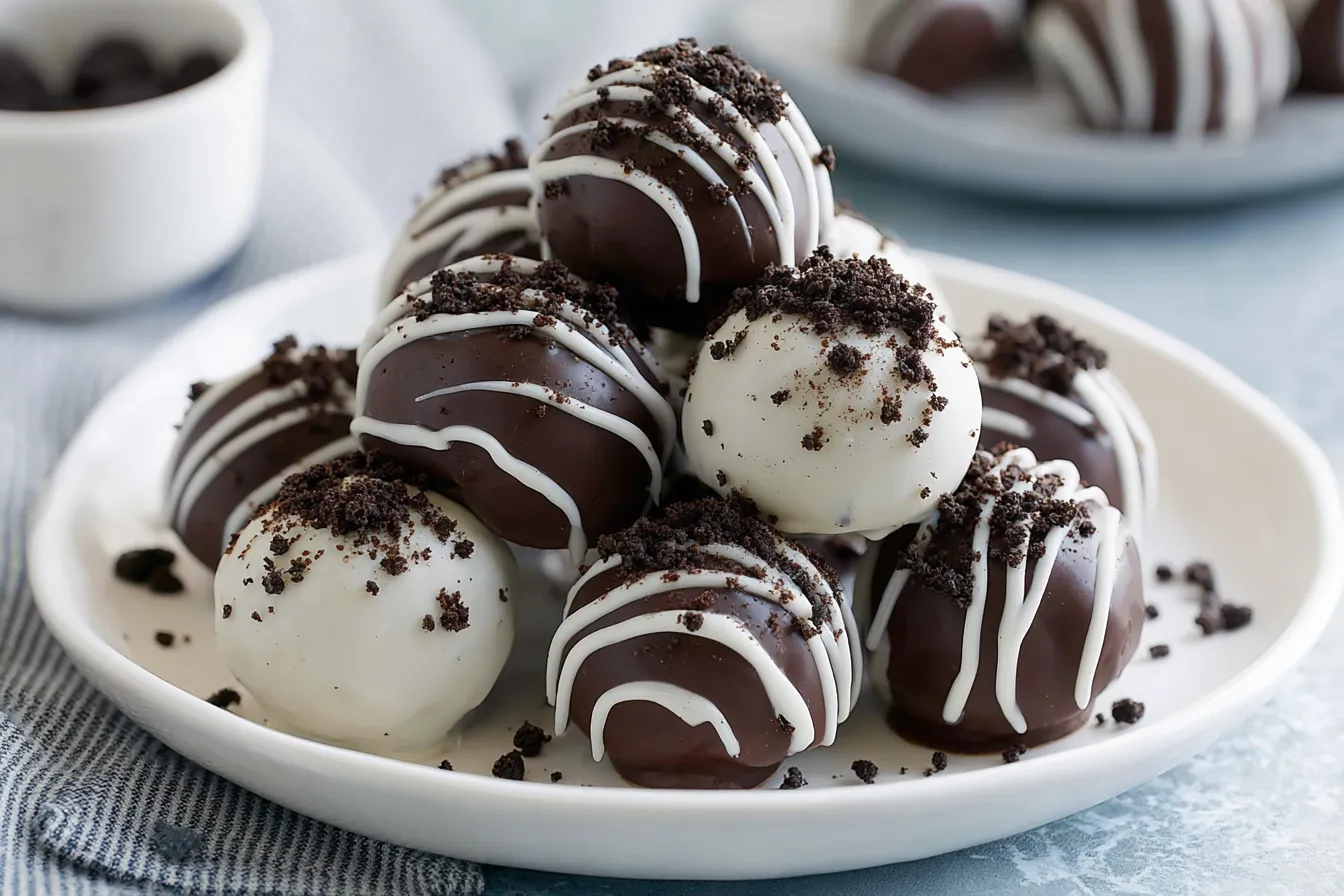
- Chocolate coating (dark or white chocolate): This gives a smooth finish and enhances the sweetness.
- Sprinkles or crushed Oreos for garnish: Adds a fun touch and textural contrast.
For individuals with dietary restrictions, consider using gluten-free Oreos or a vegan cream cheese alternative. This allows you to cater to a wider audience while maintaining flavor and delight. If you’re looking to cut down on sugar, opt for a sugar-free chocolate coating or use a mix of cocoa powder and a sweetener of your choice.
Step-by-Step Instructions
Begin by crushing the Oreo cookies into fine crumbs. You can do this by placing them in a bag and using a rolling pin, or a food processor for a quicker approach. Next, in a mixing bowl, combine the cookie crumbs with softened cream cheese. Use a spatula or your hands to blend until the mixture is thoroughly combined, resembling a dough-like consistency.
Once blended, scoop out small portions and roll them into balls, roughly 1 inch in diameter. Place these onto a baking sheet lined with parchment paper. Chill them in the refrigerator for about 30 minutes to set, making them easier to coat with chocolate. Meanwhile, melt your chocolate coating in a microwave-safe bowl in short bursts, stirring until smooth. This chocolate creates that luscious outer layer that pairs perfectly with the creamy filling.
Now comes the fun part—dip the cookie balls into the melted chocolate, ensuring they are fully coated. Use a fork to lift them out, allowing excess chocolate to drip off before placing them back on the parchment paper. For an extra pop of visual appeal, add sprinkles or a sprinkle of crushed Oreo on top while the chocolate is still wet. Allow them to set completely at room temperature or in the fridge, and your delicious Oreo balls are ready to impress!
Expert Tips for Perfect Oreo Balls
To ensure your Oreo balls turn out stunning every time, here are some expert tips:
- For a smoother texture, sift the cookie crumbs to eliminate any large bits before mixing with cream cheese.
- If your chocolate coating is too thick, add a teaspoon of vegetable oil to thin it, making for easier dipping.
- To add a creative twist, try mixing in flavored extracts like peppermint or almond for seasonal variations.
- For a more gourmet experience, drizzle contrasting chocolate (white on dark, or milk on white) over the set truffles for an elegant finish.
Storage and Substitutions
Oreo balls can be stored in an airtight container in the refrigerator for up to two weeks, ensuring freshness. If you want to prepare them in advance, they freeze remarkably well. Simply freeze the uncoated cookie balls on a baking sheet, then transfer them to a freezer-safe bag once solid. You can also dip them in chocolate later, preventing any texture loss.
If you’re looking to make this recipe your own, there are many substitutions available. Don’t love cream cheese? Use mascarpone or Greek yogurt for a lighter texture. For a nutty twist, add chopped nuts to the cookie mixture. The possibilities are endless, and adapting this recipe can cater to various tastes and preferences!
How do I make this recipe ahead of time?
You can easily prepare Oreo balls a few days in advance. Simply roll and chill them as instructed, then store them in the refrigerator until you’re ready to coat them in chocolate.
Can I use different flavors of Oreos?
Absolutely! The beauty of this recipe lies in its versatility. You can experiment with any flavor of Oreos, like mint or peanut butter, to match your taste or the season.
Why do my Oreo balls fall apart after coating?
This could be due to the mixture being too dry. Ensure your cream cheese is adequately soft and well-combined with the cookie crumbs for a cohesive texture.
Can I make these dairy-free?
Yes, using dairy-free cream cheese and vegan chocolate will make this dessert suitable for a dairy-free diet. Always check labels for hidden dairy ingredients.
What is the best way to coat the Oreo balls?
Using a fork for dipping helps in getting an even coat. For added sophistication, consider using a melted candy coating specifically designed for dipping.
Can I transport these Oreo balls easily?
To transport, place them in a flat container layered with parchment paper to keep them from sticking. They travel well, making them perfect for parties or potlucks!
As you can see, making Oreo balls is not only straightforward but also incredibly rewarding. Each bite delivers an explosion of chocolatey goodness and nostalgia, perfect for any occasion. I’d love to hear about your adventures in making these delightful treats—share your experiences in the comments below! Don’t forget to save this recipe for your next get-together or cozy night in. Happy baking!
PrintEasy Oreo Balls Recipe

Indulge in these Easy Oreo Balls Oreo Truffles a nobake dessert my kids love Quick and familytestedget the recipe and enjoy this treat today
- Prep Time: 15 minutes
- Cook Time: 1 minute
- Total Time: 30 minutes
- Yield: 24 Oreo balls
- Category: Dessert
- Cuisine: American
Ingredients
- 1 package (36 cookies) Oreo cookies, crushed
- 8 oz cream cheese, softened
- 2 cups chocolate coating (dark or white chocolate)
- Sprinkles or crushed Oreos for garnish
Instructions
- Crush the Oreo cookies into fine crumbs using a food processor or a bag and rolling pin.
- In a mixing bowl, combine the cookie crumbs with softened cream cheese until well blended.
- Scoop out small portions and roll into balls about 1 inch in diameter. Place onto a lined baking sheet.
- Chill the balls in the refrigerator for about 30 minutes.
- Melt chocolate coating in a microwave-safe bowl, stirring until smooth.
- Dip each cookie ball into the melted chocolate and place back on parchment paper.
- Sprinkle with additional toppings while the chocolate is wet.
- Allow to set completely before serving.
Notes
These delectable Oreo balls are a rich and creamy treat that combines Oreo cookies and cream cheese, coated in chocolate and perfect for any occasion.
