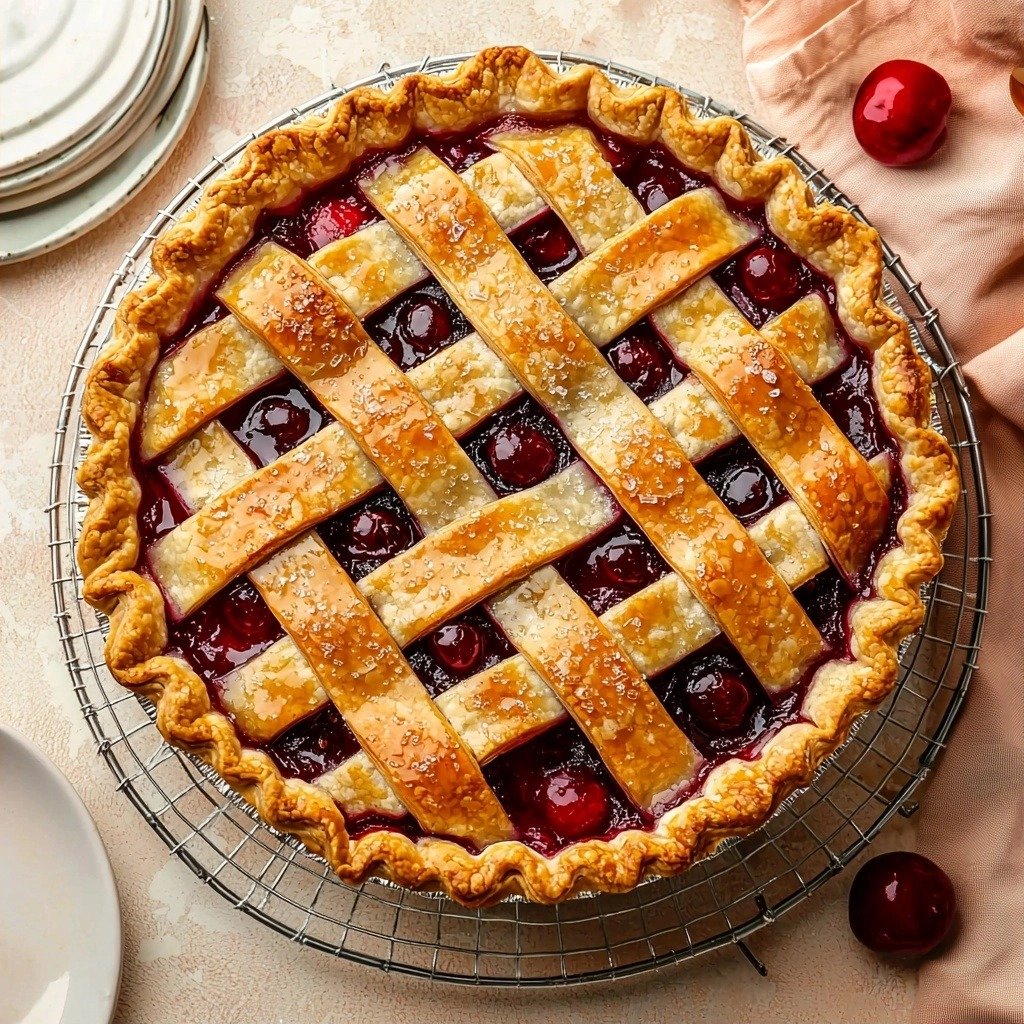
There’s something truly magical about homemade pie, isn’t there? For me, it brings back memories of summer days, fresh fruit from the market, and the heartwarming scent filling the entire house. This Homemade Cherry Pie (With Thick Filling) with Thicker Filling recipe is one of my absolute favorites because it delivers that perfect balance of sweet and tart, with a filling that’s never watery. It’s a labor of love, but oh so worth it for that first slice!
Why You’ll Love This Homemade Cherry Pie (With Thick Filling) with Thicker Filling
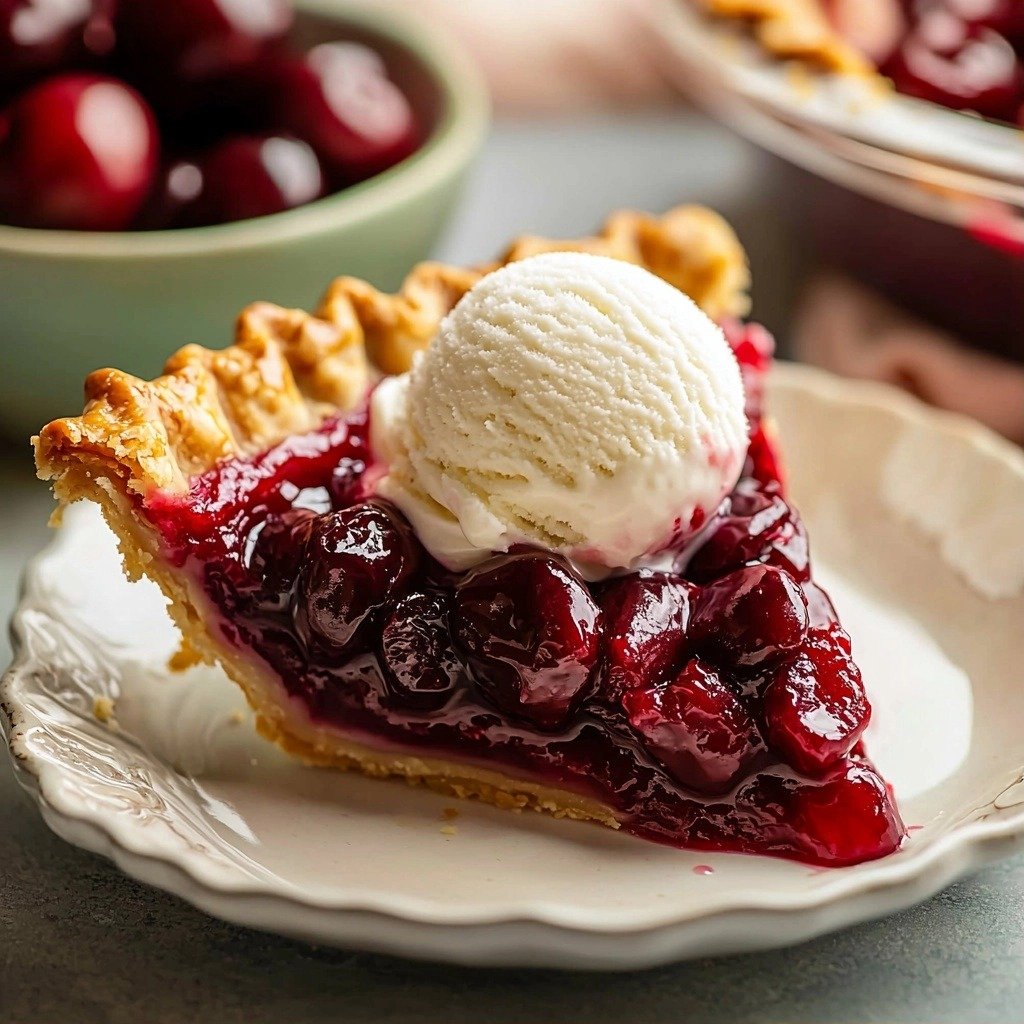
- It’s got a super thick, luscious cherry filling that won’t run all over your plate.
- The combination of sweet and tart cherries is just divine.
- It’s a classic dessert that always impresses, perfect for any occasion.
- The steps are straightforward, making it totally achievable for home bakers.
Ingredients You’ll Need
- Homemade Pie Crust: This is key for that flaky, buttery goodness. You’ll need enough for a bottom and a top crust, so plan to make a double batch or use a recipe that yields two.
- Fresh Cherries: Halved and quartered, these are the star of the show. Fresh is best for flavor and texture!
- Granulated Sugar: Sweetens the cherries just right. Adjust slightly if your cherries are extra tart or sweet.
- Cornstarch: This is our secret weapon for a thick, glorious filling. It helps absorb excess moisture.
- Lemon Juice: Brightens up the flavor of the cherries and adds a lovely tang.
- Pure Vanilla Extract & Almond Extract: These two extracts complement the cherry flavor beautifully, adding depth and warmth. Don’t skip the almond extract; it really enhances the cherry!
- Cold Unsalted Butter: Dotted over the filling, it melts into rich pockets, adding flavor and helping to thicken.
- Egg Wash (egg + milk): This gives your crust that beautiful golden-brown sheen.
- Coarse Sugar: Optional, but a sprinkle on top adds a lovely sparkle and a bit of crunch.
How to Make Homemade Cherry Pie (With Thick Filling) with Thicker Filling Step by Step
First things first, you’ll want to get your pie crust ready. Whether you’re using your favorite homemade recipe or an all-butter one, make sure it’s chilled for at least two hours. This is super important for flaky crusts, so don’t rush it!
While your dough is chilling, you’ll prepare that amazing cherry filling. Grab a big bowl and gently stir together your halved and quartered fresh cherries, sugar, cornstarch, lemon juice, vanilla, and almond extract. Give it a good mix until everything is combined. Then, pop that bowl into the fridge. This lets the flavors meld and the cherries release some of their juice.
Now, it’s time to roll out your first disc of chilled dough. Flour your work surface and roll it out to about a 12-inch circle. Carefully transfer it to your 9-inch pie dish, tucking it in smoothly. Use a slotted spoon to transfer the cherries into the crust, but hold onto that juice in the bowl – we’re going to reduce it! While the pie chills, cook that reserved juice over low heat for about 3-4 minutes until it’s slightly thickened. Cool it for a few minutes, then pour it over the cherries. Don’t worry if it thickens as it hits the cold cherries; that’s totally normal. Dot the cold butter pieces over the filling, then back to the fridge it goes while you roll out your top crust.
For the top crust, roll out your second dough disc to another 12-inch circle. You can cut strips for a lattice top or make vents if you prefer a solid top. If you’re doing a lattice, weave those strips carefully, pressing the edges to seal. Brush the top with an egg wash and sprinkle with coarse sugar if you like. Chill the pie again for 20-30 minutes while your oven preheats to 400°F (204°C). This final chill helps prevent shrinkage!
My Top Tips for Success
- I always make sure my pie dough is super cold before rolling. It makes a huge difference for flakiness.
- In my experience, using fresh cherries is non-negotiable for the best flavor and texture.
- Trust me on this one: don’t skip reducing the cherry juice. It’s the secret to that perfectly thick filling.
- Always use a pie crust shield after the first 20 minutes of baking to prevent the edges from burning.
- Cooling the pie completely for 3-4 hours is crucial. If you slice it warm, the filling will be too runny.
- A little almond extract really makes the cherry flavor pop!
Common Mistakes to Avoid
- Not chilling the pie dough enough: This can lead to a tough or crumbly crust. Always chill for at least 2 hours.
- Skipping the juice reduction step: Your filling will be watery and runny if you don’t reduce the reserved cherry juice.
- Slicing the pie too soon: The filling needs time to set properly as it cools. Patience is key!
- Overworking the pie dough: This develops the gluten too much, resulting in a tough crust. Handle the dough gently.
- Not using a pie shield: The edges of your crust can burn before the rest of the pie is cooked through.
How to Store Homemade Cherry Pie (With Thick Filling) with Thicker Filling
- Refrigerator: Cover leftovers tightly and store in the refrigerator for up to 5 days.
Frequently Asked Questions
What kind of cherries should I use?
You should use fresh cherries, specifically halved and quartered. Fresh cherries offer the best flavor and texture for this pie.
Can I use frozen cherries?
This recipe is designed for fresh cherries. If using frozen, you would need to adjust the cornstarch and cooking method significantly to account for the extra moisture, which is not covered in this recipe.
Why is my filling runny?
A runny filling usually means the cherry juice wasn’t reduced enough, or the pie wasn’t cooled completely before slicing. Make sure to follow the juice reduction step and allow ample cooling time.
How do I prevent my pie crust edges from burning?
After the first 20 minutes of baking, place a pie crust shield over the edges. This will protect them from over-browning while the rest of the pie finishes baking.
How long does homemade cherry pie last?
When stored tightly covered in the refrigerator, your Homemade Cherry Pie (With Thick Filling) with Thicker Filling will last for up to 5 days.
I truly hope you give this Homemade Cherry Pie (With Thick Filling) with Thicker Filling a try! It’s a classic for a reason, and that thick, vibrant filling is just irresistible. If you make it, please let me know how it turns out – I always love hearing from you!
PrintHomemade Cherry Pie (With Thick Filling) with Thicker Filling

A classic cherry pie with a perfectly thick, sweet-tart filling and a flaky homemade crust.
- Prep Time: 45
- Cook Time: 60
- Total Time: 305
- Yield: 8 servings
- Category: Dessert
- Method: Baking
- Cuisine: American
- Diet: Vegetarian
Ingredients
- Homemade Pie Crust or All Butter Pie Crust (both recipes make 2 crusts, 1 for bottom and 1 for top)
- 4 and 1/2 cups halved & quartered pitted fresh cherries
- 2/3 cup (135g) granulated sugar
- 1/4 cup (28g) cornstarch
- 1 Tablespoon (15ml) lemon juice
- 1 teaspoon pure vanilla extract
- 1/4 teaspoon almond extract
- 1 Tablespoon (14g) cold unsalted butter, cut into small cubes
- 1 large egg beaten with 1 Tablespoon (15ml) milk (for egg wash)
- coarse sugar for sprinkling on crust (optional)
Instructions
- Prepare either pie crust recipe through step 5.
- Chill the pie dough in the refrigerator for at least 2 hours.
- In a large bowl, stir the cherries, sugar, cornstarch, lemon juice, vanilla, and almond extract together.
- Cover the filling.
- Place the filling in the refrigerator as you roll out the pie dough.
- On a floured work surface, roll out one of the discs of chilled dough.
- Turn the dough about a quarter turn after every few rolls until you have a circle 12 inches in diameter.
- Carefully place the dough into a 9-inch pie dish.
- Tuck the dough in with your fingers, making sure it is smooth.
- Use a slotted spoon to transfer the cherries into the crust.
- Reserve the juice in the bowl.
- Refrigerate the pie, uncovered.
- Pour the leftover juice into a small saucepan.
- Cook over low heat, stirring, until juice has slightly reduced and thickened, about 3–4 minutes.
- Cool for 5 minutes.
- Pour the cooled reduced juice over cherries in filling.
- Do your best to gently toss together.
- Dot the pieces of cold butter on top of the filling.
- Place the pie in the refrigerator while you roll out the top crust.
- Remove the other disc of pie dough from the refrigerator.
- Roll the dough into a circle 12 inches in diameter.
- Cut the dough into strips using a pastry wheel, sharp knife, or pizza cutter (e.g., four strips 2 inches wide and four strips 1 inch wide).
- Carefully thread the strips over and under one another, pulling back strips as necessary to weave for a lattice.
- Press the edges of the strips into the bottom pie crust edges to seal.
- Use kitchen shears or a small paring knife to trim off excess dough.
- Flute or crimp the pie crust edges.
- Using a pastry brush, lightly brush the top and edges of the pie crust with egg wash.
- Sprinkle the top with coarse sugar, if using.
- Place the pie in the refrigerator for 20–30 minutes.
- Preheat oven to 400°F (204°C).
- Place the pie onto a large baking sheet.
- Bake for 20 minutes.
- Keeping the pie in the oven, reduce the temperature to 375°F (190°C).
- Bake for an additional 30–40 minutes or until the top crust is golden brown and the filling juices have been bubbling up around the edges or through the lattice/vents for at least 5 minutes.
- Place a pie crust shield on the crust’s edges after the first 20 minutes of bake time.
- Remove pie from the oven.
- Place on a cooling rack.
- Cool for at least 3–4 hours before slicing and serving.
Notes
Always chill your pie dough thoroughly for the flakiest crust.
Don’t skip reducing the cherry juice; it’s essential for a thick filling.
Allow the pie to cool completely for at least 3-4 hours before slicing.
Use a pie crust shield to prevent edges from burning during baking.