
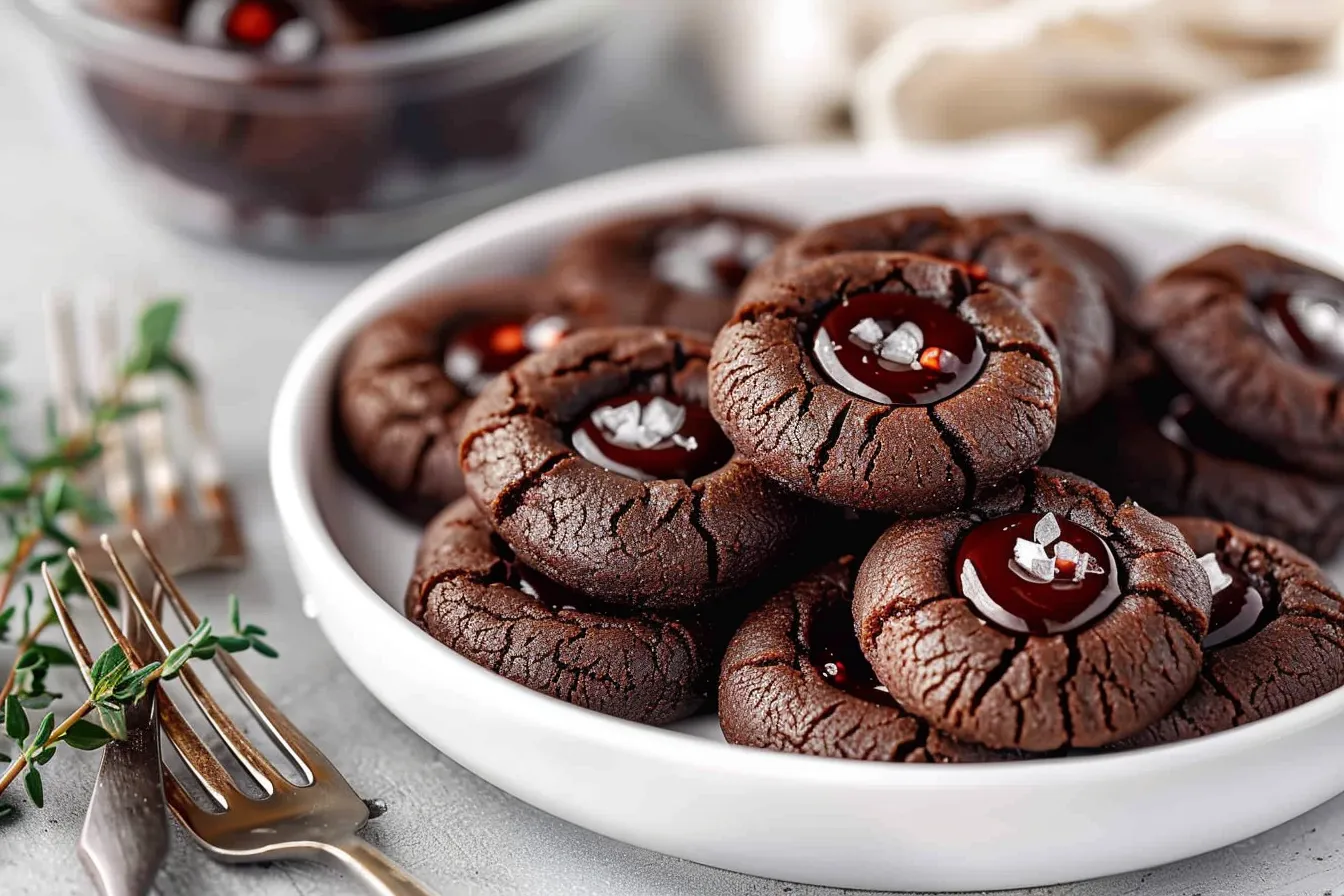
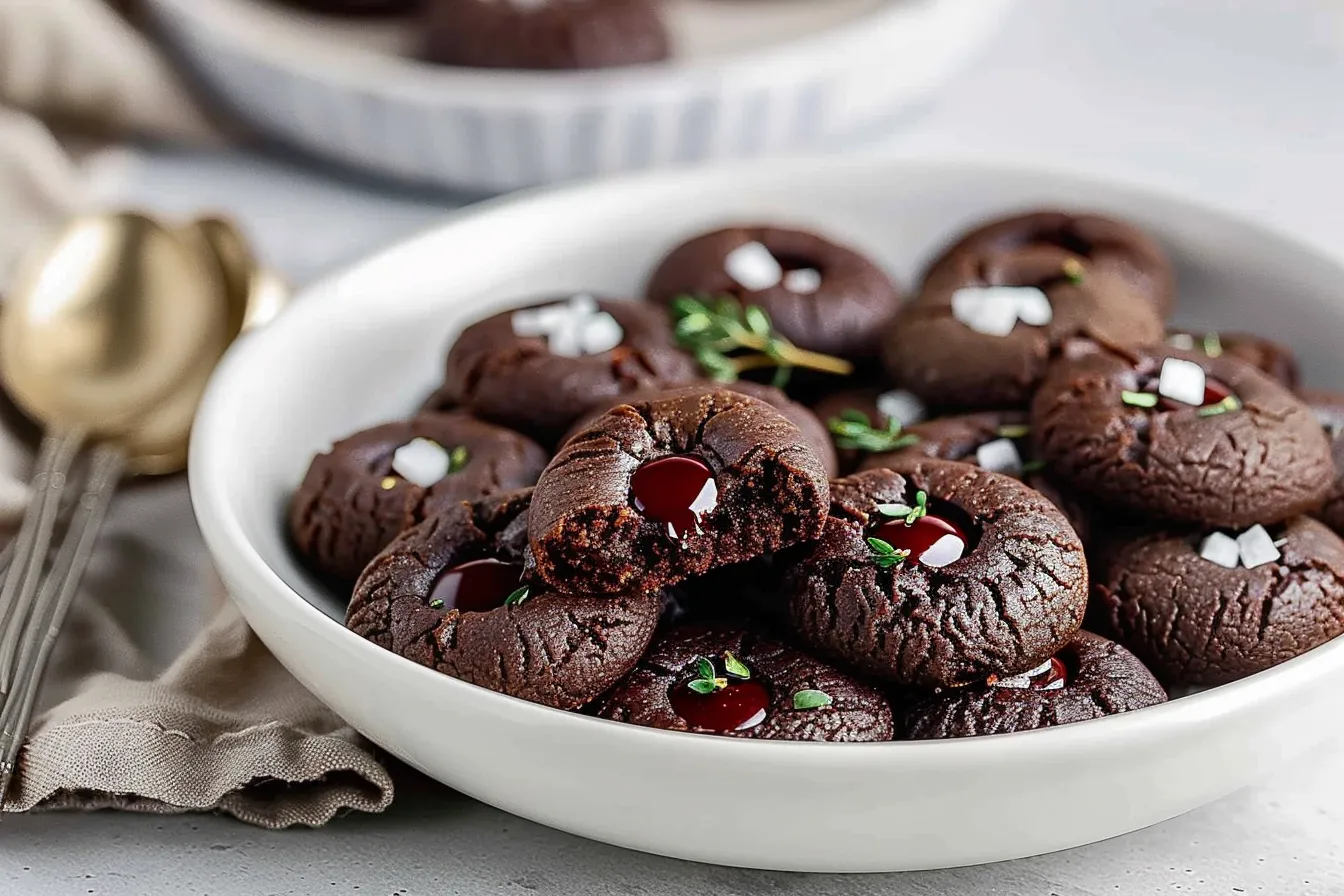
The smell of chocolate always takes me back to Saturday mornings with my grandma. She’d be in her apron, humming a hymn, and whipping up a batch of her famous chocolate chip cookies. While these aren’t exactly those (though I have that recipe too!), these Chocolate Thumbprint Cookies bring back that same cozy feeling. These little bites of heaven are perfect with a glass of milk or a cup of coffee, and they’re so easy to make, even the kids can help! I’ve made this recipe dozens of times in my Texas kitchen, tweaking it until it was just right. Get ready for a treat that’s sure to become a family favorite.
Why This Recipe Works
As a busy mom, I know that time is precious. That’s why I love these Chocolate Thumbprint Cookies! They’re:
- Quick & Easy: From start to finish, you can have these cookies ready in under an hour.
- Kid-Approved: My kids absolutely adore helping me make these, especially with the thumbprint part!
- Perfect for Sharing: They’re great for bake sales, potlucks, or just a simple treat to brighten someone’s day.
I’ve tested this recipe over and over to make sure it’s foolproof. You’ll get perfectly chewy, chocolatey cookies every single time!
Ingredients
- 1 cup (2 sticks) unsalted butter, softened
- 1 cup granulated sugar
- 1 cup packed light brown sugar
- 2 large eggs
- 1 teaspoon vanilla extract
- 2 1/4 cups all-purpose flour
- 3/4 cup unsweetened cocoa powder
- 1 teaspoon baking soda
- 1/2 teaspoon salt
- 1 cup chocolate chips, for filling (or your favorite jam)
Ingredient Notes
Let’s talk about a few key ingredients:
- Butter: Make sure your butter is softened, but not melted. It should be soft enough that you can easily press a finger into it. This is crucial for the right cookie texture.
- Cocoa Powder: I prefer using Dutch-processed cocoa powder for a richer, darker chocolate flavor, but regular unsweetened cocoa powder will work just fine.
- Chocolate Chips: Feel free to get creative here! Milk chocolate, dark chocolate, semi-sweet, even white chocolate chips can be used. Or use a dollop of your favorite jam instead!
Step-by-Step Instructions
Step 1: Cream the Butter and Sugars. In a large bowl, cream together the softened butter, granulated sugar, and brown sugar until light and fluffy. This usually takes about 3-5 minutes with an electric mixer. You want a smooth, pale mixture.
Step 2: Add Eggs and Vanilla. Beat in the eggs one at a time, then stir in the vanilla extract. Make sure each egg is fully incorporated before adding the next. This helps create a smooth batter.
Step 3: Combine Dry Ingredients. In a separate bowl, whisk together the flour, cocoa powder, baking soda, and salt. This ensures that the baking soda and salt are evenly distributed throughout the dough.
Step 4: Gradually Add Dry Ingredients to Wet Ingredients. Gradually add the dry ingredients to the wet ingredients, mixing until just combined. Be careful not to overmix, as this can result in tough cookies. The dough will be thick.
Step 5: Chill the Dough. Cover the dough and chill in the refrigerator for at least 30 minutes. This will prevent the cookies from spreading too much during baking. After testing this several times, I learned that chilling is essential!
Step 6: Preheat Oven and Prepare Baking Sheets. Preheat your oven to 350°F (175°C). Line baking sheets with parchment paper or silicone baking mats. This will prevent the cookies from sticking and make cleanup a breeze.
Step 7: Roll Dough and Make Thumbprints. Roll the dough into 1-inch balls. Place the balls on the prepared baking sheets, leaving about 2 inches between each cookie. Use your thumb or the back of a small spoon to make an indentation in the center of each cookie.
Step 8: Fill with Chocolate Chips or Jam. Fill each thumbprint with a small amount of chocolate chips or your favorite jam. Don’t overfill, or the filling will spread during baking.
Step 9: Bake. Bake for 8-10 minutes, or until the edges are set and the centers are slightly soft. The cookies will continue to firm up as they cool.
Step 10: Cool and Enjoy! Let the cookies cool on the baking sheets for a few minutes before transferring them to a wire rack to cool completely. Store in an airtight container.
Expert Tips from My Kitchen
- Don’t Overmix: Overmixing the dough can lead to tough cookies. Mix until just combined.
- Chill the Dough: This is a crucial step! Chilling the dough prevents the cookies from spreading too much and gives them a better texture.
- Soft Butter is Key: Make sure your butter is softened, not melted. Melted butter will result in flat, greasy cookies.
- Use a Cookie Scoop: For uniform cookies, use a cookie scoop to measure out the dough.
- Adjust Baking Time: Baking times may vary depending on your oven. Keep a close eye on the cookies and adjust the baking time as needed.
- Kid-Friendly Tip: Let the kids help with making the thumbprints and filling them with chocolate chips! It’s a fun and easy way to get them involved in the baking process.
Storage & Meal Prep
These Chocolate Thumbprint Cookies are perfect for making ahead or storing for later!
- Storage: Store the cooled cookies in an airtight container at room temperature for up to 5 days.
- Freezing: You can freeze the baked cookies for up to 2 months. Let them thaw completely before serving.
- Make-Ahead: The dough can be made ahead of time and stored in the refrigerator for up to 2 days. You can also freeze the dough for up to 2 months. Let the dough thaw completely before rolling and baking.
Substitutions & Variations
Want to mix things up or have dietary restrictions? Here are a few substitutions and variations to try:
- Gluten-Free: Use a gluten-free all-purpose flour blend in place of regular all-purpose flour. I haven’t personally tested this, but many readers have had success with it!
- Dairy-Free: Use a dairy-free butter alternative in place of regular butter. Make sure to choose one that is specifically designed for baking.
- Different Fillings: Get creative with the fillings! Try using different flavors of jam, peanut butter, Nutella, or even caramel.
- Seasonal Twists: Add a sprinkle of cinnamon or nutmeg to the dough for a cozy fall flavor. For the holidays, try adding a few drops of peppermint extract.
Frequently Asked Questions
Can I make this ahead of time?
Absolutely! The dough can be made up to 2 days in advance and stored in the refrigerator. Just let it sit at room temperature for about 15 minutes before rolling into balls.
How do I know when the cookies are done?
The cookies are done when the edges are set and the centers are slightly soft. They will continue to firm up as they cool. Don’t overbake them, or they will be dry.
Can I use a different type of chocolate chip?
Of course! Feel free to use any type of chocolate chip you like, such as milk chocolate, dark chocolate, or white chocolate. You can even use chopped nuts or dried fruit.
How do I store the cookies?
Store the cooled cookies in an airtight container at room temperature for up to 5 days. They can also be frozen for up to 2 months.
Are these cookies kid-friendly?
Yes! My kids love these cookies. They enjoy helping me make them, especially with the thumbprint part.
These Chocolate Thumbprint Cookies are more than just a dessert; they’re a little slice of happiness. They’re easy to make, fun for the whole family, and absolutely delicious. They bring back memories of my grandma’s kitchen and create new ones with my own kids. I hope you’ll give this recipe a try and share your results in the comments below. And be sure to check out my other family favorite recipes on FamiliesRecipes.com, or sign up for our newsletter to get new recipes delivered straight to your inbox. Happy baking, y’all! Remember to use #FamiliesRecipes when you share your creations, I’d love to see them!
PrintChocolate Thumbprint Cookies

Bake easy Chocolate Thumbprint Cookies This familyapproved recipe tested in my Texas kitchen is so delicious my kids love this Get the recipe
- Prep Time: 15 minutes
- Cook Time: 10 minutes
- Total Time: 55 minutes
- Yield: About 24 cookies
- Category: Cookie
- Cuisine: American
Ingredients
- 1 cup (2 sticks) unsalted butter, softened
- 1 cup granulated sugar
- 1 cup packed light brown sugar
- 2 large eggs
- 1 teaspoon vanilla extract
- 2 1/4 cups all-purpose flour
- 3/4 cup unsweetened cocoa powder
- 1 teaspoon baking soda
- 1/2 teaspoon salt
- 1 cup chocolate chips, for filling (or your favorite jam)
Instructions
- Cream the Butter and Sugars: In a large bowl, cream together the softened butter, granulated sugar, and brown sugar until light and fluffy.
- Add Eggs and Vanilla: Beat in the eggs one at a time, then stir in the vanilla extract.
- Combine Dry Ingredients: In a separate bowl, whisk together the flour, cocoa powder, baking soda, and salt.
- Gradually Add Dry Ingredients to Wet Ingredients: Gradually add the dry ingredients to the wet ingredients, mixing until just combined.
- Chill the Dough: Cover the dough and chill in the refrigerator for at least 30 minutes.
- Preheat Oven and Prepare Baking Sheets: Preheat your oven to 350°F (175°C). Line baking sheets with parchment paper or silicone baking mats.
- Roll Dough and Make Thumbprints: Roll the dough into 1-inch balls. Place the balls on the prepared baking sheets, leaving about 2 inches between each cookie. Use your thumb or the back of a small spoon to make an indentation in the center of each cookie.
- Fill with Chocolate Chips or Jam: Fill each thumbprint with a small amount of chocolate chips or your favorite jam.
- Bake: Bake for 8-10 minutes, or until the edges are set and the centers are slightly soft.
- Cool and Enjoy! Let the cookies cool on the baking sheets for a few minutes before transferring them to a wire rack to cool completely. Store in an airtight container.
Notes
These Chocolate Thumbprint Cookies bring back cozy memories. Easy to make and perfect with milk or coffee, even kids can help! Chewy, chocolatey cookies every time.
