
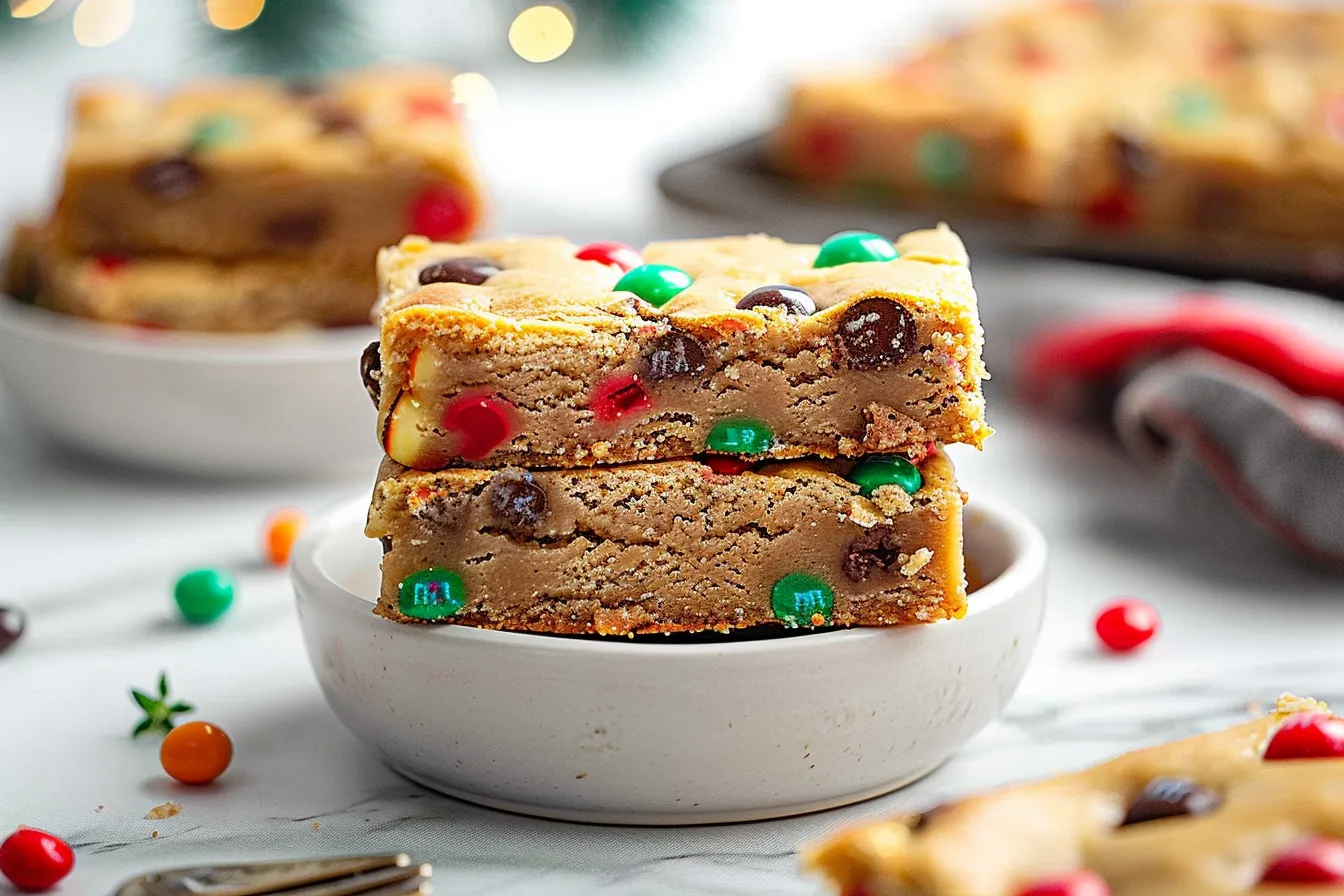
The smell of butter and sugar, that warm, almost-caramelized scent, is one of my favorite things about the holidays. And when you add in the bright, festive colors of Christmas M&Ms? Well, that’s just pure magic. These Christmas M&M cookie bars are a staple in my Texas kitchen this time of year. My kids, bless their hearts, start asking for them around Thanksgiving! I’ve made this recipe countless times, tweaking it until it’s just perfect: chewy, soft, and bursting with chocolatey goodness. You’re going to love how easy these are to throw together, and they’re always a hit at parties. I promise you’ll have a batch of irresistible Christmas cheer ready in no time!
Why This Recipe Works
As a busy mom, I need recipes that are quick, easy, and reliable. These Christmas M&M cookie bars check all the boxes! Here’s why they’re perfect for your family this holiday season:
- Super Quick: From start to finish, these bars are ready in under an hour.
- Kid-Approved: My kids devour these! They love helping me decorate with the M&Ms.
- Make-Ahead Friendly: You can easily bake these bars a day or two in advance, making them perfect for holiday gatherings.
- Simple Ingredients: No fancy ingredients required! You probably have most of these in your pantry already.
Ingredients
- 1 cup (2 sticks) unsalted butter, softened
- ¾ cup granulated sugar
- ¾ cup packed light brown sugar
- 2 large eggs
- 1 teaspoon vanilla extract
- 2 ¼ cups all-purpose flour
- 1 teaspoon baking soda
- 1 teaspoon salt
- 2 cups Christmas M&Ms, divided
Ingredient Notes
Butter: Make sure your butter is softened, but not melted. It should be soft enough that you can easily press a finger into it. Using melted butter will change the texture of the bars.
Sugars: The combination of granulated and brown sugar creates the perfect chewy texture. The brown sugar also adds a touch of molasses flavor.
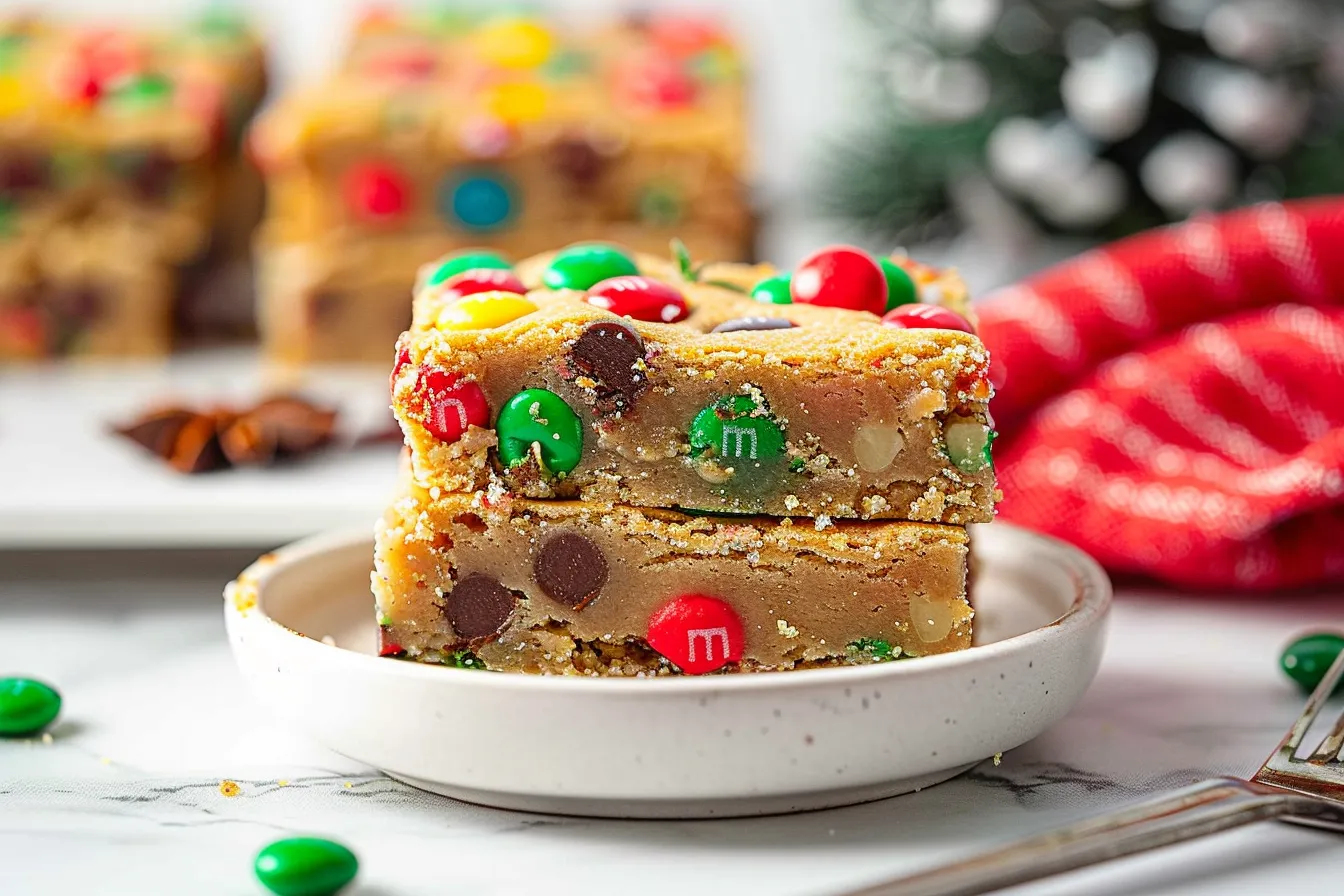
M&Ms: Use Christmas-colored M&Ms for a festive touch. You can also use regular M&Ms if you prefer or if you’re making these bars at another time of year. I’ve found that using a mix of mini and regular sized M&Ms adds a nice visual appeal.
Flour: Be sure to measure your flour correctly. Spoon it into your measuring cup and level it off with a knife. Adding too much flour can make the bars dry.
Step-by-Step Instructions
Step 1: Preheat and Prep. Preheat your oven to 350°F (175°C). Grease a 9×13 inch baking pan and line it with parchment paper, leaving an overhang on the sides. This makes it easy to lift the bars out after baking.
Step 2: Cream Butter and Sugars. In a large bowl, cream together the softened butter, granulated sugar, and brown sugar until light and fluffy. This usually takes about 3-5 minutes with an electric mixer. The mixture should be noticeably lighter in color and texture.
Step 3: Add Eggs and Vanilla. Beat in the eggs one at a time, then stir in the vanilla extract. Make sure each egg is fully incorporated before adding the next. The vanilla enhances the overall flavor of the bars.
Step 4: Combine Dry Ingredients. In a separate bowl, whisk together the all-purpose flour, baking soda, and salt. Whisking ensures that the baking soda and salt are evenly distributed throughout the flour.
Step 5: Gradually Add Dry Ingredients to Wet Ingredients. Gradually add the dry ingredients to the wet ingredients, mixing until just combined. Be careful not to overmix. Overmixing can develop the gluten in the flour, resulting in tough bars.
Step 6: Stir in M&Ms. Stir in 1 ½ cups of the Christmas M&Ms. Reserve the remaining ½ cup for topping the bars before baking. I like to gently fold them in so they don’t break apart.
Step 7: Press into Pan. Press the dough evenly into the prepared baking pan. I find it easiest to use my hands or the back of a spatula to spread the dough. Make sure it’s even for uniform baking.
Step 8: Top with M&Ms. Sprinkle the remaining ½ cup of M&Ms evenly over the top of the dough. Gently press them into the dough so they adhere while baking.
Step 9: Bake. Bake for 25-30 minutes, or until the edges are golden brown and a toothpick inserted into the center comes out with moist crumbs attached. After testing this several times, I learned that 27 minutes is the sweet spot in my oven for perfectly chewy bars.
Step 10: Cool and Cut. Let the bars cool completely in the pan before lifting them out using the parchment paper overhang. Cut into squares and serve. Patience is key here – letting them cool completely makes for cleaner cuts.
Expert Tips from My Kitchen
- Don’t Overbake: Overbaked bars will be dry and crumbly. Err on the side of slightly underbaked for the best chewy texture.
- Room Temperature Ingredients: Using room temperature butter and eggs will help the ingredients combine more easily and create a smoother batter.
- Chill the Dough: For even thicker bars, chill the dough for 30 minutes before pressing it into the pan.
- M&M Placement: If you want the M&Ms to look extra pretty, reserve some and press them into the bars halfway through baking.
- Kid-Friendly Fun: Let your kids help decorate the bars with the M&Ms! It’s a fun and easy way to get them involved in the kitchen.
- Crisp Edges: If you like crisp edges, use a metal baking pan. For softer edges, use a glass baking pan.
- Even Slices: For perfectly even slices, use a large, sharp knife and wipe it clean between each cut.
Storage & Meal Prep
These Christmas M&M cookie bars are perfect for making ahead and storing. To store, place the cooled bars in an airtight container at room temperature for up to 3 days. You can also freeze them for up to 2 months. To freeze, wrap the bars individually in plastic wrap and then place them in a freezer-safe bag or container.
For meal prep, you can make the dough ahead of time and store it in the refrigerator for up to 2 days. When you’re ready to bake, let the dough soften slightly at room temperature before pressing it into the pan.
Substitutions & Variations
Want to switch things up? Here are a few substitutions and variations you can try:
- Gluten-Free: Use a gluten-free all-purpose flour blend. I’ve had good results with King Arthur Measure for Measure Gluten-Free Flour.
- Dairy-Free: Use a dairy-free butter substitute and dairy-free chocolate chips.
- Different Candies: Use other holiday-themed candies, such as peanut M&Ms, chopped peppermint bark, or sprinkles.
- Chocolate Chips: Add a cup of chocolate chips (milk chocolate, dark chocolate, or white chocolate) for an extra chocolatey treat.
- Nuts: Stir in ½ cup of chopped nuts, such as pecans, walnuts, or almonds, for added flavor and texture. I personally haven’t tried adding nuts, but I think pecans would be a delicious addition.
Frequently Asked Questions
Can I make these cookie bars ahead of time?
Absolutely! These bars are great for making ahead. You can bake them a day or two in advance and store them in an airtight container at room temperature. They also freeze well, so you can make them even further in advance and thaw them when you’re ready to serve.
How do I know when the cookie bars are done?
The bars are done when the edges are golden brown and a toothpick inserted into the center comes out with moist crumbs attached. Be careful not to overbake them, or they will be dry.
Can I use a different size pan?
While I recommend a 9×13 inch pan for the best results, you can use an 8×8 inch pan if you prefer thicker bars. Keep in mind that the baking time may need to be adjusted.
What if I don’t have Christmas M&Ms?
No problem! You can use regular M&Ms or any other type of candy you like. Peanut M&Ms, chocolate chips, or even chopped nuts would be delicious.
Are these cookie bars kid-friendly?
Yes, these bars are very kid-friendly! My kids love them, and they enjoy helping me make them. They’re a perfect treat for holiday parties or family gatherings.
PrintChristmas MM Cookie Bars
Bake festive Christmas MM Cookie Bars This easy quick recipe is familyapproved tested in my Texas kitchen My kids love this Get the recipe
- Prep Time: 15 minutes
- Cook Time: 30 minutes
- Total Time: 45 minutes
- Yield: 24
- Category: Dessert
- Cuisine: American
Ingredients
- 1 cup (2 sticks) unsalted butter, softened
- ¾ cup granulated sugar
- ¾ cup packed light brown sugar
- 2 large eggs
- 1 teaspoon vanilla extract
- 2 ¼ cups all-purpose flour
- 1 teaspoon baking soda
- 1 teaspoon salt
- 2 cups Christmas M&Ms, divided
Instructions
- Preheat your oven to 350°F (175°C). Grease a 9×13 inch baking pan and line it with parchment paper, leaving an overhang on the sides.
- In a large bowl, cream together the softened butter, granulated sugar, and brown sugar until light and fluffy.
- Beat in the eggs one at a time, then stir in the vanilla extract.
- In a separate bowl, whisk together the all-purpose flour, baking soda, and salt.
- Gradually add the dry ingredients to the wet ingredients, mixing until just combined.
- Stir in 1 ½ cups of the Christmas M&Ms. Reserve the remaining ½ cup for topping the bars before baking.
- Press the dough evenly into the prepared baking pan.
- Sprinkle the remaining ½ cup of M&Ms evenly over the top of the dough. Gently press them into the dough.
- Bake for 25-30 minutes, or until the edges are golden brown and a toothpick inserted into the center comes out with moist crumbs attached.
- Let the bars cool completely in the pan before lifting them out using the parchment paper overhang. Cut into squares and serve.
Notes
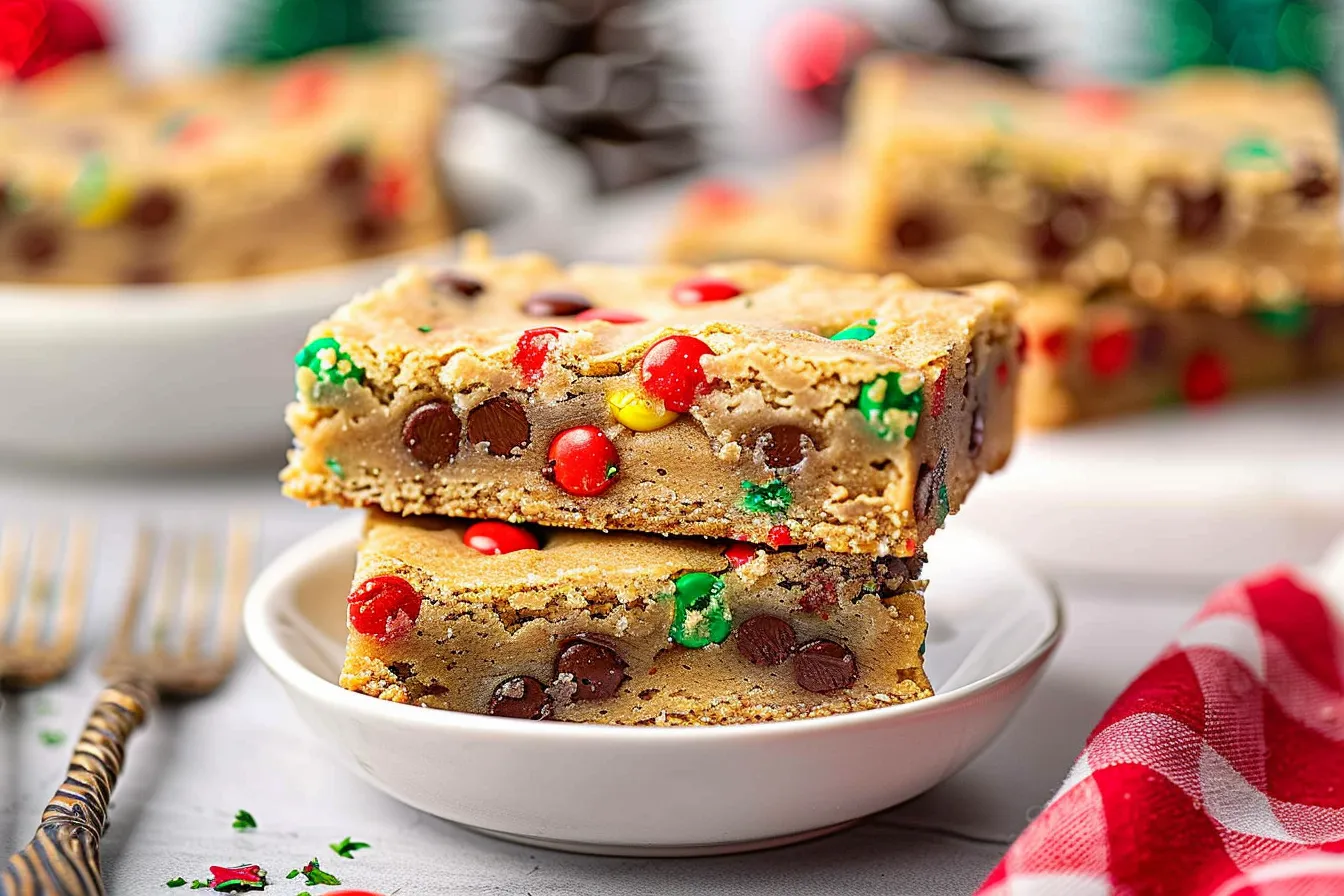
Chewy, soft, and bursting with chocolatey goodness, these Christmas M&M cookie bars are easy to make and always a hit at parties. Perfect for a festive holiday treat!
