
The moment those autumn leaves start to dance to the ground and a hint of chill fills the air, there’s almost nothing as delightful as the warm aroma of citrus wafting through your kitchen. Imagine this: you whip out bright, sun-kissed oranges, transforming them from juicy fruit into beautiful, dried slices that not only capture the essence of fall but also double as stunning holiday ornaments or garnish for festive cocktails. The vibrant hues and sweetly tangy scent possess a magical quality, harnessing memories of long-lost summer days. Isn’t that rich promise alone enough to compel you to embark on this small kitchen adventure? Let’s turn those ordinary oranges into extraordinary slices that will invigorate your spirit this season!
Growing up, my grandmother always dried orange slices during the fall. The process seemed almost mystical, as she turned ordinary fruit into delicate, fragrant decor. Years later and equipped with my own kitchen, I decided to recreate that experience. The fragrant oranges brought me back, evoking laughter and heartwarming conversations shared around her dining table. With the trend of home baking continuing to surge, especially in 2023, I found countless recipes online—but nothing compared to my cherished memories. Over the years, I’ve perfected this method to ensure fluffy, perfectly dried orange slices ready to adorn everything from winter wreaths to morning muffins. Let’s explore how you can fill your home with this zingy nostalgia.
Fresh Oranges
- Choose firm, vibrant oranges for maximum flavor and natural oils.
- These will balance sweetness and acidity, ensuring a delightful snack.
- For alternatives, try grapefruits or lemons for a zestier twist.
- Blood oranges add gorgeous color—perfect for a stunning visual effect.
Step-by-Step Instructions
Getting started is simple. First, preheat your oven to a gentle 200°F (93°C). This low temperature helps ensure that the oranges dry out slowly, enhancing their flavor and color without burning them.
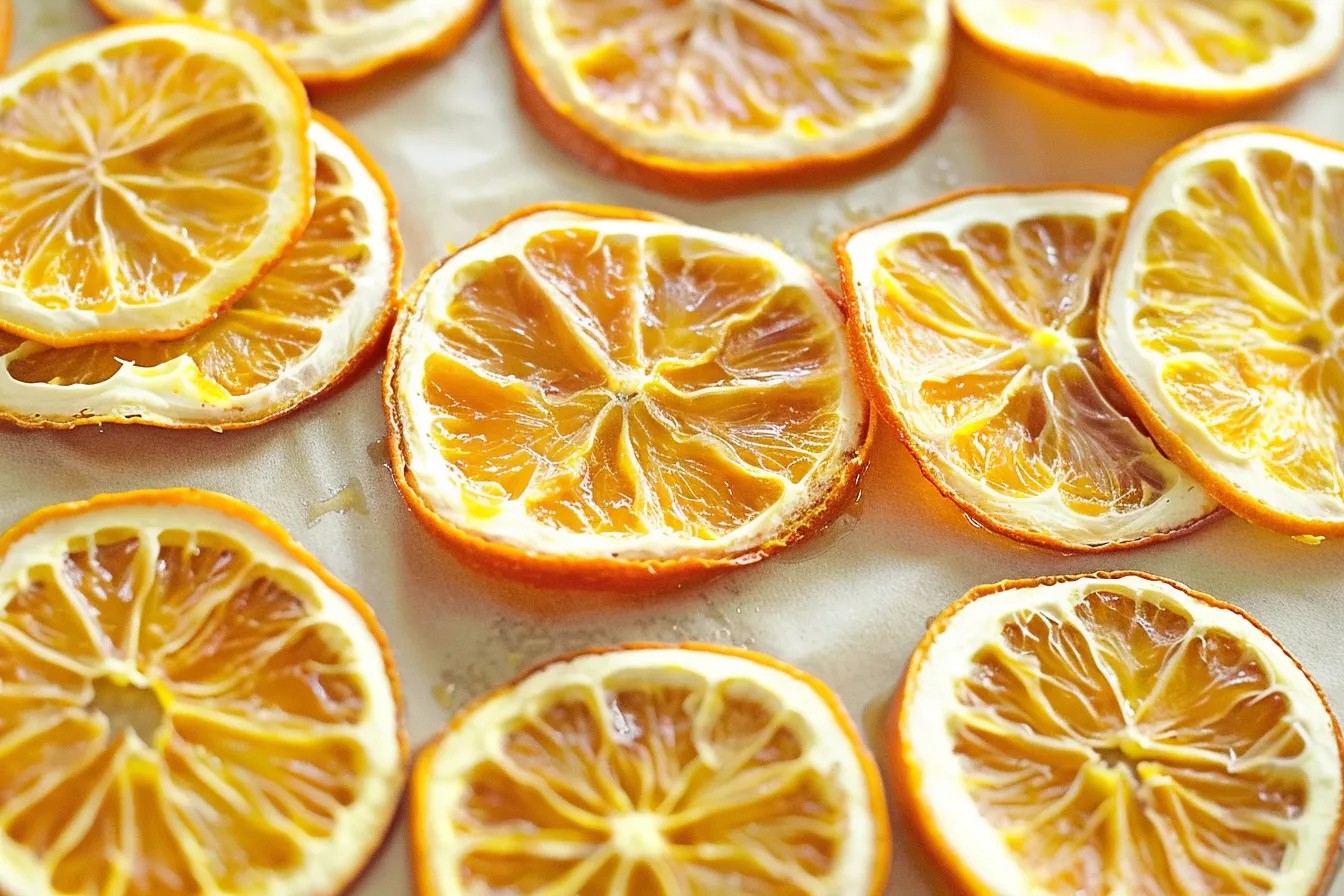
Slice your oranges into even 1/4-inch rounds. The thinner the slices, the quicker they’ll dry, but thicker slices give a chewier texture. Lay the slices out on a parchment paper-lined baking sheet, making sure they’re not touching each other, to allow for proper air circulation.
Sprinkle them lightly with a bit of sugar if you want to enhance their sweetness, particularly if your oranges are on the tart side. Pop the baking sheet in the oven and set a timer for about two hours. After the first hour, flip the slices over to ensure they dry evenly.
Once the initial baking time is up, start checking every 15 minutes. Your goal is to achieve dehydrated slices that are pliable but not sticky. They should feel leathery and slightly crisp on the edges. Depending on thickness, some slices might take up to four hours.
Once they’re done, let them cool completely before using or storing. Their essential oils will infuse the air with an irresistible fragrance, making it hard to resist snacking on them!
Expert Tips
To ensure you achieve the best results, keep these pro tips in mind:
- If you want even more flavor, try adding a few spices like cinnamon or clove to the sugar.
- Experiment with infusion by soaking slices in a mixture of juice and spirits before drying—think orange slices soaked in rum or whiskey for an adult twist.
- If your oranges are juicy, opt for a longer drying time to ensure all the moisture is eliminated.
- A food dehydrator works as an alternative, but drying in the oven tends to yield a more concentrated flavor.
- If you’re facing thick skins on your oranges, consider blanching them briefly in boiling water to soften the exterior, making slicing easier.
Storage & Substitutions
Store your dried orange slices in an airtight container in a cool, dark place. They can last up to a year if kept dry. If you find yourself with more than you planned, freezing them is an option—just ensure they’re in a sealed bag to protect against moisture. You can also repurpose dried orange slices into teas or as an aromatic addition to potpourri to keep your home festive.
If you want to get creative, substitute using other fruits such as apples, pears, or pears. Just keep in mind that drying times may vary. Dried fruits offer a nutritious snack, especially when you’re craving something sweet but healthy.
How do I make this recipe ahead?
You can dry orange slices days or even weeks in advance! Store them in an airtight container, and when you’re ready to use them, just pull them out and enjoy.
Can I use other types of oranges?
Absolutely! While navel oranges are the most common choice, feel free to experiment with Meyer lemons, grapefruit, or unique varieties like blood oranges for added color and flavor. Just remember that different fruits may have varying drying times.
Can I add flavor to the orange slices?
Yes! Consider infusing them with spices by sprinkling cinnamon or nutmeg before drying. Additionally, soaking them briefly in a simple syrup or citrus juice blend can enhance their sweetness and flavor profile.
Why are my orange slices sticky after drying?
Sticky slices usually mean they haven’t dried long enough. Make sure to check them frequently towards the end of the drying process and continue until they’re fully dehydrated for the best texture.
Will dried orange slices lose their color?
While some natural fading can occur over time, keeping them in a dark, cool place and using them relatively quickly can help maintain their vibrant hues. For a gorgeous presentation, consider storing them in clear containers.
What can I use dried orange slices for?
Dried orange slices are versatile! Use them as cocktail garnishes, in baking for added citrus flavor, or thread them onto a string for beautiful seasonal decorations. They also make lovely gifts!
As we embrace these cozy months ahead, let the vibrant energy of dried orange slices inspire your kitchen endeavors. One bite evokes warmth and nostalgia, drawing you closer to the people and memories that matter most. Your kitchen creations can become both delicious and beautiful, and I’d love to hear about your adventures with this simple yet delightful recipe. Save this for the next time you need a creative kitchen project, and feel free to share your thoughts in the comments! Happy baking!
PrintEasy How To Dry Orange Slices

Master the art of drying orange slices in the oven with this easy familyapproved method tested in my Texas kitchen Get the recipe and enjoy
- Prep Time: 10 minutes
- Cook Time: 240 minutes
- Total Time: 250 minutes
- Yield: Approximately 20 slices
- Category: Dessert
- Cuisine: American
Ingredients
- 4 medium-sized oranges
- 1 tablespoon of sugar (optional)
- Spices such as cinnamon or clove (optional)
Instructions
- Preheat your oven to a gentle 200°F (93°C).
- Slice your oranges into even 1/4-inch rounds and lay them out on a parchment paper-lined baking sheet.
- Sprinkle the slices lightly with sugar if desired.
- Place the baking sheet in the oven and set a timer for about two hours. Flip the slices after the first hour.
- Check the orange slices every 15 minutes after the initial baking time.
- Let the slices cool completely before using or storing.
Notes
Learn how to dry orange slices in the oven, creating beautiful, fragrant decor and snacks that capture the essence of autumn.
