
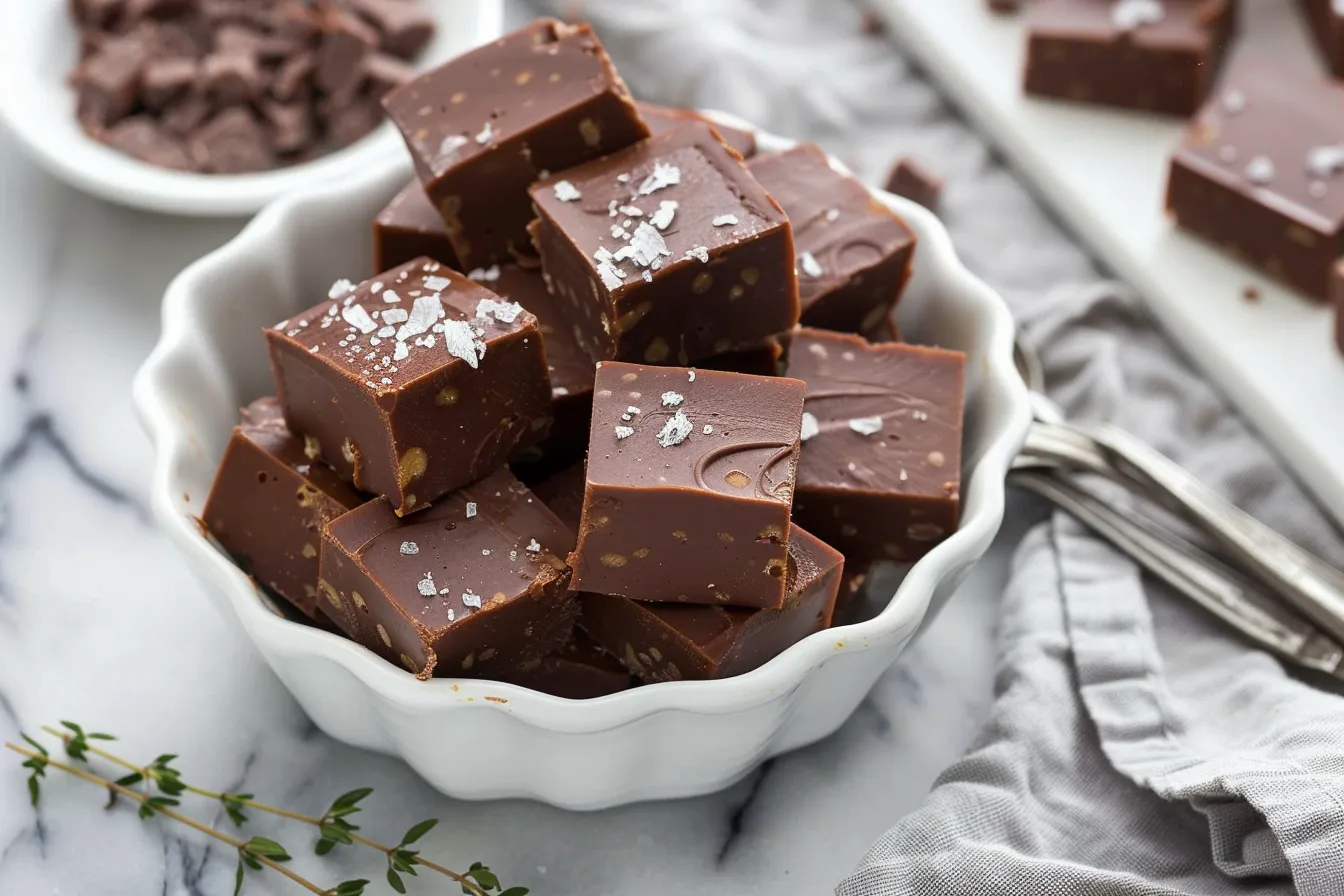
The smell of chocolate and melted butter always brings back memories of Christmas at my Grandma’s house. She made the most incredible fudge, and I’ve been trying to recreate it for years. After countless attempts, I finally nailed an easy fudge recipe that’s perfect for busy weeknights or holiday gatherings. The best part? My kids, bless their hearts, devour it faster than I can make it. Whether you’re a seasoned baker or just starting out, this recipe promises creamy, decadent fudge every single time. You’ll get a simple, foolproof fudge that’s ready in minutes, no candy thermometer required!
Why This Recipe Works
This fudge recipe is a lifesaver, especially when you need a quick and easy dessert. It’s perfect for those times when you want something sweet without spending hours in the kitchen. Here’s why it’s a winner:
- Quick & Easy: It only takes a few minutes to prepare, and it sets up beautifully in the fridge.
- Kid-Approved: My kids can’t get enough of it, and it’s a great way to get them involved in the kitchen.
- No Candy Thermometer Needed: This recipe is foolproof, even if you don’t have a candy thermometer.
Ingredients
- 2 cups granulated sugar
- ¾ cup unsweetened cocoa powder
- ½ cup (1 stick) unsalted butter, softened
- ½ cup milk
- 1 teaspoon vanilla extract
- Pinch of salt
Ingredient Notes
Let’s break down the ingredients a bit so you know why they’re important, and what you can swap if you need to!
- Cocoa Powder: I prefer using Dutch-processed cocoa for a richer, smoother flavor, but regular unsweetened cocoa works just fine. The cocoa powder really gives it that deep chocolate flavor we all crave.
- Butter: Real butter is key for that creamy texture. Don’t skimp on the butter! I always use unsalted so I can control the salt level, but salted works too, just omit the additional pinch of salt.
- Milk: Whole milk creates the richest fudge, but you can substitute with 2% milk. I haven’t tested it with non-dairy alternatives like almond milk, so I can’t vouch for the results.
- Vanilla Extract: A good quality vanilla extract enhances the overall flavor. Don’t use imitation vanilla, it just doesn’t have the same oomph!
Step-by-Step Instructions
Follow these simple steps to create delicious fudge that will impress everyone!
- Step 1: Combine Ingredients: In a medium saucepan, combine the sugar, cocoa powder, butter, and milk. Stir well to ensure there are no lumps of cocoa powder clinging to the sides.
- Step 2: Cook the Mixture: Place the saucepan over medium heat and bring to a rolling boil, stirring constantly. It’s important to keep stirring so the fudge doesn’t stick to the bottom and burn.
- Step 3: Boil and Stir: Continue boiling for exactly 1 minute, still stirring constantly. Set a timer! This is crucial for achieving the right consistency. After testing this several times, I learned that over-boiling leads to a grainy texture, and under-boiling results in fudge that doesn’t set properly.
- Step 4: Remove from Heat: Remove the saucepan from the heat and stir in the vanilla extract and salt. The mixture will be smooth and glossy at this point, smelling absolutely divine.
- Step 5: Beat Until Thickened: Using a wooden spoon or a sturdy spatula, beat the fudge mixture vigorously until it starts to thicken and loses its glossy sheen. This usually takes about 2-3 minutes. It’s quite a workout for your arm, but trust me, it’s worth it!
- Step 6: Pour and Chill: Pour the fudge into the prepared pan and spread it evenly. Place the pan in the refrigerator for at least 2 hours, or until the fudge is firm. I usually let it chill overnight for the best results.
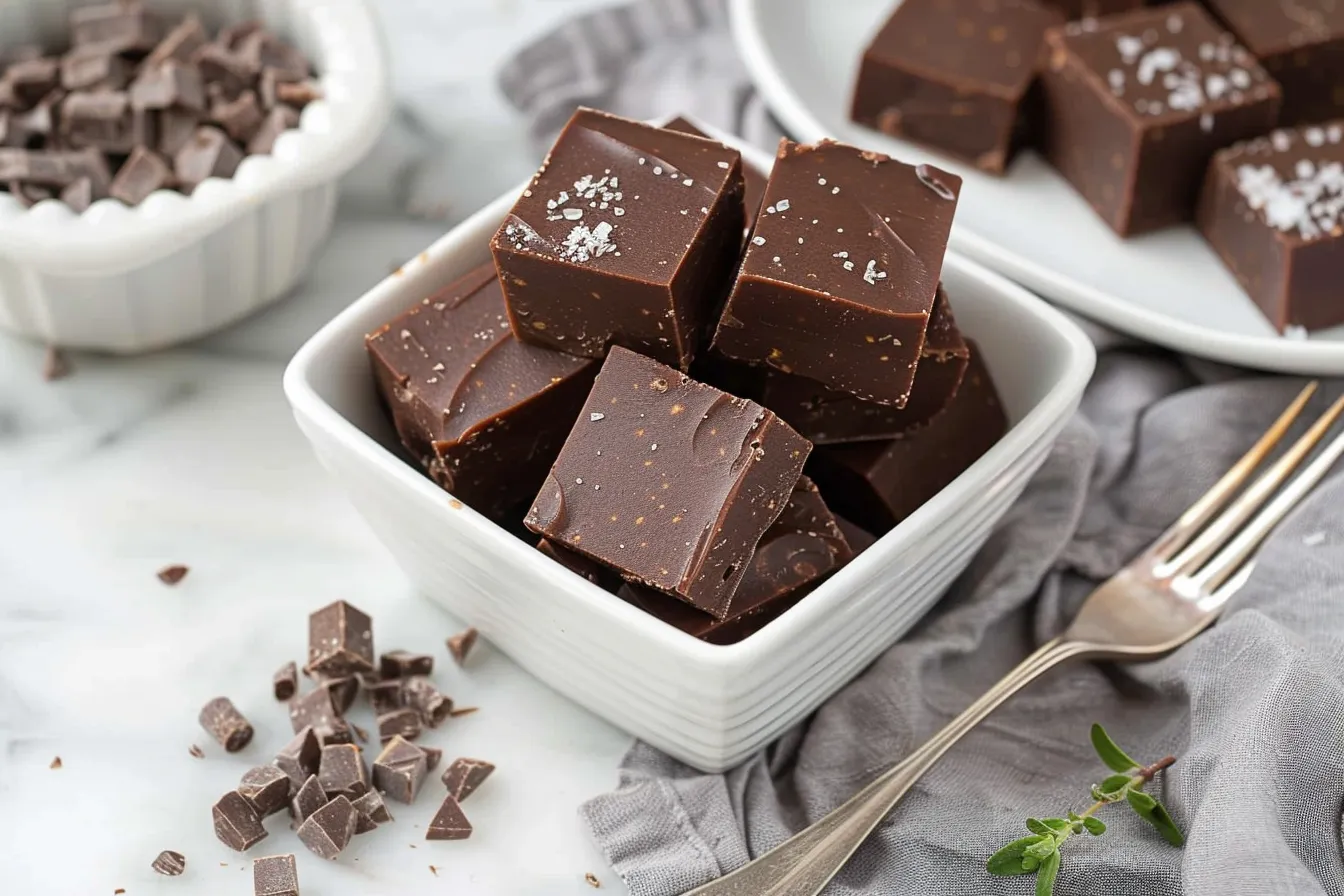
- Step 7: Cut and Serve: Once the fudge is firm, remove it from the pan and cut it into squares. Serve and enjoy! My kids love helping me cut the fudge (and sneaking a few bites along the way!).
Expert Tips from My Kitchen
Here are a few tips I’ve learned from making this fudge recipe time and time again:
- Don’t Overcook: Overcooking the fudge will result in a dry, crumbly texture. Stick to the 1-minute boiling time.
- Use a Good Pan: A metal pan conducts heat evenly, which helps the fudge set properly. Glass pans can also be used, but may require a slightly longer chilling time.
- Prevent Sticking: Ensure your pan is well-greased or lined with parchment paper to prevent the fudge from sticking. Trust me, this will save you a lot of frustration when it’s time to cut it!
- Add Nuts or Sprinkles: For extra flavor and texture, stir in chopped nuts (like pecans or walnuts) or sprinkles after beating the mixture.
- Adjust Sweetness: If you prefer a less sweet fudge, reduce the amount of sugar by ¼ cup.
- Level it out: Quickly tap the bottom of the pan on the counter to level out the fudge so it is a smooth finish.
Storage & Meal Prep
This fudge is perfect for making ahead and storing for later. Here’s how:
- Storage: Store the fudge in an airtight container at room temperature for up to 1 week, or in the refrigerator for up to 2 weeks.
- Freezing: For longer storage, wrap the fudge tightly in plastic wrap and then place it in a freezer-safe bag or container. It can be frozen for up to 2-3 months.
- Make-Ahead: You can make the fudge a day or two in advance and store it in the refrigerator until ready to serve. This is a great option for holiday gatherings or parties.
Substitutions & Variations
Want to change things up a bit? Here are a few substitutions and variations you can try:
- Dairy-Free: I haven’t personally tested it, but you could try substituting the butter with a dairy-free butter alternative. Be sure to use a high-quality one that melts well. Also, substitute the milk with a plant-based milk like coconut or oat milk.
- Peanut Butter Fudge: Swirl in ½ cup of peanut butter into the fudge mixture after removing it from the heat for a delicious peanut butter twist.
- Mint Chocolate Fudge: Add ½ teaspoon of peppermint extract along with the vanilla extract for a refreshing minty flavor.
- White Chocolate Fudge: Replace the cocoa powder with white chocolate chips (about 1 ½ cups) for a creamy white chocolate fudge. You will need to reduce the amount of sugar to 1 cup.
Frequently Asked Questions
Can I make this ahead of time?
Absolutely! This fudge is perfect for making ahead. Simply prepare it as directed, let it set in the refrigerator, and then store it in an airtight container until you’re ready to serve. It’s a lifesaver during the busy holiday season!
How do I know when the fudge is done?
The key is the 1-minute boil time and then beating the mixture until it thickens and loses its glossy sheen. If you boil it for too long, it will become dry and crumbly. Too short and it won’t set up right.
Can I use different types of chocolate?
Yes, you can experiment with different types of chocolate! For a richer flavor, use dark chocolate cocoa powder. You can also add chocolate chips (milk, dark, or white) after removing the fudge from the heat.
How do I prevent the fudge from being grainy?
The biggest culprit for grainy fudge is overcooking it or not stirring enough. Make sure to stir constantly while boiling and stick to the 1-minute boil time. Proper measuring of ingredients is also important.
Is this recipe kid-friendly?
Definitely! My kids love this fudge, and it’s a great recipe to get them involved in the kitchen. They can help with measuring ingredients, stirring, and even cutting the fudge into squares (with supervision, of course!).
Serving Suggestions
This fudge is delicious on its own, but here are a few ideas to take it to the next level:
- Serve with Coffee or Tea: The rich, chocolatey flavor of the fudge pairs perfectly with a warm beverage.
- Add to a Dessert Platter: Include it on a dessert platter with other treats like cookies, brownies, and candies.
- Garnish with Sea Salt: A sprinkle of sea salt on top of the fudge enhances the sweetness and adds a delightful salty-sweet contrast.
This easy fudge recipe is more than just a sweet treat; it’s a little piece of home, a memory in the making, and a way to share love with your family. I hope this recipe brings as much joy to your kitchen as it has to mine. Don’t forget to come back and tell me how it turned out – I can’t wait to hear your stories and see your fudge creations! If you liked this recipe, be sure to check out my other family favorites at FamiliesRecipes.com, and sign up for my newsletter so you never miss a treat!
PrintHomemade Fudge Recipe
Whip up this Easy Fudge Recipe a familyapproved dessert tested in my Texas kitchen This homemade fudge is so easy and delicious my kids love this Get the recipe
- Prep Time: 10 minutes
- Cook Time: 5 minutes
- Total Time: 15 minutes
- Yield: Approximately 25 squares
- Category: Dessert
- Cuisine: American
Ingredients
- 2 cups granulated sugar
- ¾ cup unsweetened cocoa powder
- ½ cup (1 stick) unsalted butter, softened
- ½ cup milk
- 1 teaspoon vanilla extract
- Pinch of salt
Instructions
- In a medium saucepan, combine the sugar, cocoa powder, butter, and milk. Stir well to ensure there are no lumps of cocoa powder clinging to the sides.
- Place the saucepan over medium heat and bring to a rolling boil, stirring constantly. It’s important to keep stirring so the fudge doesn’t stick to the bottom and burn.
- Continue boiling for exactly 1 minute, still stirring constantly. Set a timer! This is crucial for achieving the right consistency.
- Remove the saucepan from the heat and stir in the vanilla extract and salt.
- Using a wooden spoon or a sturdy spatula, beat the fudge mixture vigorously until it starts to thicken and loses its glossy sheen. This usually takes about 2-3 minutes.
- Pour the fudge into a prepared pan and spread it evenly. Place the pan in the refrigerator for at least 2 hours, or until the fudge is firm. I usually let it chill overnight for the best results.
- Once the fudge is firm, remove it from the pan and cut it into squares. Serve and enjoy!
Notes
An easy fudge recipe that’s perfect for busy weeknights or holiday gatherings. Simple, foolproof fudge that’s ready in minutes, no candy thermometer required!
