
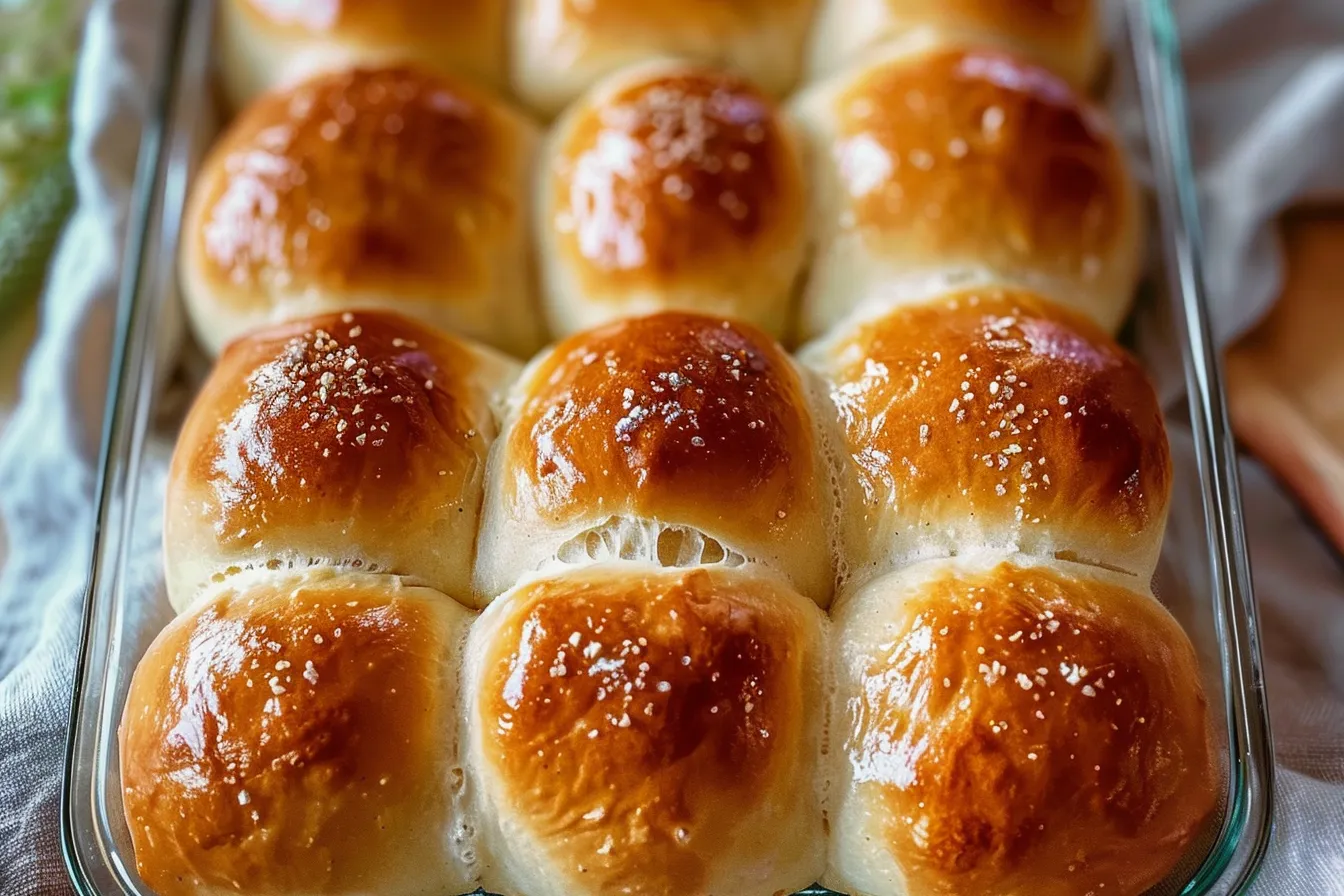
The smell of freshly baked bread is practically a love language in my house. But with a gluten sensitivity in the family, finding the right recipe for fluffy, soft dinner rolls has been a journey. I’ve tested this gluten-free dinner rolls recipe more times than I can count right here in my Texas kitchen, tweaking it until it’s absolutely perfect. These rolls rise beautifully, have a lovely golden crust, and are so soft you’ll forget they’re gluten-free. I promise you, even the pickiest eaters in your family will devour them!
Why This Recipe Works
This gluten-free dinner roll recipe is a winner for so many reasons, especially if you’re a busy parent like me. It delivers fantastic results without needing a culinary degree. Here’s why it stands out:
- Easy to Make: The steps are straightforward, and the ingredients are easy to find.
- Kid-Approved: Even my kids, who are notorious bread critics, love these rolls!
- Soft and Fluffy Texture: Achieving that perfect texture in gluten-free baking can be tricky, but this recipe nails it.
Ingredients
- 1 ½ cups warm milk (dairy or non-dairy)
- 2 ¼ teaspoons active dry yeast
- 2 tablespoons granulated sugar
- 4 tablespoons unsalted butter, melted (or dairy-free alternative)
- 1 teaspoon salt
- 3 ½ cups gluten-free all-purpose flour blend (with xanthan gum)
- 2 large eggs
- 1 tablespoon apple cider vinegar
Ingredient Notes
Gluten-Free Flour Blend: This is crucial! Use a high-quality gluten-free all-purpose flour blend that already contains xanthan gum. My favorite is Bob’s Red Mill Gluten Free 1-to-1 Baking Flour. The xanthan gum helps bind the ingredients and create that desirable chewiness.
Yeast: Make sure your yeast is fresh! If it’s been sitting in the pantry for a while, it’s best to test it before using it. Add a pinch of sugar to a small amount of warm water, sprinkle the yeast on top, and wait 5-10 minutes. If it foams up, you’re good to go.
Milk: Dairy or non-dairy milk works equally well in this recipe. I’ve used both almond milk and regular milk with great success. Just make sure it’s warmed to about 110°F (43°C) to activate the yeast.
Step-by-Step Instructions
These step-by-step instructions will guide you through creating amazing gluten-free dinner rolls. Don’t be intimidated—I promise it’s easier than it looks!
- Activate the Yeast: In a large bowl, combine the warm milk, yeast, and sugar. Let it sit for 5-10 minutes, or until the mixture becomes foamy. This step ensures that the yeast is alive and active, which is essential for the rolls to rise properly.
- Combine Wet Ingredients: Add the melted butter, salt, eggs, and apple cider vinegar to the yeast mixture. Whisk until everything is well combined. The apple cider vinegar helps to improve the texture of the gluten-free dough.
- Add the Flour: Gradually add the gluten-free flour to the wet ingredients, mixing on low speed with an electric mixer (or using a sturdy spoon) until a dough forms. The dough will be quite sticky, which is normal for gluten-free dough.
- First Rise: Cover the bowl with plastic wrap or a clean kitchen towel and let it rise in a warm place for about 1-1.5 hours, or until the dough has doubled in size. I often place mine near the oven while it’s preheating.
- Shape the Rolls: Gently punch down the dough (it will deflate quite a bit). On a lightly floured surface (use gluten-free flour), divide the dough into 12 equal portions. Shape each portion into a smooth ball.
- Second Rise: Place the rolls in a greased 9×13 inch baking dish. Cover with plastic wrap and let them rise for another 30-45 minutes, or until they have puffed up nicely. They might not double in size during this second rise, but they should noticeably increase.
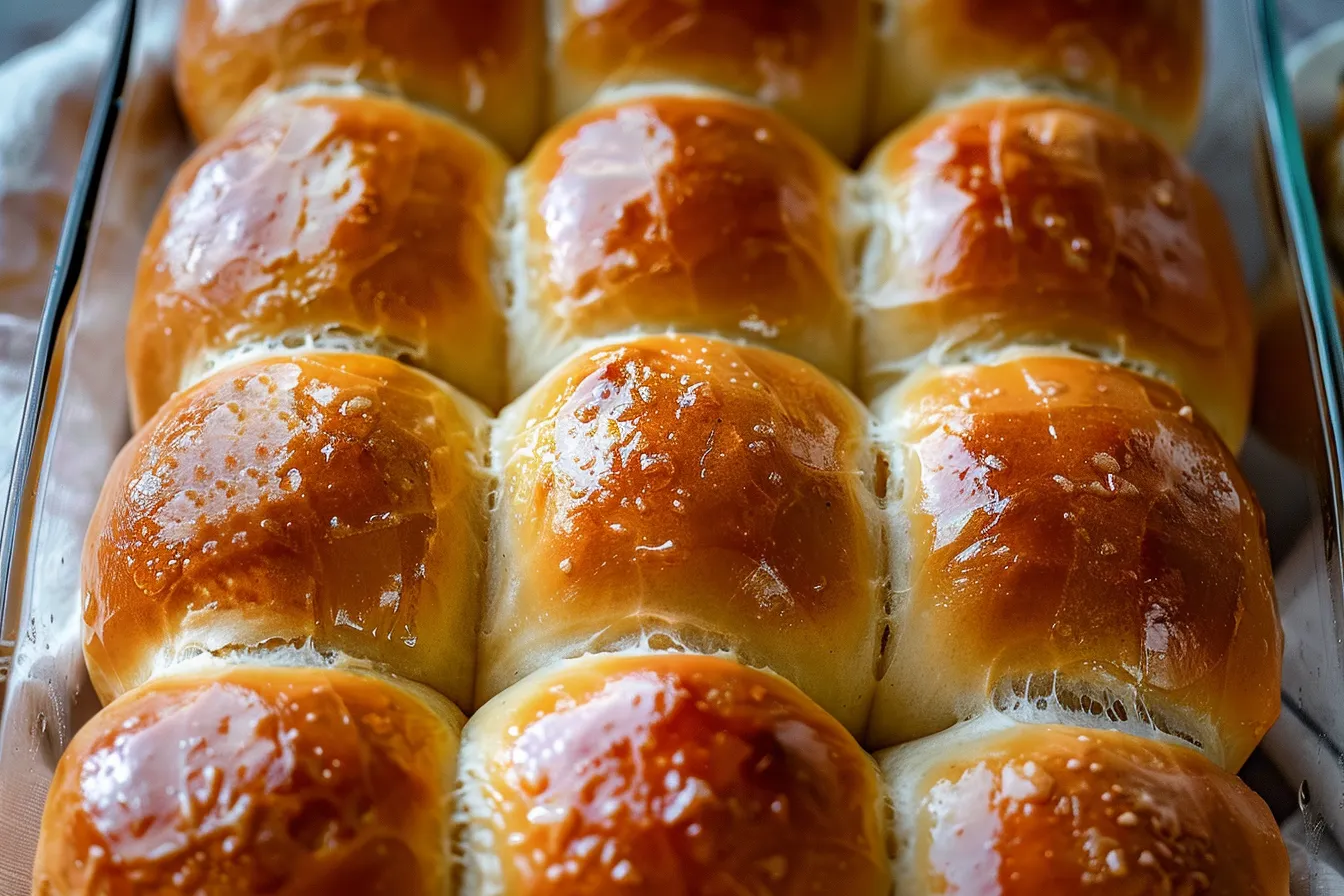
- Bake: Preheat your oven to 375°F (190°C). Brush the tops of the rolls with melted butter (or dairy-free alternative) and bake for 20-25 minutes, or until they are golden brown.
- Cool and Serve: Let the rolls cool in the baking dish for a few minutes before transferring them to a wire rack to cool completely. Serve warm with butter, jam, or your favorite toppings!
After testing this several times, I learned that the dough can be a bit sticky. Don’t be tempted to add more flour, as that will result in dry rolls. Instead, lightly flour your hands and the surface you’re working on to prevent sticking.
Storage & Meal Prep
These gluten-free dinner rolls are best enjoyed fresh, but here’s how to store them and prep ahead for ultimate convenience.
Storage: Store cooled rolls in an airtight container at room temperature for up to 2 days, or in the refrigerator for up to 5 days.
Reheating: To reheat, wrap the rolls in foil and warm them in a 350°F (175°C) oven for about 10-15 minutes, or until heated through. You can also microwave them for a few seconds, but be careful not to overdo it, as they can become tough.
Make-Ahead: You can prepare the dough through the first rise, then refrigerate it overnight. In the morning, let the dough come to room temperature for about 30 minutes before shaping and baking. Alternatively, you can bake the rolls ahead of time and freeze them. Once cooled, wrap them individually in plastic wrap, then place them in a freezer bag. They can be frozen for up to 2 months. Thaw them completely before reheating.
Frequently Asked Questions
Can I use a different type of flour?
I highly recommend sticking with a gluten-free all-purpose flour blend that already contains xanthan gum for the best results. Different gluten-free flours can behave very differently, and this recipe has been specifically formulated for a blend.
How do I know when the rolls are done?
The rolls are done when they are golden brown on top and sound hollow when tapped. You can also use a thermometer to check the internal temperature, which should be around 200°F (93°C).
Can I make this recipe dairy-free?
Yes! Simply substitute the milk and butter with your favorite dairy-free alternatives. I’ve used almond milk and dairy-free butter substitutes with great success.
What if my dough doesn’t rise?
Make sure your yeast is fresh and that the milk is warm enough (but not too hot). Also, ensure that you’re letting the dough rise in a warm, draft-free place. Sometimes, gluten-free dough takes a bit longer to rise than traditional dough, so be patient.
Are these rolls kid-friendly?
Absolutely! These rolls are a hit with kids. They are soft, slightly sweet, and perfect for sandwiches, sliders, or just enjoying with butter and jam.
Serving Suggestions
These gluten-free dinner rolls are incredibly versatile and complement a wide variety of dishes. Here are a few serving ideas:
- Classic Dinner: Serve them alongside your favorite roasted chicken, pot roast, or ham.
- Sandwiches & Sliders: Use them to make mini sandwiches or sliders for a fun and easy meal.
- Soup & Salad: Enjoy them with a bowl of hearty soup or a fresh salad.
For a simple presentation, arrange the warm rolls in a basket lined with a cloth napkin. Sprinkle with a little sea salt or herbs for an extra touch.
PrintGluten Free Dinner Rolls

Bake soft delicious GlutenFree Dinner Rolls with this easy recipe tested in my Texas kitchen These homemade rolls are familyapproved Get the recipe
- Prep Time: 20 minutes
- Cook Time: 25 minutes
- Total Time: 2 hours 15 minutes
- Yield: 12 rolls
- Category: Bread
- Cuisine: American
Ingredients
- 1 ½ cups warm milk (dairy or non-dairy)
- 2 ¼ teaspoons active dry yeast
- 2 tablespoons granulated sugar
- 4 tablespoons unsalted butter, melted (or dairy-free alternative)
- 1 teaspoon salt
- 3 ½ cups gluten-free all-purpose flour blend (with xanthan gum)
- 2 large eggs
- 1 tablespoon apple cider vinegar
Instructions
- Activate the Yeast: In a large bowl, combine the warm milk, yeast, and sugar. Let it sit for 5-10 minutes, or until the mixture becomes foamy.
- Combine Wet Ingredients: Add the melted butter, salt, eggs, and apple cider vinegar to the yeast mixture. Whisk until everything is well combined.
- Add the Flour: Gradually add the gluten-free flour to the wet ingredients, mixing on low speed with an electric mixer (or using a sturdy spoon) until a dough forms. The dough will be quite sticky, which is normal for gluten-free dough.
- First Rise: Cover the bowl with plastic wrap or a clean kitchen towel and let it rise in a warm place for about 1-1.5 hours, or until the dough has doubled in size.
- Shape the Rolls: Gently punch down the dough (it will deflate quite a bit). On a lightly floured surface (use gluten-free flour), divide the dough into 12 equal portions. Shape each portion into a smooth ball.
- Second Rise: Place the rolls in a greased 9×13 inch baking dish. Cover with plastic wrap and let them rise for another 30-45 minutes, or until they have puffed up nicely.
- Bake: Preheat your oven to 375°F (190°C). Brush the tops of the rolls with melted butter (or dairy-free alternative) and bake for 20-25 minutes, or until they are golden brown.
- Cool and Serve: Let the rolls cool in the baking dish for a few minutes before transferring them to a wire rack to cool completely. Serve warm with butter, jam, or your favorite toppings!
Notes
Soft and fluffy gluten-free dinner rolls that even picky eaters will love! This easy recipe delivers perfect results every time.
