
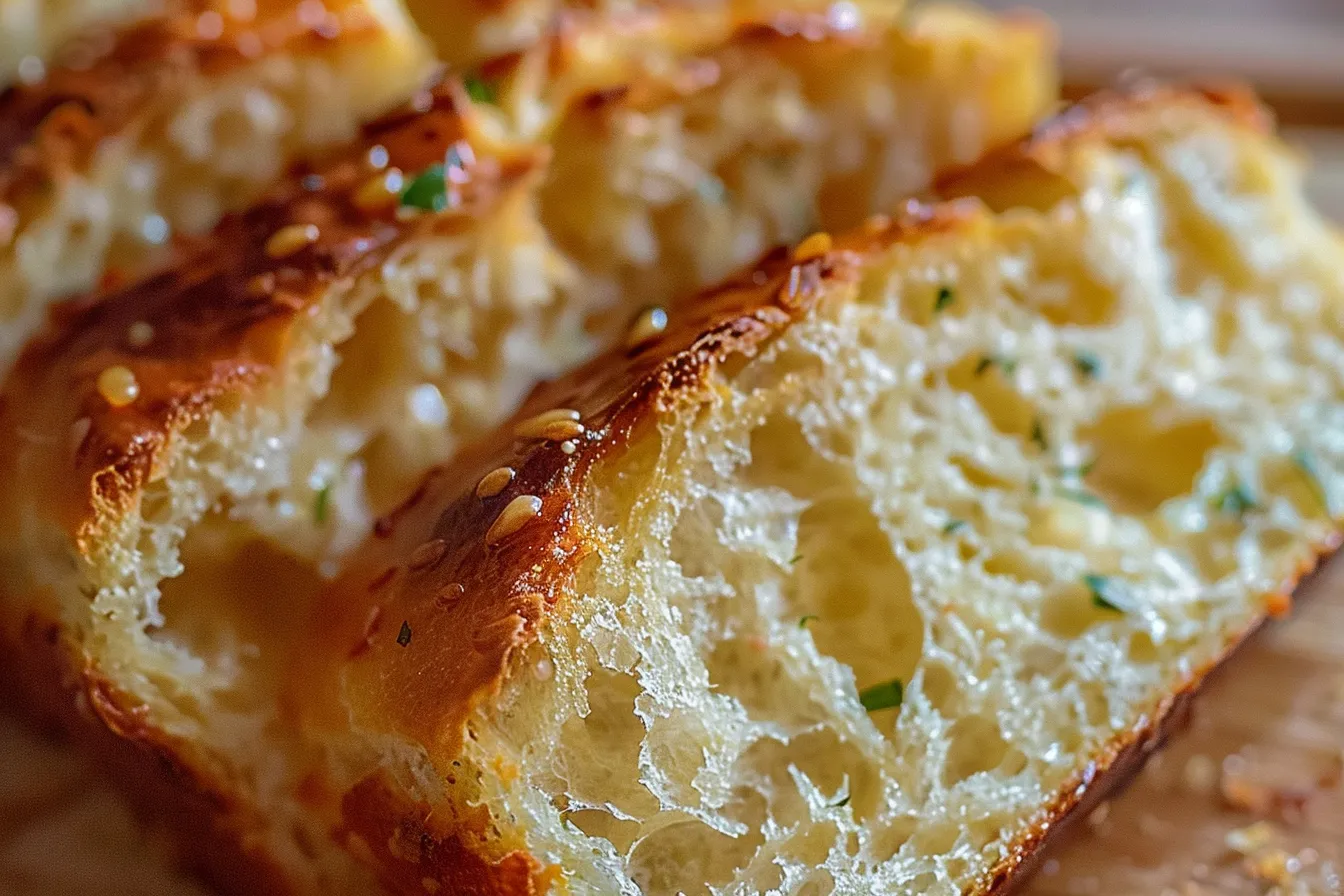
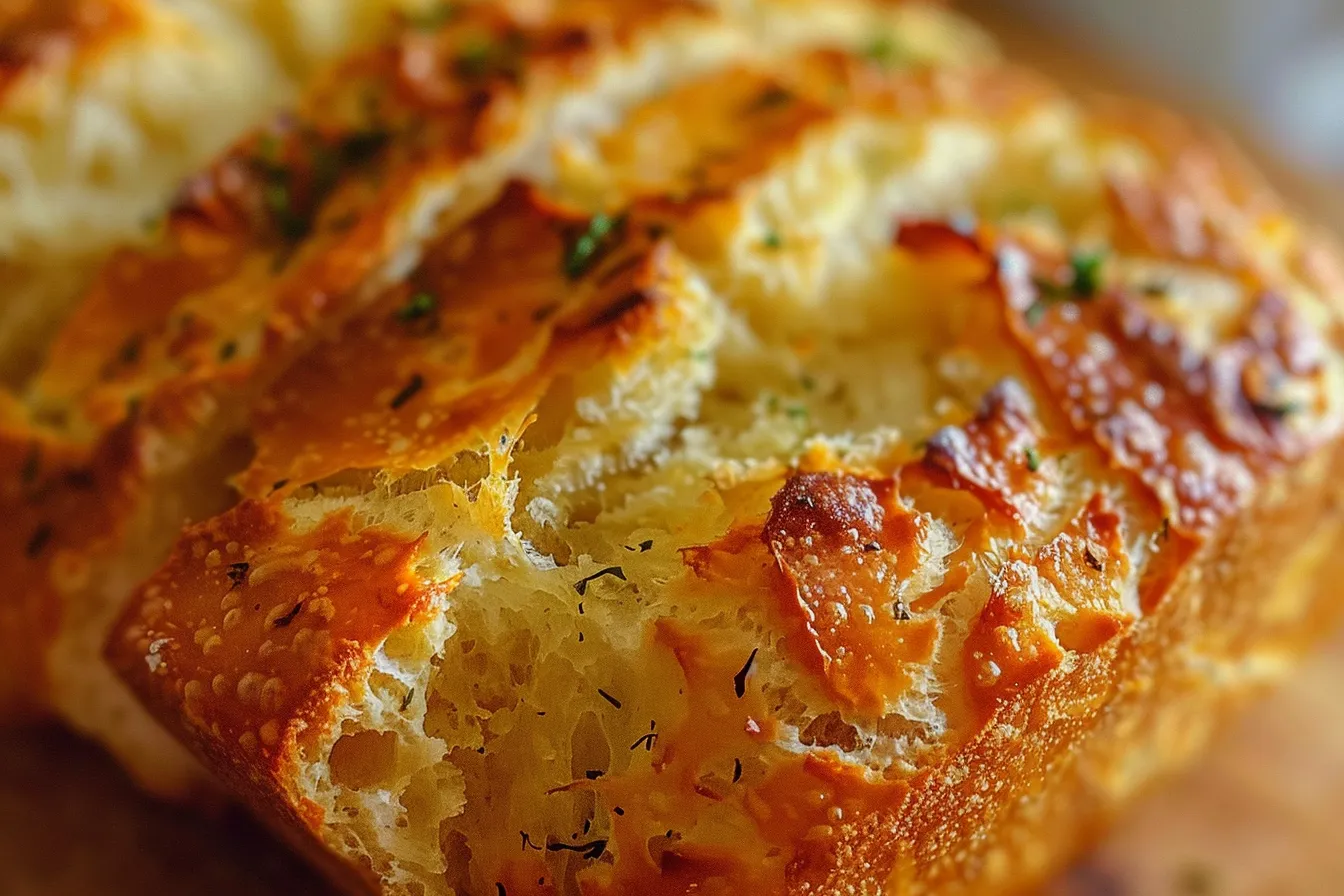
The smell of freshly baked bread is pure comfort, isn’t it? Especially when it’s a loaf of warm, pillowy gluten free potato bread, straight from the oven. I’ve been experimenting with gluten-free baking for years, and let me tell you, this recipe is a game-changer. There’s nothing quite like a slice of homemade bread, and this one’s a family favorite. I’ve made this recipe dozens of times in my own Texas kitchen, adjusting and perfecting it until it’s just right. Even my kids, who are usually pretty picky, gobble it right up. I promise you’ll have a beautiful, delicious loaf that everyone will love.
Why This Recipe Works
This gluten free potato bread recipe isn’t just another “okay” gluten-free bread – it’s fantastic, and it actually works for busy families! I know how precious time is, so I’ve streamlined this recipe to be as efficient as possible. Here’s why it’s a winner:
- Soft and Chewy Texture: The potato starch and flour blend create a texture that rivals traditional wheat bread. No more dry, crumbly gluten-free loaves!
- Kid-Approved Flavor: The subtle potato flavor is mild and appealing to even the pickiest eaters. Trust me, my little ones can’t get enough.
- Relatively Quick: From start to finish, you can have a warm loaf on the table in under 3 hours, most of which is hands-off rising time.
- Easy to Customize: You can easily add herbs, spices, or even cheese to create different flavor variations.
Ingredients
- 1 ½ cups warm water (about 105-115°F)
- 2 ¼ teaspoons (1 packet) active dry yeast
- 1 tablespoon granulated sugar
- 2 tablespoons olive oil
- 1 ½ cups potato flour
- 1 cup tapioca starch
- 1 cup brown rice flour
- 1 teaspoon xanthan gum
- 1 ½ teaspoons salt
- 1 teaspoon apple cider vinegar
Ingredient Notes
Let’s talk about why each ingredient matters and how you can make smart substitutions:
- Potato Flour: This is key for that soft, slightly sweet potato flavor and contributes significantly to the bread’s texture. Don’t confuse it with potato starch – they are not the same! Potato flour gives the bread body and moisture.
- Tapioca Starch: Tapioca starch helps to create a chewy texture. You can substitute arrowroot starch if needed, but I find tapioca starch gives the best results.
- Brown Rice Flour: Brown rice flour provides a slightly nutty flavor and helps to balance the other flours. You can use white rice flour as a substitute.
- Xanthan Gum: This is essential for binding the gluten-free flours together. It mimics the role of gluten, providing structure and preventing the bread from being crumbly. Don’t skip it!
- Active Dry Yeast: Ensure your yeast is fresh! Expired yeast won’t rise properly.
- Apple Cider Vinegar: This helps with the rise and adds a slight tang that enhances the flavor.
Step-by-Step Instructions
Follow these easy steps, and you’ll be enjoying a delicious loaf of gluten free potato bread in no time!
- Step 1: Activate the Yeast: In a large mixing bowl, combine the warm water, yeast, and sugar. Stir gently and let it sit for 5-10 minutes until it becomes foamy. This indicates the yeast is active and ready to go. If it doesn’t foam, your yeast might be old, and you’ll need to start over with fresh yeast.
- Step 2: Add Wet Ingredients: Add the olive oil and apple cider vinegar to the yeast mixture. Stir to combine. The olive oil adds moisture and richness to the bread.
- Step 3: Combine Dry Ingredients: In a separate bowl, whisk together the potato flour, tapioca starch, brown rice flour, xanthan gum, and salt. Make sure everything is well combined to prevent any lumps.
- Step 4: Mix the Dough: Gradually add the dry ingredients to the wet ingredients, mixing on low speed with an electric mixer (or by hand) until a sticky dough forms. It will be quite wet, but that’s perfectly normal for gluten-free dough. After testing this several times, I learned that a wetter dough yields a softer crumb.
- Step 5: First Rise: Cover the bowl with plastic wrap or a clean kitchen towel and let it rise in a warm place for 60-90 minutes, or until doubled in size. The warmer your kitchen, the faster it will rise. I usually put mine near a sunny window or in a slightly warm oven (turned off, of course!).
- Step 6: Shape the Dough: Gently punch down the dough (it will deflate quite a bit). Transfer it to a greased 9×5 inch loaf pan. Smooth the top with a wet spatula.
- Step 7: Second Rise: Cover the loaf pan with plastic wrap or a towel and let it rise for another 30-45 minutes, or until it has risen about an inch above the rim of the pan. This second rise is crucial for a light and airy loaf.
- Step 8: Bake the Bread: Preheat your oven to 375°F (190°C). Bake the bread for 50-60 minutes, or until the top is golden brown and the internal temperature reaches 200-210°F (93-99°C). I like to use a digital thermometer to ensure it’s fully cooked.
- Step 9: Cool Completely: Remove the bread from the oven and let it cool in the pan for 10 minutes before transferring it to a wire rack to cool completely. This prevents the bread from becoming soggy.
Expert Tips from My Kitchen
Here are some insider tips I’ve learned from making this recipe countless times:
- Use a Digital Thermometer: This is the best way to ensure your bread is fully cooked, especially with gluten-free baking, which can be a bit tricky. Aim for an internal temperature of 200-210°F (93-99°C).
- Don’t Overmix the Dough: Overmixing can lead to a tougher texture. Mix just until the ingredients are combined.
- Warm Water is Key: Make sure your water is warm, but not too hot. If it’s too hot, it can kill the yeast. Aim for around 105-115°F (40-46°C).
- Grease the Pan Well: Gluten-free bread can be a bit sticky, so make sure to grease your loaf pan thoroughly. You can also line it with parchment paper for easy removal.
- Be Patient with the Rise: Gluten-free dough often rises slower than traditional dough, so give it plenty of time to rise in a warm place.
- For a Crispier Crust: Brush the top of the loaf with melted butter or olive oil before baking.
Storage & Meal Prep
Here’s how to keep your gluten free potato bread fresh and ready to enjoy:
- Storage: Store the cooled bread in an airtight container at room temperature for up to 3 days or in the refrigerator for up to a week.
- Freezing: For longer storage, slice the bread and freeze it in a freezer-safe bag or container for up to 2 months. Thaw at room temperature or in the microwave.
- Reheating: To reheat, wrap a slice of bread in a damp paper towel and microwave for 10-15 seconds. You can also toast it for a crispier texture.
- Make-Ahead Tip: You can mix the dry ingredients together and store them in an airtight container for up to a week. When you’re ready to bake, simply add the wet ingredients.
Substitutions & Variations
Want to mix things up? Here are some tried-and-true substitutions and variations:
- Dairy-Free: Use dairy-free milk (like almond or oat milk) in place of water, if you prefer. Just make sure it’s warmed to the correct temperature.
- Herb Bread: Add 1-2 tablespoons of your favorite dried herbs (like rosemary, thyme, or oregano) to the dry ingredients for a savory twist. I personally love adding a little garlic powder too!
- Cheese Bread: Stir in ½ cup of shredded cheese (like cheddar or mozzarella) to the dough before the first rise.
- Sweet Potato Bread: Substitute ½ cup of the potato flour with sweet potato flour for a slightly sweeter flavor. I haven’t tested this one extensively, but it should work well.
Frequently Asked Questions
Can I use potato starch instead of potato flour?
No, potato starch and potato flour are not interchangeable. Potato flour has a distinct potato flavor and provides more structure and moisture to the bread, while potato starch is mainly used as a thickener. Using potato starch in place of potato flour will result in a very different texture and flavor.
My bread is too dense. What did I do wrong?
Density in gluten-free bread can be caused by a few things: not enough rising time, using expired yeast, or not measuring the ingredients accurately. Make sure your yeast is fresh, give the dough ample time to rise in a warm place, and use a kitchen scale for the most accurate measurements.
Can I make this bread in a bread machine?
While I haven’t personally tested this recipe in a bread machine, it should work. Use the gluten-free setting and follow the manufacturer’s instructions. Keep a close eye on the dough during the mixing and kneading process, and adjust the liquid if needed.
How do I know when the bread is done?
The best way to check for doneness is to use a digital thermometer. The internal temperature should reach 200-210°F (93-99°C). The top of the bread should also be golden brown and sound hollow when tapped.
Is this recipe kid-friendly?
Absolutely! My kids love this bread. The subtle potato flavor is mild and appealing to most children. You can also cut it into fun shapes or use it to make mini sandwiches.
Can I add seeds or nuts to this bread?
Yes, you can! Add about ½ cup of your favorite seeds (like sunflower, pumpkin, or flax seeds) or chopped nuts (like walnuts or pecans) to the dough before the first rise. This will add extra flavor and texture.
PrintGluten Free Potato Bread Soft

Bake fluffy Gluten Free Potato Bread easily Soft delicious tested in my Texas kitchen This glutenfree comfort food is familyapproved Get the recipe
- Prep Time: 20 minutes
- Cook Time: 60 minutes
- Total Time: 2 hours 30 minutes
- Yield: 1 loaf
- Category: Bread
- Cuisine: American
Ingredients
- 1 ½ cups warm water (about 105-115°F)
- 2 ¼ teaspoons active dry yeast
- 1 tablespoon granulated sugar
- 2 tablespoons olive oil
- 1 ½ cups potato flour
- 1 cup tapioca starch
- 1 cup brown rice flour
- 1 teaspoon xanthan gum
- 1 ½ teaspoons salt
- 1 teaspoon apple cider vinegar
Instructions
- Activate the Yeast: In a large mixing bowl, combine the warm water, yeast, and sugar. Stir gently and let it sit for 5-10 minutes until it becomes foamy. This indicates the yeast is active and ready to go. If it doesn’t foam, your yeast might be old, and you’ll need to start over with fresh yeast.
- Add Wet Ingredients: Add the olive oil and apple cider vinegar to the yeast mixture. Stir to combine. The olive oil adds moisture and richness to the bread.
- Combine Dry Ingredients: In a separate bowl, whisk together the potato flour, tapioca starch, brown rice flour, xanthan gum, and salt. Make sure everything is well combined to prevent any lumps.
- Mix the Dough: Gradually add the dry ingredients to the wet ingredients, mixing on low speed with an electric mixer (or by hand) until a sticky dough forms. It will be quite wet, but that’s perfectly normal for gluten-free dough. After testing this several times, I learned that a wetter dough yields a softer crumb.
- First Rise: Cover the bowl with plastic wrap or a clean kitchen towel and let it rise in a warm place for 60-90 minutes, or until doubled in size. The warmer your kitchen, the faster it will rise. I usually put mine near a sunny window or in a slightly warm oven (turned off, of course!).
- Shape the Dough: Gently punch down the dough (it will deflate quite a bit). Transfer it to a greased 9×5 inch loaf pan. Smooth the top with a wet spatula.
- Second Rise: Cover the loaf pan with plastic wrap or a towel and let it rise for another 30-45 minutes, or until it has risen about an inch above the rim of the pan. This second rise is crucial for a light and airy loaf.
- Bake the Bread: Preheat your oven to 375°F (190°C). Bake the bread for 50-60 minutes, or until the top is golden brown and the internal temperature reaches 200-210°F (93-99°C). I like to use a digital thermometer to ensure it’s fully cooked.
- Cool Completely: Remove the bread from the oven and let it cool in the pan for 10 minutes before transferring it to a wire rack to cool completely. This prevents the bread from becoming soggy.
Notes
Enjoy the comforting smell of freshly baked bread with this warm, pillowy gluten free potato bread recipe. Soft, chewy, and kid-approved, it’s a gluten-free game-changer for busy families!
