
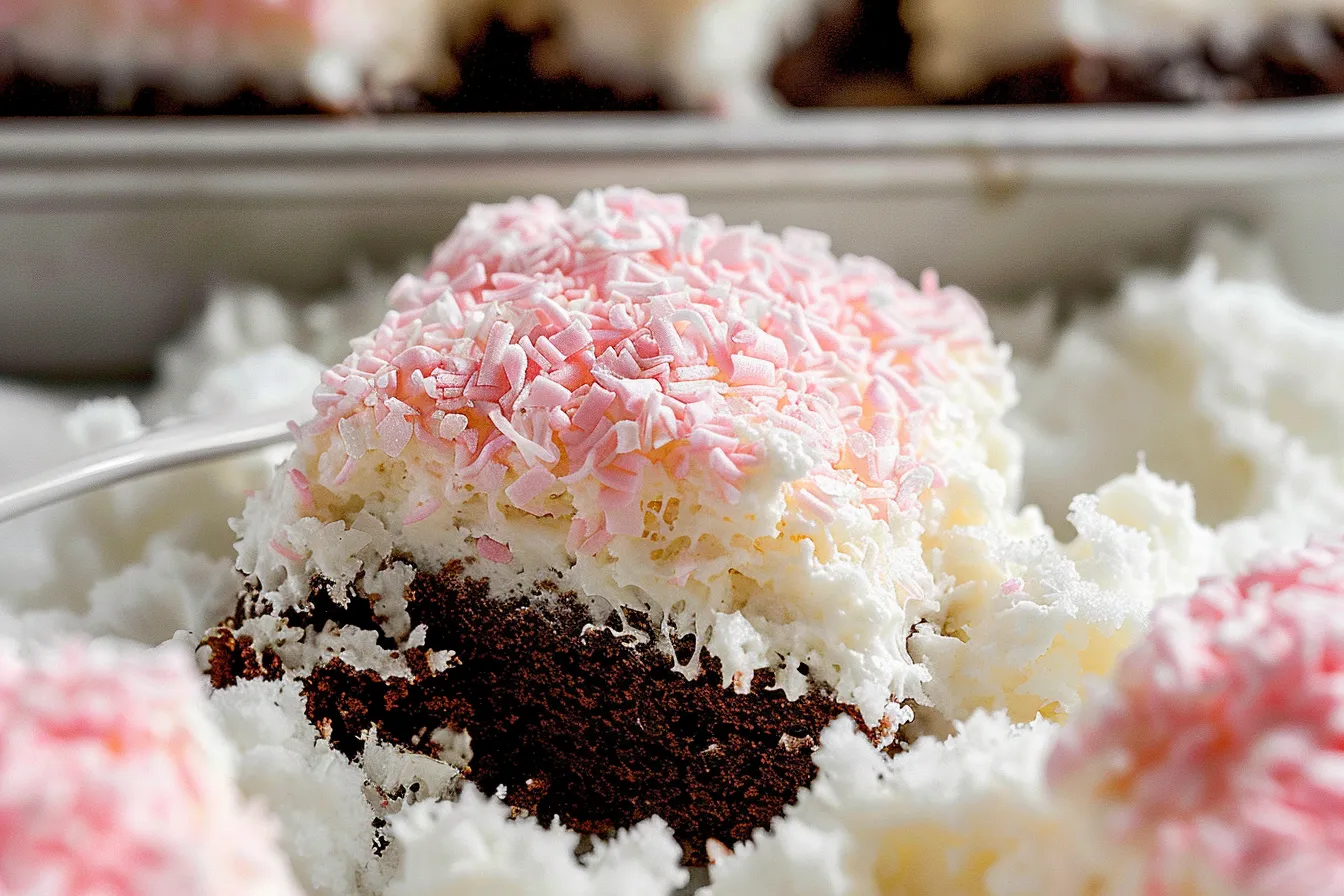
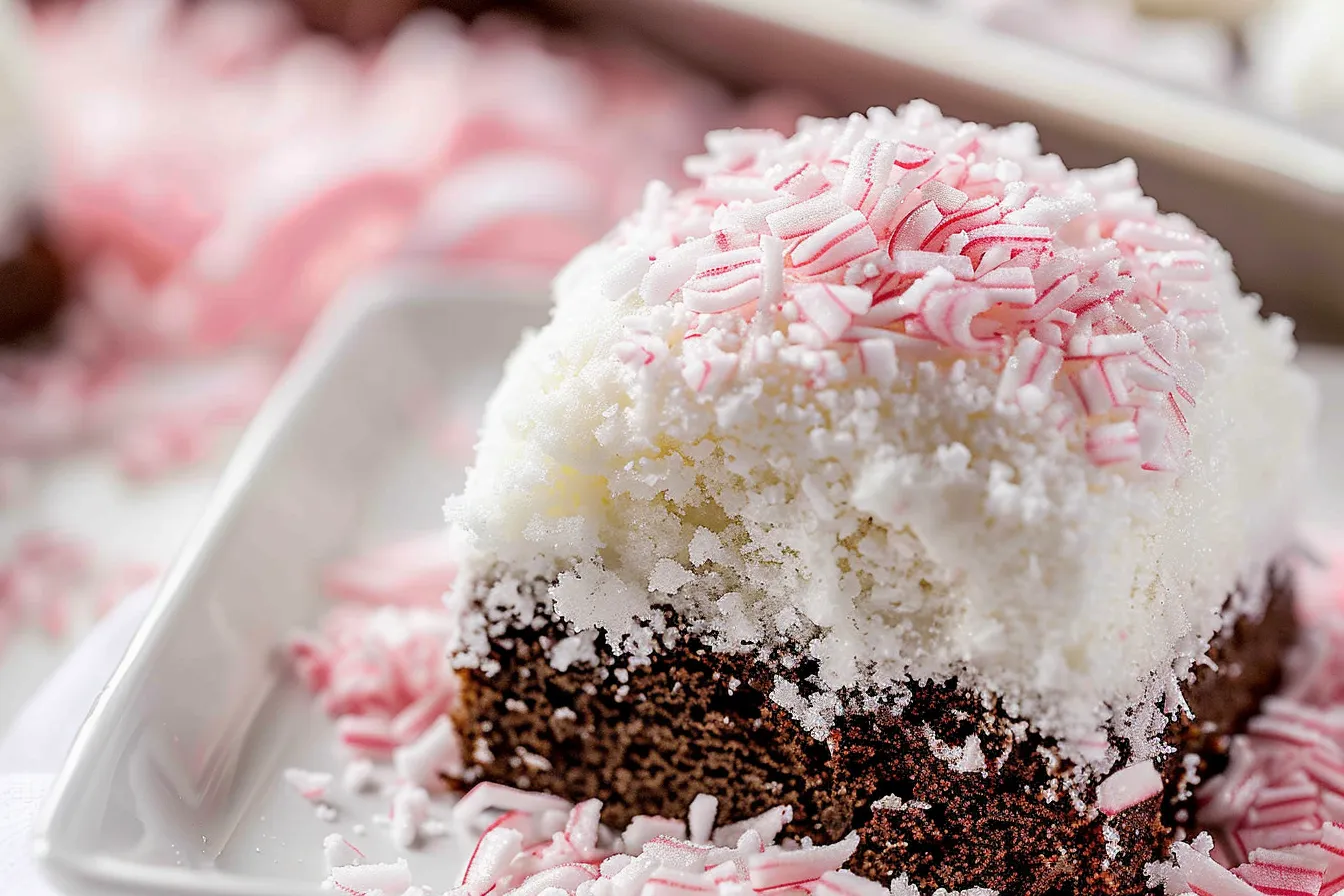
Imagine stepping into a cozy kitchen, the scent of chocolate and marshmallow wafting through the air. It’s a sweet, nostalgic moment reminiscent of rainy afternoons spent watching cartoons, with a plate of fluffy Snowball Cakes at your side. This Hostess Snowball Cake recipe captures that delightful taste, transforming ordinary ingredients into an indulgent treat. As the holidays approach, the craving for nostalgic flavors intensifies, making this an ideal dessert to share with family and friends. There’s something truly special about a homemade cake that evokes cherished childhood memories while brightening up any gathering.
Growing up, my grandmother often baked with me, particularly around the holidays. One of her signature desserts was a version of the Snowball Cake that had me mesmerized by its fluffy marshmallow filling and velvety chocolate coating. With the rise of retro baking trends, I’ve revisited this classic, experimenting and refining the recipe to ensure it remains as tempting as I remember. This version allows the cake to shine with freshness while layering in the flavors that make it so likable. Join me in creating this delightful cake that evokes the spirit of nostalgia and the joy of baking with loved ones.
Ingredients
- 2 cups of all-purpose flour: Provides the necessary structure, ensuring the cake is fluffy but firm enough to hold its shape.
- 1 ½ cups of granulated sugar: Balances the cake’s flavor and moisture.
- ¾ cup unsweetened cocoa powder: Adds rich chocolate flavor and contributes to the cake’s dark color.
- 1 ½ teaspoons baking powder: Helps the cake rise, creating a light texture.
- 1 teaspoon baking soda: Works alongside baking powder for perfect leavening.
- ½ teaspoon salt: Enhances the overall flavor profile.
- 2 large eggs: Provides moisture and acts as a binding agent.
- 1 cup whole milk: Keeps the cake moist; but you can substitute with almond milk for a dairy-free option.
- ½ cup vegetable oil: Keeps the cake tender; melted coconut oil can be a great substitute.
- 1 teaspoon vanilla extract: Adds depth to the cake’s sweetness.
- 3 cups of marshmallow fluff: The heart of the cake, it gives that iconic filling.
- 12 oz semi-sweet chocolate: For the coating, providing a luxurious finish; dark chocolate is an excellent alternative.
Step-by-Step Instructions
Begin by preheating your oven to 350°F (175°C). Grease and flour two 9-inch round cake pans. In a large mixing bowl, whisk together the flour, sugar, cocoa powder, baking powder, baking soda, and salt. This step builds your cake’s structure, ensuring a light and airy crumb.
In another bowl, beat the eggs, then mix in the milk, vegetable oil, and vanilla extract until combined. Pour this wet mixture into the dry ingredients, stirring gently until just combined. Be careful not to overmix; a few lumps are perfectly fine and contribute to a tender cake.
Divide the batter evenly between the prepared cake pans, smoothing out the tops. Bake in the preheated oven for about 30-35 minutes, or until a toothpick inserted in the center comes out clean. Once done, allow the cakes to cool in the pans for 10 minutes before flipping them out onto a wire rack to cool completely.
Once cooled, slice each cake in half horizontally to create layers. Take one layer and spread a generous amount of marshmallow fluff over the top, then stack another layer on top and repeat. After layering, cover the entire stack with more marshmallow fluff.
To prepare the chocolate coating, melt the semi-sweet chocolate in a microwave-safe bowl, stirring every 30 seconds until smooth. Drizzle the melted chocolate over the marshmallow-covered cake, allowing it to cascade down the sides. Let the cake set for about 30 minutes before serving, allowing the chocolate to firm up slightly.
Expert Tips
For an even fluffier cake, use room temperature ingredients, allowing your eggs and milk to warm up before mixing. This helps create a more uniform batter.
During baking, if you’re considering experimenting with flavors, consider adding a hint of espresso powder to the dry mix for enhancing the chocolate notes. Additionally, if your chocolate coating isn’t setting properly, try adding a tablespoon of shortening to make it smoother and easier to work with.
If you’re short on time, a store-bought chocolate ganache can work wonders as a shortcut, but nothing beats the taste of homemade. When storing, ensure the cake is covered or wrapped in plastic wrap to maintain its freshness; it can be left at room temperature for up to two days or refrigerated for longer.
Storage & Substitutions
This delightful cake can be stored in an airtight container at room temperature for 1-2 days. To extend its life, refrigerate it for up to a week. If you want to preserve it for longer, cut the cake into slices, wrap each one in plastic, and freeze them for up to three months.
For those with dietary restrictions, consider using gluten-free flour for a gluten-free version or coconut cream in place of marshmallow fluff for a dairy-free alternative. Adjusting the sugar can make this treat suitable for a lower-sugar diet; however, the texture might vary.
How do I make this recipe ahead?
You can bake the cakes a day in advance and store them tightly wrapped in the refrigerator. Assemble the cake on the day of serving to preserve its freshness.
Can I use a different type of chocolate?
Absolutely! Dark chocolate or even white chocolate can be excellent substitutes. Just ensure the melting process is handled carefully to prevent burning.
What if my cake is too dense?
A denser cake can result from overmixing the batter. Ensure you mix until just combined, and verify that all leavening agents are fresh.
Can I make mini versions of this cake?
Yes! Use a muffin tin to create mini cakes. Adjust the baking time to around 18-20 minutes, checking for doneness with a toothpick.
How long will the cake last in the refrigerator?
The cake can last in the refrigerator for up to a week when stored well in an airtight container.
Is it possible to add extra flavors to the cake?
Of course! Consider adding almond extract for a unique twist or orange zest for a refreshing citrus note.
This Hostess Snowball Cake is a labor of love that effortlessly marries nostalgia with modern baking. Share your thoughts on this recipe in the comments below, and don’t forget to save it for later. Whether you whip it up for a festive celebration or a cozy night in, it’s bound to bring joy and deliciousness to your table. Happy baking!
PrintHostess Snowball Cake Recipe
Bake the ultimate Hostess Snowball Cake with my easy recipe familyapproved and tested in my Texas kitchen Delight your loved onesget the recipe
- Prep Time: 20 minutes
- Cook Time: 35 minutes
- Total Time: 55 minutes
- Yield: 12 servings
- Category: Dessert
- Cuisine: American
Ingredients
- 2 cups of all-purpose flour
- 1 ½ cups of granulated sugar
- ¾ cup unsweetened cocoa powder
- 1 ½ teaspoons baking powder
- 1 teaspoon baking soda
- ½ teaspoon salt
- 2 large eggs
- 1 cup whole milk
- ½ cup vegetable oil
- 1 teaspoon vanilla extract
- 3 cups of marshmallow fluff
- 12 oz semi-sweet chocolate
Instructions
- Preheat your oven to 350°F (175°C). Grease and flour two 9-inch round cake pans.
- In a large mixing bowl, whisk together the flour, sugar, cocoa powder, baking powder, baking soda, and salt.
- In another bowl, beat the eggs, then mix in the milk, vegetable oil, and vanilla extract until combined.
- Pour the wet mixture into the dry ingredients, stirring gently until just combined.
- Divide the batter evenly between the prepared cake pans. Bake for about 30-35 minutes or until a toothpick comes out clean.
- Allow the cakes to cool in the pans for 10 minutes before flipping them onto a wire rack to cool completely.
- Slice each cake in half horizontally to create layers. Spread marshmallow fluff on one layer, stack another on top, and repeat.
- Cover the entire cake stack with more marshmallow fluff.
- Melt the semi-sweet chocolate in a microwave-safe bowl, stirring every 30 seconds until smooth. Drizzle over the marshmallow-covered cake.
- Let the cake set for about 30 minutes before serving.
Notes
A nostalgic and indulgent Hostess Snowball Cake recipe that combines chocolate and marshmallow flavors, perfect for sharing during the holidays.
