
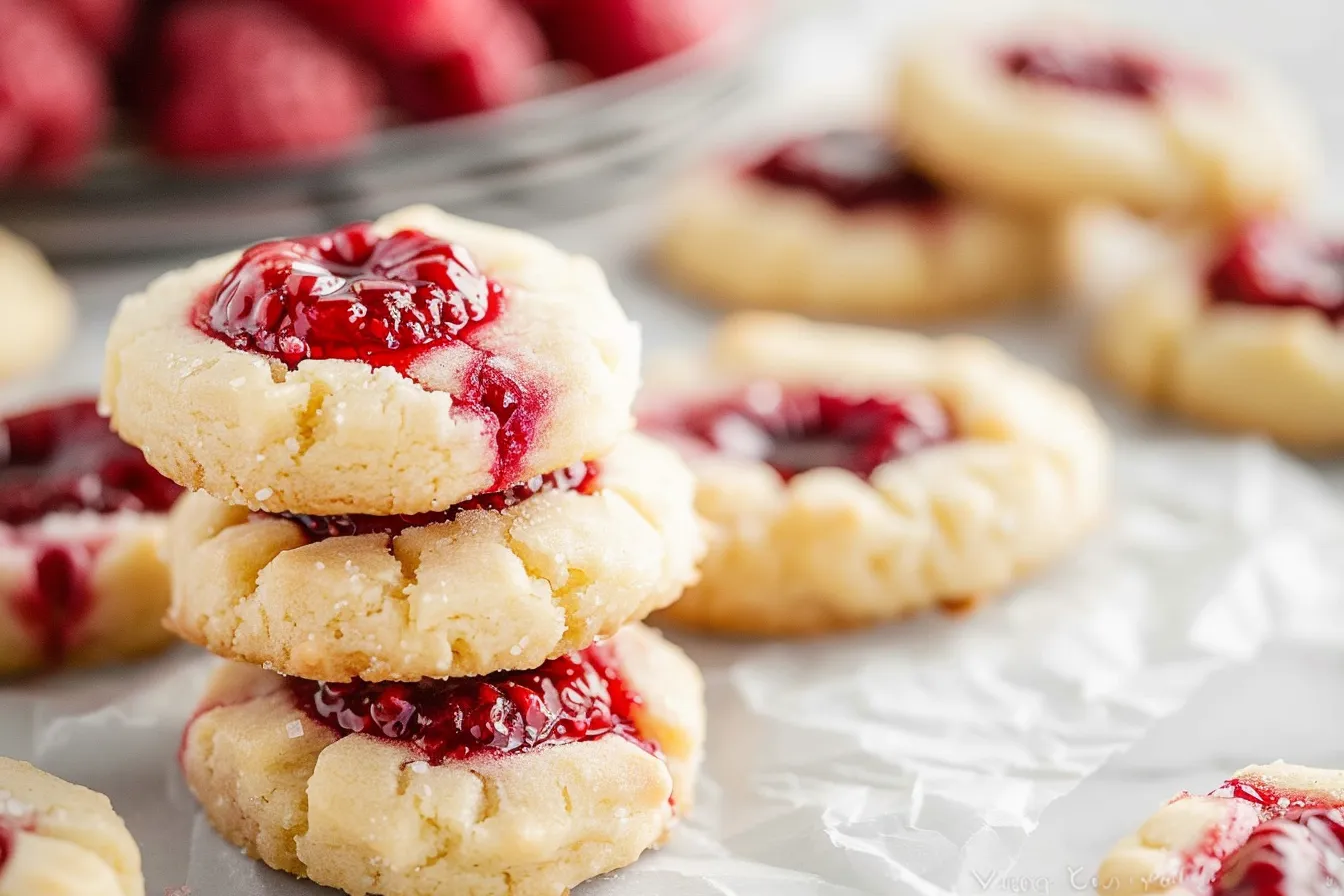
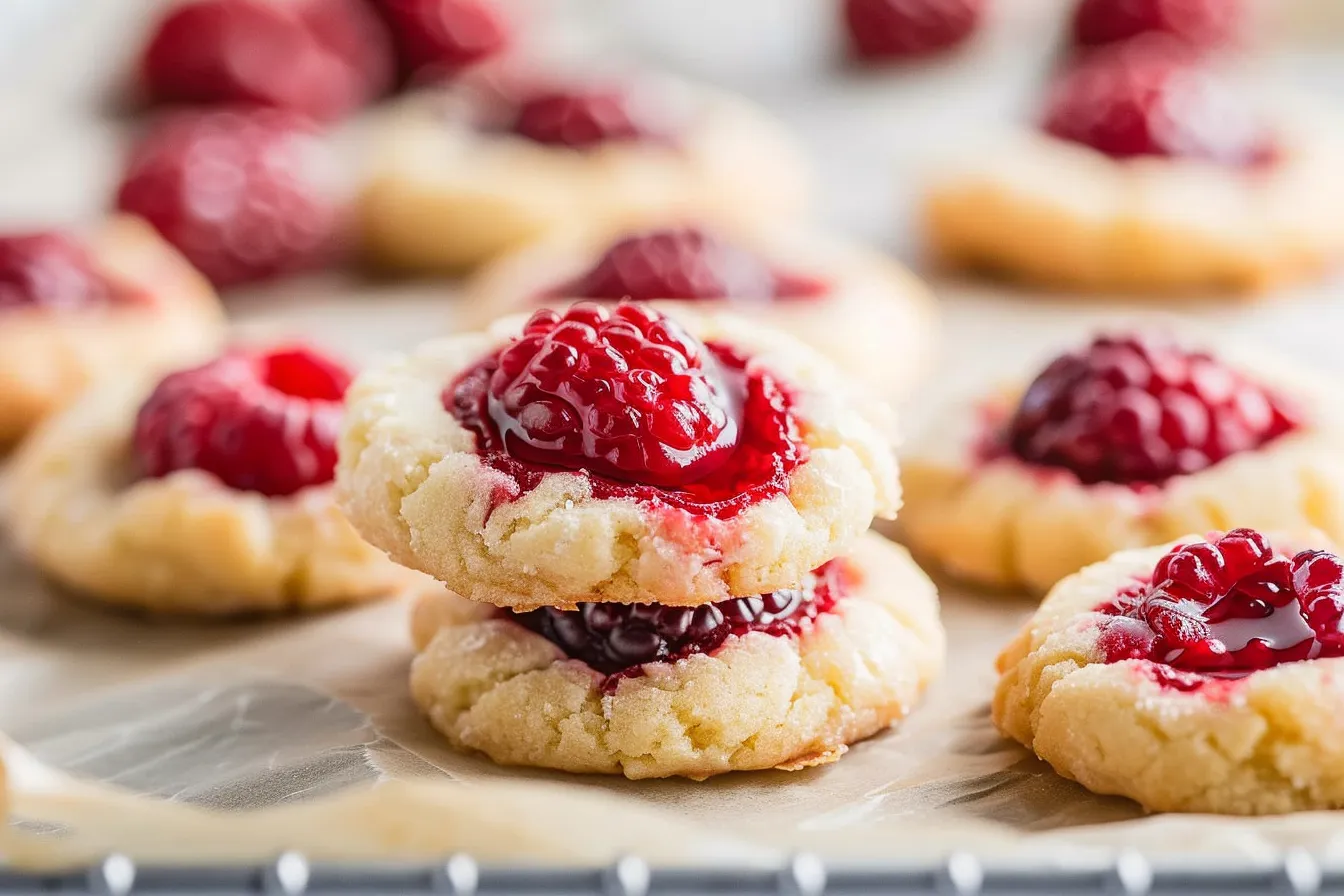
The smell of buttery shortbread and sweet raspberries baking is pure magic in my Texas kitchen, y’all. It reminds me of Christmases past, baking with my grandma, her flour-dusted apron tied tight. These Raspberry Thumbprint Cookies are a classic for a reason – they’re simple, festive, and absolutely irresistible. I’ve made this recipe dozens of times now, tweaking it until it’s just right for busy families. Even my kiddos, bless their hearts, can help with the thumbprint part! So, if you’re looking for a cookie recipe that’s both comforting and impressive, you’ve come to the right place. I promise, these little gems will bring a smile to everyone’s face, and they’re easier than you think!
Why This Recipe Works
Life’s hectic, especially with two little ones running around, so I need recipes that deliver big flavor without a lot of fuss. These raspberry thumbprint cookies fit the bill perfectly! Here’s why they’re a winner:
- Quick & Easy: From start to finish, you’re looking at about an hour, and most of that is baking time.
- Kid-Approved: My kids adore helping make the thumbprints, and they gobble these cookies up like there’s no tomorrow.
- Make-Ahead Friendly: You can make the dough ahead of time and chill it, ready to bake whenever you need a sweet treat.
- Perfect for Gifting: These cookies look beautiful on a plate, making them ideal for holiday gifting or bringing to potlucks.
I’ve tested this recipe extensively to make sure it’s foolproof, even if you’re new to baking. I hope y’all enjoy them as much as we do!
Ingredients
- 1 cup (2 sticks) unsalted butter, softened
- 1/2 cup granulated sugar
- 1/4 cup packed light brown sugar
- 1 teaspoon vanilla extract
- 1/4 teaspoon almond extract (optional, but highly recommended!)
- 2 1/4 cups all-purpose flour
- 1/4 teaspoon salt
- 1/2 cup raspberry jam or preserves
- Powdered sugar, for dusting (optional)
Ingredient Notes
Butter: Real butter is key for that rich, tender shortbread texture. Make sure it’s softened, but not melted. I usually take mine out of the fridge about an hour before baking, depending on how hot it is here in Texas!
Extracts: Vanilla is a must, but a touch of almond extract adds a lovely depth of flavor. If you don’t have almond extract, you can skip it, but I highly recommend trying it if you can.
Raspberry Jam/Preserves: Look for a high-quality jam or preserves for the best flavor. Seedless is my preference for a smoother texture, but seeds work just fine too. You can even use a homemade raspberry jam if you’re feeling fancy!
Flour: All-purpose flour is perfect for these cookies. Make sure to measure it accurately; spoon it into your measuring cup and level it off with a knife.
Step-by-Step Instructions
Step 1: Cream the Butter and Sugars: In a large bowl (or the bowl of your stand mixer), cream together the softened butter, granulated sugar, and brown sugar until light and fluffy. This usually takes about 3-5 minutes. The mixture should be pale and almost whipped.
Step 2: Add the Extracts: Beat in the vanilla extract and almond extract (if using) until well combined. The almond extract really adds a nice touch – trust me!
Step 3: Combine Dry Ingredients: In a separate bowl, whisk together the flour and salt. This helps to evenly distribute the salt throughout the dough.
Step 4: Gradually Add Dry Ingredients to Wet Ingredients: Gradually add the dry ingredients to the wet ingredients, mixing on low speed until just combined. Be careful not to overmix the dough, as this can result in tough cookies. It should come together in a soft ball.
Step 5: Chill the Dough: Wrap the dough in plastic wrap and chill in the refrigerator for at least 30 minutes. This is crucial for preventing the cookies from spreading too much in the oven. I sometimes chill mine for even longer – up to a few hours – if I’m prepping in advance.
Step 6: Preheat Oven and Prepare Baking Sheet: Preheat your oven to 350°F (175°C). Line a baking sheet with parchment paper. This will prevent the cookies from sticking and make cleanup a breeze.
Step 7: Shape the Cookies: Roll the dough into 1-inch balls. Place the balls onto the prepared baking sheet, leaving about 2 inches between each cookie.
Step 8: Make the Thumbprints: Use your thumb (or the back of a small spoon) to make an indentation in the center of each cookie. My kids love helping with this part! Just be gentle, so you don’t crack the dough.
Step 9: Fill with Raspberry Jam: Fill each indentation with about 1/4 teaspoon of raspberry jam or preserves. Don’t overfill them, or the jam might bubble over during baking.
Step 10: Bake: Bake for 10-12 minutes, or until the edges of the cookies are lightly golden brown. The centers should still be soft.
Step 11: Cool: Let the cookies cool on the baking sheet for a few minutes before transferring them to a wire rack to cool completely. Dust with powdered sugar, if desired.
Storage & Meal Prep
Storage: Store these raspberry thumbprint cookies in an airtight container at room temperature for up to 3-4 days. They tend to dry out if left uncovered.
Freezing: You can freeze baked cookies in an airtight container for up to 2 months. Thaw at room temperature before serving.
Make-Ahead: The dough can be made ahead of time and stored in the refrigerator for up to 2 days. You can also freeze the dough for up to 1 month. Thaw in the refrigerator overnight before using. I’ve even rolled the dough into balls, made the thumbprints and froze them before baking – just add a few minutes to the baking time.
Substitutions & Variations
Gluten-Free: Use a gluten-free all-purpose flour blend in place of the regular flour. I haven’t personally tested this, but I’ve had good results with Bob’s Red Mill Gluten-Free 1-to-1 Baking Flour in other cookie recipes.
Dairy-Free: Use a dairy-free butter substitute in place of the butter. Make sure to choose one that’s designed for baking.
Jam Variations: Get creative with your jam flavors! Try strawberry, apricot, or even blackberry jam. Cranberry sauce also works wonderfully for a festive holiday twist. This time of year, I sometimes even use the fig preserves my neighbor makes!
Nutella Thumbprints: Instead of jam, fill the thumbprints with a dollop of Nutella. So good!
Frequently Asked Questions
Can I make this ahead of time?
Absolutely! The dough can be made ahead of time and stored in the refrigerator for up to 2 days, or in the freezer for up to 1 month. Just thaw the dough in the refrigerator overnight before baking.
How do I know when the cookies are done?
The cookies are done when the edges are lightly golden brown, and the centers are still soft. They will continue to firm up as they cool.
Can I use a different type of jam?
Yes, you can use any type of jam you like! Strawberry, apricot, and blackberry are all great choices.
My cookies spread too much. What did I do wrong?
The most common reason for cookies spreading too much is that the butter was too soft. Make sure your butter is softened but not melted. Also, chilling the dough is crucial for preventing spreading.
Can I make these cookies with my kids?
Absolutely! These cookies are perfect for baking with kids. They’ll love helping to roll the dough into balls and make the thumbprints.
How do I store these cookies?
Store these cookies in an airtight container at room temperature for up to 3-4 days.
Can I freeze these cookies?
Yes, you can freeze baked cookies in an airtight container for up to 2 months. Thaw at room temperature before serving.
PrintEasy Raspberry Thumbprint Cookies
Bake easy Raspberry Thumbprint Cookies with my familyapproved recipe Tested in my Texas kitchen theyre quick homemade my kids love this recipe
- Prep Time: 20 minutes
- Cook Time: 12 minutes
- Total Time: 32 minutes
- Yield: About 24 cookies
- Category: Cookie
- Cuisine: American
Ingredients
- 1 cup (2 sticks) unsalted butter, softened
- 1/2 cup granulated sugar
- 1/4 cup packed light brown sugar
- 1 teaspoon vanilla extract
- 1/4 teaspoon almond extract (optional, but highly recommended!)
- 2 1/4 cups all-purpose flour
- 1/4 teaspoon salt
- 1/2 cup raspberry jam or preserves
- Powdered sugar, for dusting (optional)
Instructions
- Cream the Butter and Sugars: In a large bowl (or the bowl of your stand mixer), cream together the softened butter, granulated sugar, and brown sugar until light and fluffy. This usually takes about 3-5 minutes. The mixture should be pale and almost whipped.
- Add the Extracts: Beat in the vanilla extract and almond extract (if using) until well combined.
- Combine Dry Ingredients: In a separate bowl, whisk together the flour and salt. This helps to evenly distribute the salt throughout the dough.
- Gradually Add Dry Ingredients to Wet Ingredients: Gradually add the dry ingredients to the wet ingredients, mixing on low speed until just combined. Be careful not to overmix the dough, as this can result in tough cookies. It should come together in a soft ball.
- Chill the Dough: Wrap the dough in plastic wrap and chill in the refrigerator for at least 30 minutes. This is crucial for preventing the cookies from spreading too much in the oven.
- Preheat Oven and Prepare Baking Sheet: Preheat your oven to 350°F (175°C). Line a baking sheet with parchment paper. This will prevent the cookies from sticking and make cleanup a breeze.
- Shape the Cookies: Roll the dough into 1-inch balls. Place the balls onto the prepared baking sheet, leaving about 2 inches between each cookie.
- Make the Thumbprints: Use your thumb (or the back of a small spoon) to make an indentation in the center of each cookie.
- Fill with Raspberry Jam: Fill each indentation with about 1/4 teaspoon of raspberry jam or preserves.
- Bake: Bake for 10-12 minutes, or until the edges of the cookies are lightly golden brown. The centers should still be soft.
- Cool: Let the cookies cool on the baking sheet for a few minutes before transferring them to a wire rack to cool completely. Dust with powdered sugar, if desired.
Notes
Buttery shortbread cookies with a sweet raspberry jam filling. These Raspberry Thumbprint Cookies are simple, festive, and absolutely irresistible. A perfect cookie recipe for busy families and holiday gifting.
