
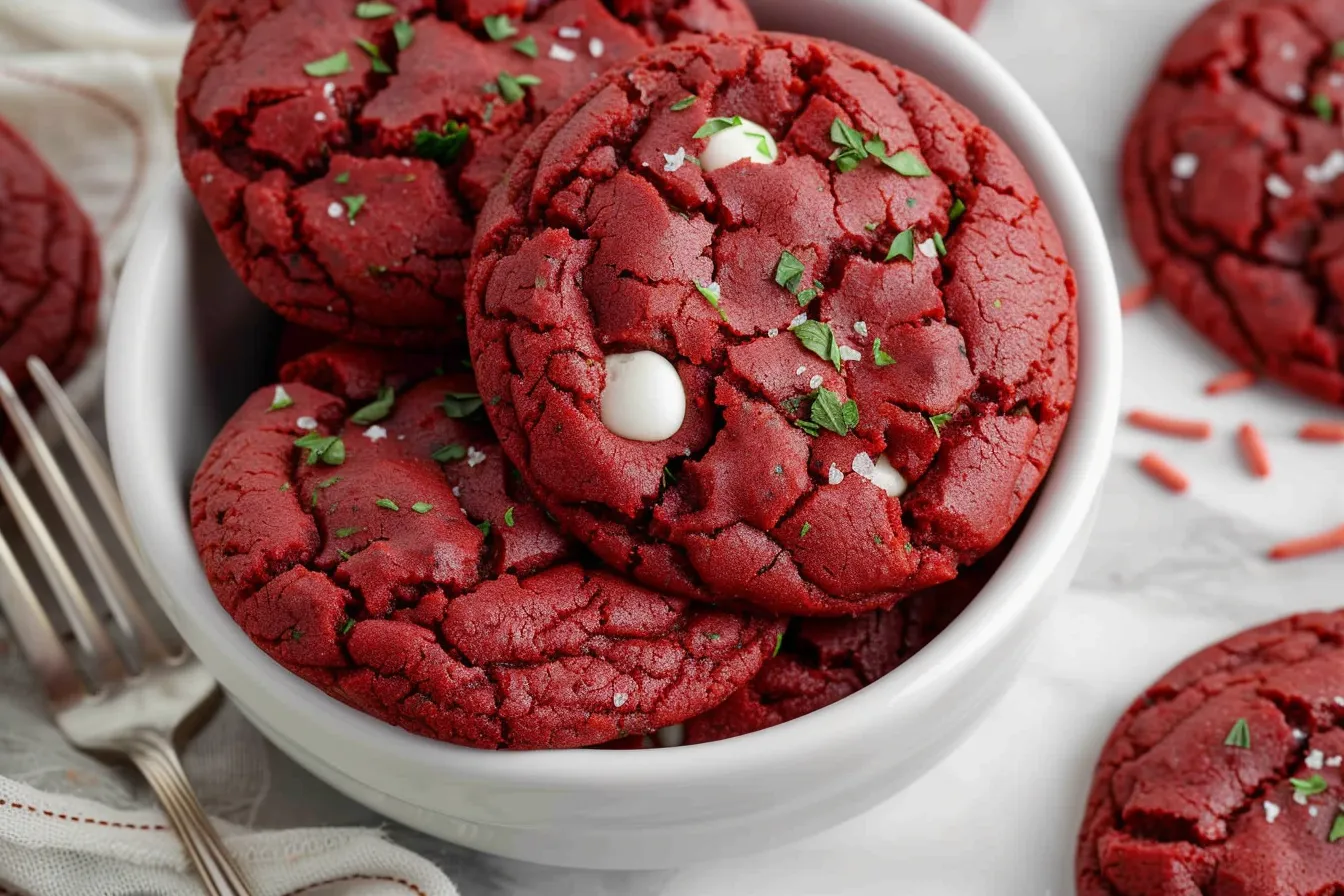
Y’all, sometimes a girl just needs a cookie. And sometimes, that girl (that’s me!) needs it fast. I can almost smell the sweet, slightly tangy aroma of red velvet baking in the oven just thinking about it. The other day, little Lily was begging for cookies after school, and I needed something quick and easy. I’ve made these red velvet cookies made with cake mix more times than I can count – they are a lifesaver! These cookies are soft, chewy, and bursting with that classic red velvet flavor, all thanks to a simple box of cake mix. This recipe is your secret weapon for delicious, effortless cookies, perfect for busy weeknights or last-minute cravings. Trust me; you’ll get the yummiest cookies your family will love.
Why This Recipe Works
Listen, I know we all love baking from scratch, but let’s be real: sometimes, there just isn’t time! That’s where this red velvet cookie recipe comes in clutch. This recipe works because it’s:
- Super Quick: From start to finish, you’re looking at about 25 minutes. That’s it!
- Kid-Approved: My kids devour these cookies. They love the vibrant color and sweet taste.
- Foolproof: It’s almost impossible to mess these up. The cake mix takes care of most of the work.
- Customizable: You can easily add chocolate chips, nuts, or even a cream cheese frosting for extra indulgence. I’ve even used different cake mix flavors for a fun twist.
I’ve tested this recipe countless times in my Texas kitchen, tweaking it until it was just right. You get the best of both worlds: the ease of a mix with the taste of homemade goodness.
Ingredients
- 1 box (15.25 oz) Red Velvet Cake Mix
- 1/2 cup (1 stick) unsalted butter, melted
- 2 large eggs
- 1 teaspoon vanilla extract
- 1/2 cup powdered sugar, for coating (optional)
Ingredient Notes
Red Velvet Cake Mix: This is the star of the show! Any brand will work, but I usually grab Duncan Hines or Betty Crocker. Make sure it’s a standard 15.25 oz box. Using a different size will affect the cookie’s texture and spread.
Unsalted Butter: Melted butter adds moisture and richness to the cookies. Make sure it’s unsalted so you can control the overall sweetness. If you only have salted butter, omit a pinch of salt later on.
Eggs: Eggs bind the ingredients together and give the cookies structure. Large eggs are preferred for consistent results.
Vanilla Extract: A touch of vanilla enhances the red velvet flavor. Use pure vanilla extract for the best taste. Imitation vanilla will also work in a pinch!
Powdered Sugar: This is optional, but coating the cookies in powdered sugar before baking creates a beautiful crinkled effect and adds a touch of sweetness.
Step-by-Step Instructions
Step 1: Preheat and Prep
First things first, preheat your oven to 350°F (175°C). While the oven is heating, line a baking sheet with parchment paper. This will prevent the cookies from sticking and make cleanup a breeze. I swear by parchment paper. It’s one of my best-kept kitchen secrets!
Step 2: Combine Ingredients
In a large bowl, combine the red velvet cake mix, melted butter, eggs, and vanilla extract. Use a mixer, either stand or hand-held, on medium speed to start combining the ingredients until they’re just incorporated. You don’t want to overmix the batter; a few lumps are perfectly fine. Overmixing will lead to tough cookies.
Step 3: Chill the Dough (Optional but Recommended)
For best results, cover the bowl with plastic wrap and chill the dough in the refrigerator for at least 30 minutes. This will help prevent the cookies from spreading too much during baking and will result in a chewier texture. If you’re short on time, you can skip this step, but the cookies might be a bit flatter.
Step 4: Shape the Cookies
If you chilled the dough, remove it from the refrigerator. Use a cookie scoop or spoon to drop rounded tablespoons of dough onto the prepared baking sheet, leaving about 2 inches between each cookie. If desired, roll each dough ball in powdered sugar before placing it on the baking sheet. It gives the cookies that gorgeous, crackled look that screams “homemade”.
Step 5: Bake
Bake for 8-10 minutes, or until the edges are set and the centers are slightly soft. Be careful not to overbake, as this will make the cookies dry. The centers should still be a little gooey – they will continue to set as they cool. My family loved a chewy center!
Step 6: Cool and Enjoy
Remove the baking sheet from the oven and let the cookies cool on the baking sheet for a few minutes before transferring them to a wire rack to cool completely. Resist the urge to eat them all immediately! They’re best when they’ve had a chance to cool down a bit. Grab a glass of milk and enjoy your delicious red velvet cookies!
Storage & Meal Prep
These cookies are best enjoyed fresh, but they can be stored in an airtight container at room temperature for up to 3 days. To keep them extra soft, add a slice of bread to the container.
For longer storage, you can freeze the cookies for up to 2 months. Place them in a single layer on a baking sheet and freeze until solid, then transfer them to a freezer bag or container. Thaw at room temperature before serving.
For meal prep, you can make the dough ahead of time and store it in the refrigerator for up to 2 days. Just bring it to room temperature slightly before scooping and baking. You can also scoop the dough onto a baking sheet, freeze the unbaked cookies, and then bake them directly from frozen, adding a few minutes to the baking time.

Substitutions & Variations
Gluten-Free: Use a gluten-free red velvet cake mix. I haven’t tested this personally, but others have had success with it.
Dairy-Free: Use a dairy-free butter substitute. Coconut oil also works, but it will change the texture slightly.
Chocolate Chips: Add 1/2 cup of chocolate chips (milk, dark, or white) to the batter for extra chocolatey goodness.
Nuts: Add 1/2 cup of chopped pecans or walnuts for a nutty crunch.
Cream Cheese Frosting: Frost the cooled cookies with a simple cream cheese frosting for a decadent treat. I like to use a piping bag and make swirls
Frequently Asked Questions
Can I make this ahead?
Absolutely! The dough can be made ahead of time and stored in the refrigerator for up to 2 days. Just bring it to room temperature slightly before scooping and baking.
How do I know when the cookies are done?
The cookies are done when the edges are set and the centers are slightly soft. They will continue to set as they cool, so be careful not to overbake them. Overbaking leads to dry cookies, and nobody wants that!
Can I use a different kind of cake mix?
Yes, you can! Chocolate, vanilla, or even spice cake mix would work well. The baking time might vary slightly, so keep an eye on them.
Can I freeze the cookies?
Yes, you can freeze the baked cookies for up to 2 months. Freeze them in a single layer on a baking sheet before transferring them to a freezer bag or container.
Are these cookies kid-friendly?
Definitely! My kids love them. They’re soft, sweet, and perfect for little hands.
Can I add food coloring to make the color more vibrant?
You could add a drop or two of red food coloring to the batter, but the cake mix already contains coloring, so it’s usually not necessary.
Why are my cookies flat?
Flat cookies can happen for a few reasons. Make sure your butter isn’t too soft. Also, chilling the dough really helps. If you skip the chilling, they’re more likely to spread.
Serving Suggestions
These cookies are delicious on their own, but here are a few serving suggestions:
- Serve them with a glass of cold milk or a cup of hot coffee.
- Make ice cream sandwiches with your favorite ice cream.
- Crumble them over a bowl of vanilla ice cream.
- Pack them in lunchboxes for a sweet treat.
So there you have it, folks! These red velvet cookies made with cake mix are a total game-changer for busy families who still want that homemade taste. The magic of taking a simple cake mix and turning it into a batch of warm, chewy cookies is just something special. I truly hope you’ll give this recipe a try and let me know what you think in the comments below. Don’t forget to sign up for my newsletter for more easy and delicious recipes just like this one! Happy baking, y’all!
PrintEasy Red Velvet Cookies Cake Mix

Bake delicious Red Velvet Cookies using a cake mix hack This easy familyapproved recipe from my Texas kitchen is kidapproved quick Get the recipe
- Prep Time: 5 minutes
- Cook Time: 10 minutes
- Total Time: 25 minutes
- Yield: About 24 cookies
- Category: Cookie
- Cuisine: American
Ingredients
- 1 box (15.25 oz) Red Velvet Cake Mix
- 1/2 cup (1 stick) unsalted butter, melted
- 2 large eggs
- 1 teaspoon vanilla extract
- 1/2 cup powdered sugar, for coating (optional)
Instructions
- Preheat your oven to 350°F (175°C). Line a baking sheet with parchment paper.
- In a large bowl, combine the red velvet cake mix, melted butter, eggs, and vanilla extract. Mix until just incorporated.
- For best results, chill the dough in the refrigerator for at least 30 minutes (optional).
- Use a cookie scoop or spoon to drop rounded tablespoons of dough onto the prepared baking sheet, leaving about 2 inches between each cookie. If desired, roll each dough ball in powdered sugar.
- Bake for 8-10 minutes, or until the edges are set and the centers are slightly soft.
- Remove the baking sheet from the oven and let the cookies cool on the baking sheet for a few minutes before transferring them to a wire rack to cool completely.
Notes
These red velvet cookies made with cake mix are soft, chewy, and bursting with that classic red velvet flavor, all thanks to a simple box of cake mix. This recipe is your secret weapon for delicious, effortless cookies, perfect for busy weeknights or last-minute cravings.
