
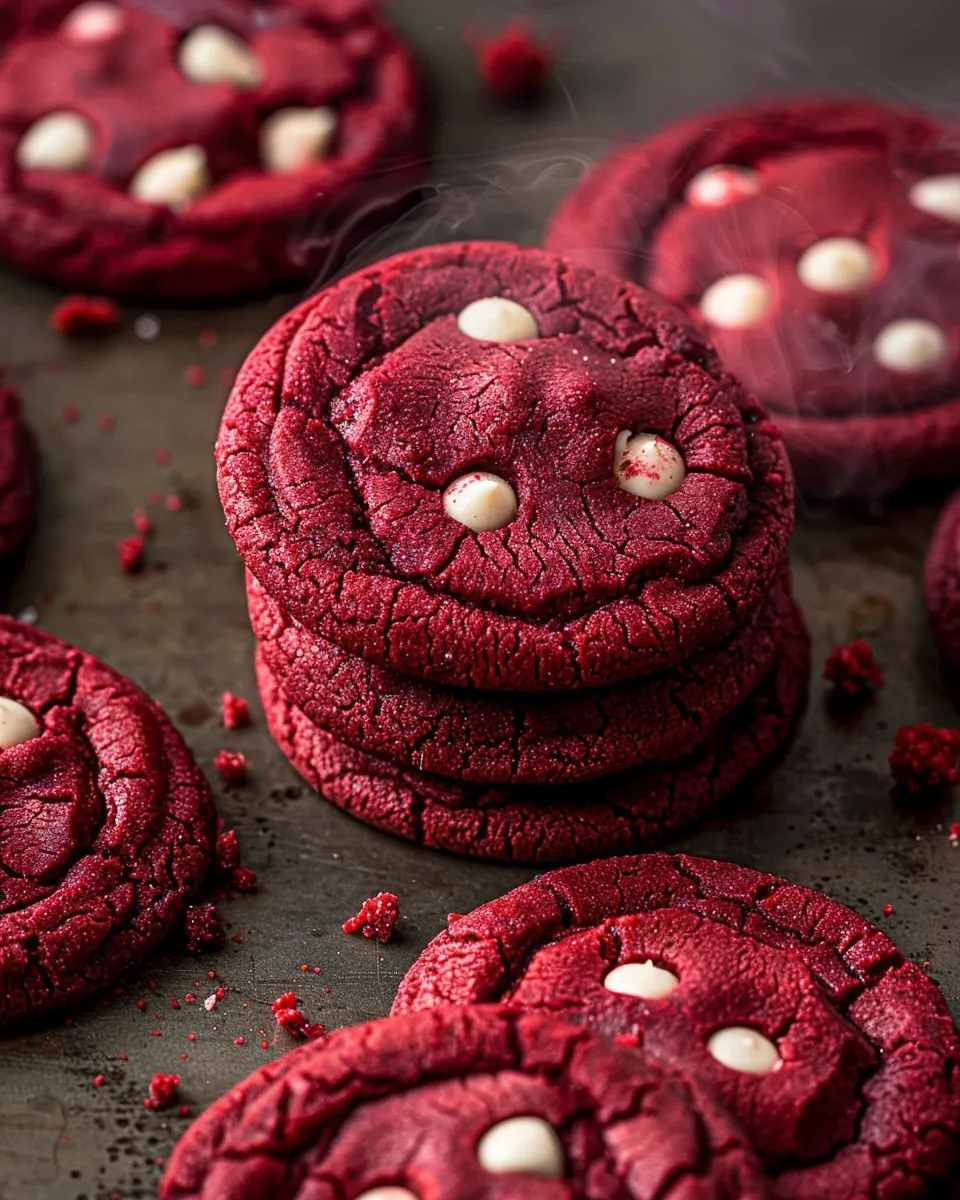
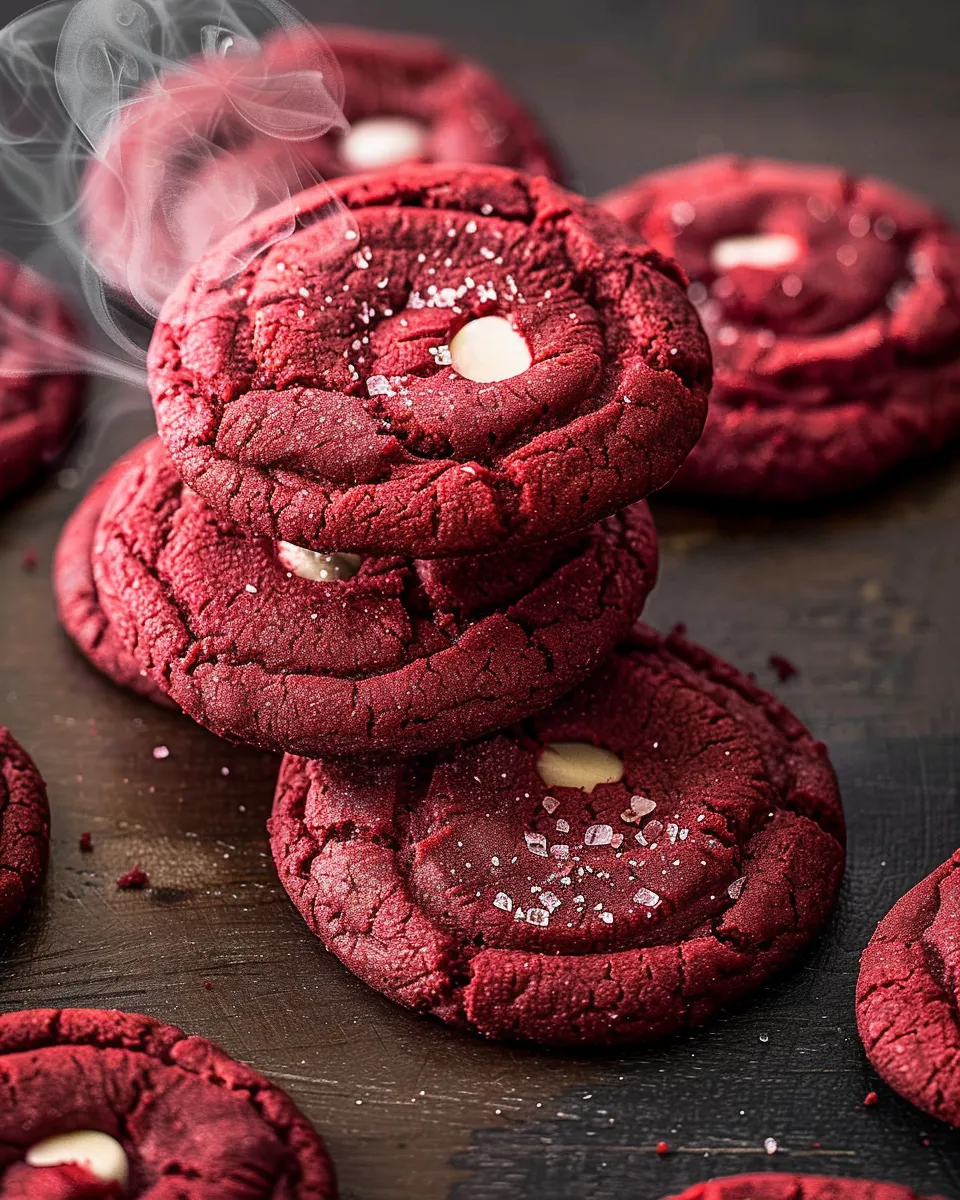
There’s just something about that vibrant red hue and subtle cocoa flavor that makes red velvet so irresistible, isn’t there? And let me tell you, turning that iconic flavor into a chewy, melt-in-your-mouth cookie? Pure magic. I’ve made these red velvet cookies at least a dozen times in my Texas kitchen, tweaking the recipe until it was absolutely perfect – the kind of perfect that makes my kids do a happy dance and my husband sneak a few extra after dinner. Whether it’s for a bake sale, a holiday treat, or just a special something to brighten a Tuesday afternoon, these cookies are always a hit. This recipe promises you soft, chewy red velvet cookies that are easy to make and will disappear faster than you can say “y’all.”
Why This Recipe Works
As a busy mom, I need recipes that are not only delicious but also practical. These red velvet cookies fit the bill perfectly. Here’s why I think you’ll love them:
- Quick & Easy: From start to finish, you’ll have a batch of warm, gooey cookies in under 30 minutes.
- Kid-Approved: The vibrant color and sweet, mild flavor make these cookies a guaranteed win with even the pickiest eaters. My kids love helping me decorate them with sprinkles!
- Make-Ahead Friendly: You can easily prepare the dough in advance and bake the cookies fresh whenever you need them. This is a lifesaver during the busy holiday season.
Ingredients
- 1 ½ cups all-purpose flour
- ¼ cup unsweetened cocoa powder
- 1 teaspoon baking soda
- ½ teaspoon salt
- ½ cup (1 stick) unsalted butter, softened
- ¾ cup granulated sugar
- ¾ cup packed brown sugar
- 1 large egg
- 1 teaspoon vanilla extract
- 1 tablespoon red food coloring (gel is best)
- 1 teaspoon white vinegar
- 1 cup white chocolate chips (optional, but highly recommended!)
Ingredient Notes
Here are a few notes about the ingredients that I’ve learned along the way:
- Red Food Coloring: Gel food coloring will give you the most vibrant red color without adding too much liquid. If you only have liquid food coloring, you may need to use a bit more to achieve the desired shade.
- White Vinegar: Don’t skip the vinegar! It reacts with the baking soda to create a wonderfully soft and chewy texture. You won’t taste it in the final product.
- White Chocolate Chips: These add a lovely sweetness and creaminess that complements the red velvet flavor. But feel free to substitute milk chocolate, dark chocolate, or even chopped nuts if you prefer.
- Cocoa powder: Ensure it’s unsweetened! Since you’re adding a fair amount of sugar, sweetened cocoa can make the cookies overly sweet.
Step-by-Step Instructions
Follow these simple steps to bake up a batch of perfect red velvet cookies:
- Step 1: Whisk the dry ingredients. In a medium bowl, whisk together the flour, cocoa powder, baking soda, and salt. This ensures that everything is evenly distributed.
- Step 2: Cream the butter and sugars. In a large bowl, cream together the softened butter, granulated sugar, and brown sugar until light and fluffy. This usually takes about 2-3 minutes with an electric mixer.
- Step 3: Add the egg and vanilla. Beat in the egg and vanilla extract until well combined.
- Step 4: Mix in the red food coloring and vinegar. Stir in the red food coloring and vinegar until the batter is evenly colored. The batter might look a little curdled at this point, but don’t worry, it will come together in the next step.
- Step 5: Gradually add the dry ingredients. Gradually add the dry ingredients to the wet ingredients, mixing until just combined. Be careful not to overmix, as this can result in tough cookies.
- Step 6: Stir in the white chocolate chips. Gently fold in the white chocolate chips (if using).
- Step 7: Chill the dough. Cover the dough and chill in the refrigerator for at least 30 minutes. This helps prevent the cookies from spreading too much during baking. I’ve found that chilling for an hour works best, especially in the hot Texas heat!
- Step 8: Preheat the oven and prepare the baking sheet. Preheat your oven to 350°F (175°C). Line a baking sheet with parchment paper or a silicone baking mat.
- Step 9: Scoop and bake the cookies. Scoop rounded tablespoons of dough onto the prepared baking sheet, leaving about 2 inches between each cookie. Bake for 9-11 minutes, or until the edges are set and the centers are still slightly soft. I’ve noticed that my oven takes exactly 10 minutes for the perfect gooey texture.
- Step 10: Cool and enjoy. Let the cookies cool on the baking sheet for a few minutes before transferring them to a wire rack to cool completely. Enjoy!
Storage & Meal Prep
Here’s how to store your red velvet cookies and prepare them in advance:
- Storage: Store cooled cookies in an airtight container at room temperature for up to 3 days. For longer storage, you can freeze them for up to 2 months.
- Freezing: To freeze cookies, place them in a single layer on a baking sheet and freeze until solid. Then, transfer them to a freezer-safe bag or container.
- Make-Ahead: The dough can be made up to 2 days in advance. Store it in the refrigerator, tightly wrapped. Let the dough sit at room temperature for about 15 minutes before scooping and baking.
- Batch Prep: Double or triple the recipe to make a large batch of cookies for parties or holidays. The dough freezes beautifully, so you can always have cookies on hand.
Substitutions & Variations
Want to customize your red velvet cookies? Here are a few ideas:
- Gluten-Free: Use a gluten-free all-purpose flour blend. I have not personally tested this but I suggest using a blend that contains xanthan gum for the best results.
- Dairy-Free: Substitute the butter with a dairy-free butter alternative and the white chocolate chips with dairy-free chocolate chips.
- Chocolate Chips: Try using dark chocolate chips, semi-sweet chocolate chips, or even a mix of all three.
- Cream Cheese Frosting: For an extra decadent treat, frost the cooled cookies with cream cheese frosting. I’ve seen folks do it at potlucks and always intend to try it myself.
Frequently Asked Questions
Can I make these cookies without red food coloring?
While the red color is a key part of red velvet cookies, you can certainly omit the food coloring if you prefer. The cookies will still taste delicious, but they will have a more natural chocolate color.
How do I prevent the cookies from spreading too much?
Chilling the dough is the most important step to prevent spreading. Make sure to chill it for at least 30 minutes, or even longer if your kitchen is warm. You can also try adding a tablespoon or two of extra flour to the dough.
My cookies are dry. What did I do wrong?
Overbaking is the most common cause of dry cookies. Be sure to bake them for the recommended time and don’t overbake. Also, make sure you’re not using too much flour in the dough.
Can I use a different type of sugar?
While I recommend using both granulated sugar and brown sugar for the best texture and flavor, you can experiment with using all granulated sugar or all brown sugar. Keep in mind that this will affect the texture and sweetness of the cookies.
Are these cookies kid-friendly?
Absolutely! My kids love these cookies. They’re soft, chewy, and not too sweet. The red color also makes them extra fun for kids.
PrintEasy Red Velvet Cookies

Bake easy Red Velvet Cookies with this familyapproved recipe tested in my Texas kitchen These homemade cookies are quick delicious my kids love this recipe
- Prep Time: 15 minutes
- Cook Time: 10 minutes
- Total Time: 25 minutes
- Yield: Approximately 24 cookies
- Category: Cookie
- Cuisine: American
Ingredients
- 1 1/2 cups all-purpose flour
- 1/4 cup unsweetened cocoa powder
- 1 teaspoon baking soda
- 1/2 teaspoon salt
- 1/2 cup (1 stick) unsalted butter, softened
- 3/4 cup granulated sugar
- 3/4 cup packed brown sugar
- 1 large egg
- 1 teaspoon vanilla extract
- 1 tablespoon red food coloring (gel is best)
- 1 teaspoon white vinegar
- 1 cup white chocolate chips (optional, but highly recommended!)
Instructions
- Whisk the dry ingredients. In a medium bowl, whisk together the flour, cocoa powder, baking soda, and salt. This ensures that everything is evenly distributed.
- Cream the butter and sugars. In a large bowl, cream together the softened butter, granulated sugar, and brown sugar until light and fluffy. This usually takes about 2-3 minutes with an electric mixer.
- Add the egg and vanilla. Beat in the egg and vanilla extract until well combined.
- Mix in the red food coloring and vinegar. Stir in the red food coloring and vinegar until the batter is evenly colored. The batter might look a little curdled at this point, but don’t worry, it will come together in the next step.
- Gradually add the dry ingredients. Gradually add the dry ingredients to the wet ingredients, mixing until just combined. Be careful not to overmix, as this can result in tough cookies.
- Stir in the white chocolate chips. Gently fold in the white chocolate chips (if using).
- Chill the dough. Cover the dough and chill in the refrigerator for at least 30 minutes. This helps prevent the cookies from spreading too much during baking. I’ve found that chilling for an hour works best, especially in the hot Texas heat!
- Preheat the oven and prepare the baking sheet. Preheat your oven to 350°F (175°C). Line a baking sheet with parchment paper or a silicone baking mat.
- Scoop and bake the cookies. Scoop rounded tablespoons of dough onto the prepared baking sheet, leaving about 2 inches between each cookie. Bake for 9-11 minutes, or until the edges are set and the centers are still slightly soft. I’ve noticed that my oven takes exactly 10 minutes for the perfect gooey texture.
- Cool and enjoy. Let the cookies cool on the baking sheet for a few minutes before transferring them to a wire rack to cool completely. Enjoy!
Notes
Soft, chewy red velvet cookies that are easy to make and will disappear faster than you can say ‘y’all.’ These cookies are perfect for bake sales, holidays, or a special treat any day of the week.
