
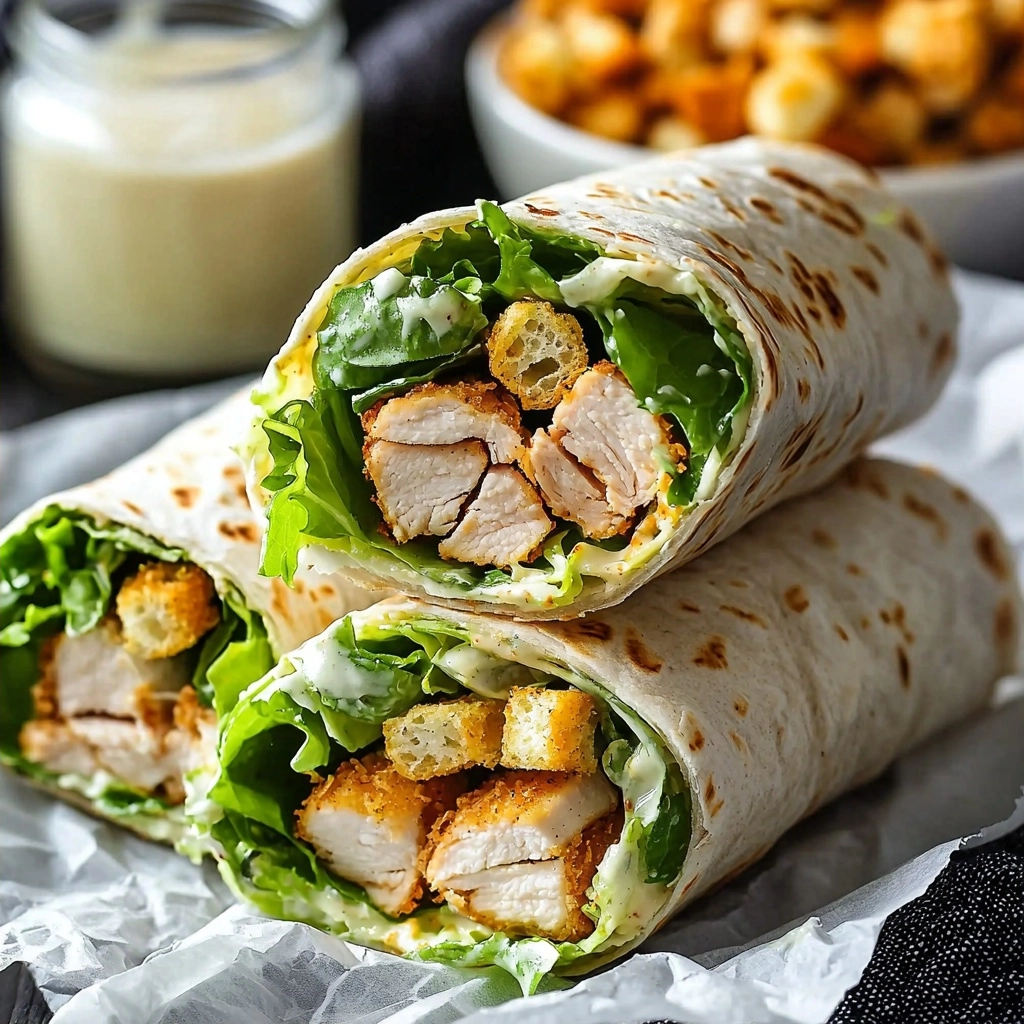
There’s nothing quite like a recipe that brings together comfort and convenience, right? For me, that’s exactly what these Chicken Caesar Wraps do. I remember the first time I made them – it was a busy weeknight, and I needed something quick, delicious, and satisfying. My family absolutely devoured them, and ever since, they’ve been a go-to in our house. They’re just so easy to customize and perfect for a quick lunch or a light dinner!
Why You’ll Love These Chicken Caesar Wraps
- They’re incredibly quick to make, perfect for busy weeknights!
- You get that delicious, creamy Caesar flavor in every single bite.
- They’re super customizable – use your favorite chicken and toppings!
- These wraps are fantastic for meal prep or a grab-and-go lunch.
Ingredients You’ll Need
- Chopped cooked chicken: This is where the magic of convenience comes in! You can use leftover grilled chicken, a rotisserie chicken from the store, or even some quick pan-fried chicken breasts.
- Caesar dressing: Use your favorite store-bought dressing for ease, or whip up a homemade one if you’re feeling ambitious.
- Freshly grated Parmesan cheese: Freshly grated really makes a difference here. It melts a little better and has a bolder flavor than pre-shredded.
- Homemade croutons: While store-bought works, making your own croutons adds an amazing crunch and flavor. They’re surprisingly easy to make!
- Flour tortillas or wraps: Look for 10-inch tortillas. These are large enough to hold all the delicious filling without tearing.
How to Make Chicken Caesar Wraps Step by Step
Let’s get cooking! First, grab a big bowl. This is where we’ll mix all the good stuff for your filling. Toss in your chopped romaine lettuce, the cooked chicken, Caesar dressing, Parmesan cheese, and those crunchy croutons. Use some tongs to really get everything coated evenly. Don’t be shy – make sure every piece is hugged by that creamy dressing!
Now, give it a little taste. This is your chance to adjust! If you like more dressing, go ahead and add a splash more. A pinch of salt and pepper can really brighten up the flavors too. Once your filling is perfect, set it aside while we get those tortillas ready.
Next, we need to warm those tortillas so they’re nice and pliable. This is key for easy wrapping! You can do this in a large pan over medium heat, about 15 to 30 seconds per side. Just until they’re soft and warm. Or, if you’re in a hurry, pop them in the microwave between paper towels for 15 to 30 seconds. Once warm, stack them on a plate and cover them with a kitchen towel to keep them cozy.
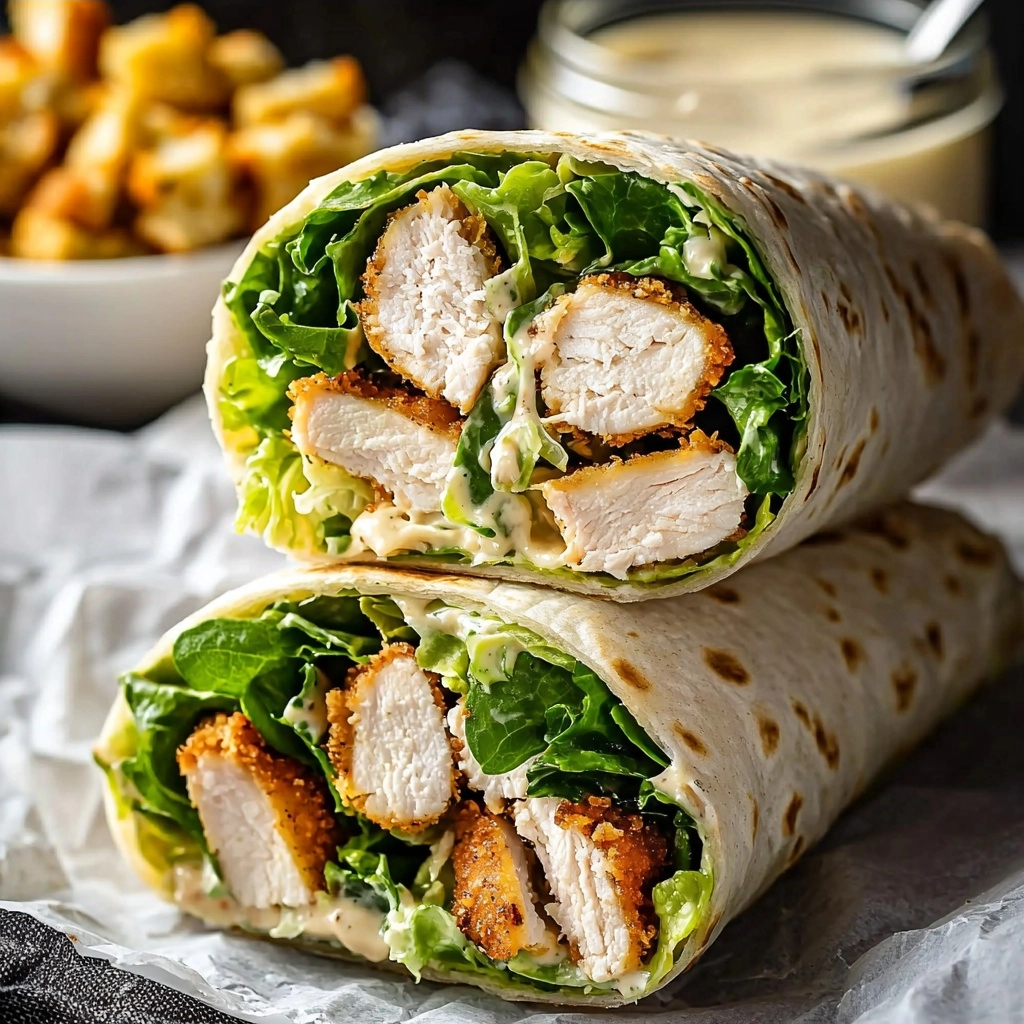
Now for the fun part – assembling your Chicken Caesar Wraps! Lay a warm tortilla on a clean surface. Spoon your delicious Caesar salad mixture right into the center. Don’t overfill it, but be generous! Then, fold in the two opposite sides of the tortilla, and roll it up tightly, burrito-style. If you want to be extra secure, you can even pop a toothpick in the middle. You can serve them whole or cut them in half for easier eating. Enjoy your creation!
My Top Tips for Success
- I always make sure my chicken is fully cooled before mixing it in; it keeps the lettuce crisp.
- In my experience, warming the tortillas just enough to make them flexible prevents tearing.
- Trust me on this one: don’t overfill the wraps, or they’ll be tricky to roll.
- I like to add a squeeze of fresh lemon juice to the mixture for an extra bright flavor.
- For the best texture, eat these wraps soon after assembling them.
Common Mistakes to Avoid
- Overfilling the tortilla: This makes it really hard to roll without tearing. Start with less filling than you think you need, and you can always add more next time.
- Not warming the tortillas: Cold tortillas are stiff and will crack when you try to roll them. Warming them makes them pliable and easy to work with.
- Using soggy lettuce: Make sure your romaine is thoroughly washed and dried. Excess water will make your wrap watery and less appealing.
- Mixing too far in advance: The croutons can get soggy if they sit in the dressing for too long. Mix the filling right before assembling for the best crunch.
How to Store Chicken Caesar Wraps
- Assembled Wraps: Store tightly wrapped in plastic wrap or in an airtight container in the refrigerator for up to 1 day.
- Filling Separately: Store the chicken Caesar mixture (without croutons) in an airtight container in the refrigerator for up to 2-3 days. Keep croutons separate and add just before assembling.
Frequently Asked Questions
Can I make the chicken ahead of time?
Yes, absolutely! Cooked chicken can be stored in an airtight container in the refrigerator for 3-4 days, making these wraps even quicker to prepare. This is a great meal prep tip!
What kind of tortillas work best?
I recommend 10-inch flour tortillas. They are large enough to hold a good amount of filling and are flexible for rolling. You can also use whole wheat tortillas.
Can I add other vegetables to the wraps?
Of course! Feel free to add thinly sliced cucumbers, red onion, or even some diced tomatoes. Just be careful not to overfill the wraps.
How do I prevent the wraps from getting soggy?
The best way is to assemble them right before eating. If you need to prep ahead, keep the wet ingredients (dressing, lettuce) separate from the other ingredients until you’re ready to roll.
Can I use a different type of cheese?
While Parmesan is classic for Caesar, you could try a finely shredded Romano cheese for a similar tangy flavor. It’s all about what you love!
I hope these Chicken Caesar Wraps become a new favorite in your kitchen, just like they are in mine. They’re such a simple way to bring a fresh, flavorful meal to your table! If you make them, I’d absolutely love to hear how they turned out for you!
PrintChicken Caesar Wraps
These simple and satisfying Chicken Caesar Wraps are packed with flavor, easy to make, and perfect for a quick meal.
- Prep Time: 15
- Cook Time: 2
- Total Time: 17
- Yield: 4 servings
- Category: Dinner
- Method: No-Bake
- Cuisine: American
Ingredients
- 3 cups chopped romaine lettuce
- 1 1/2 cups chopped cooked chicken, grilled, fried, or rotisserie
- 1/3 cup Caesar dressing
- 1/3 cup freshly grated Parmesan cheese
- 1/2 cup homemade croutons
- Kosher salt and freshly ground black pepper, to taste
- 4 flour tortillas or wraps, 10-inch
Instructions
- Combine the lettuce, chopped chicken, Caesar dressing, Parmesan cheese, and croutons in a large bowl.
- Toss well with tongs until all ingredients are evenly coated.
- Season the mixture with salt and pepper to taste.
- Taste the mixture and add more dressing if desired.
- Set the Caesar salad mixture aside.
- Warm a large pan over medium heat.
- Place one tortilla in the pan and warm for 15 to 30 seconds per side until pliable.
- Remove the warm tortilla and place it on a plate.
- Cover the warm tortilla with a kitchen towel to keep it warm.
- Repeat with the remaining tortillas.
- Alternatively, warm tortillas in the microwave between paper towels for 15 to 30 seconds.
- Lay a warm tortilla on a clean surface.
- Divide the Caesar salad mixture evenly between the four tortillas.
- Place the mixture in the center of each tortilla.
- Fold in opposite sides of each tortilla.
- Roll up each tortilla, burrito-style.
- Insert a toothpick in the center of each wrap to help keep it closed, if desired.
- Cut each wrap in half or serve them whole.
Notes
Ensure chicken is fully cooled before mixing to maintain lettuce crispness.
Warm tortillas just enough to make them flexible and prevent tearing.
Avoid overfilling the wraps for easier rolling and assembly.
For the best texture and crunch, assemble wraps just before serving.
Store any leftover filling (without croutons) separately to prevent sogginess.
