
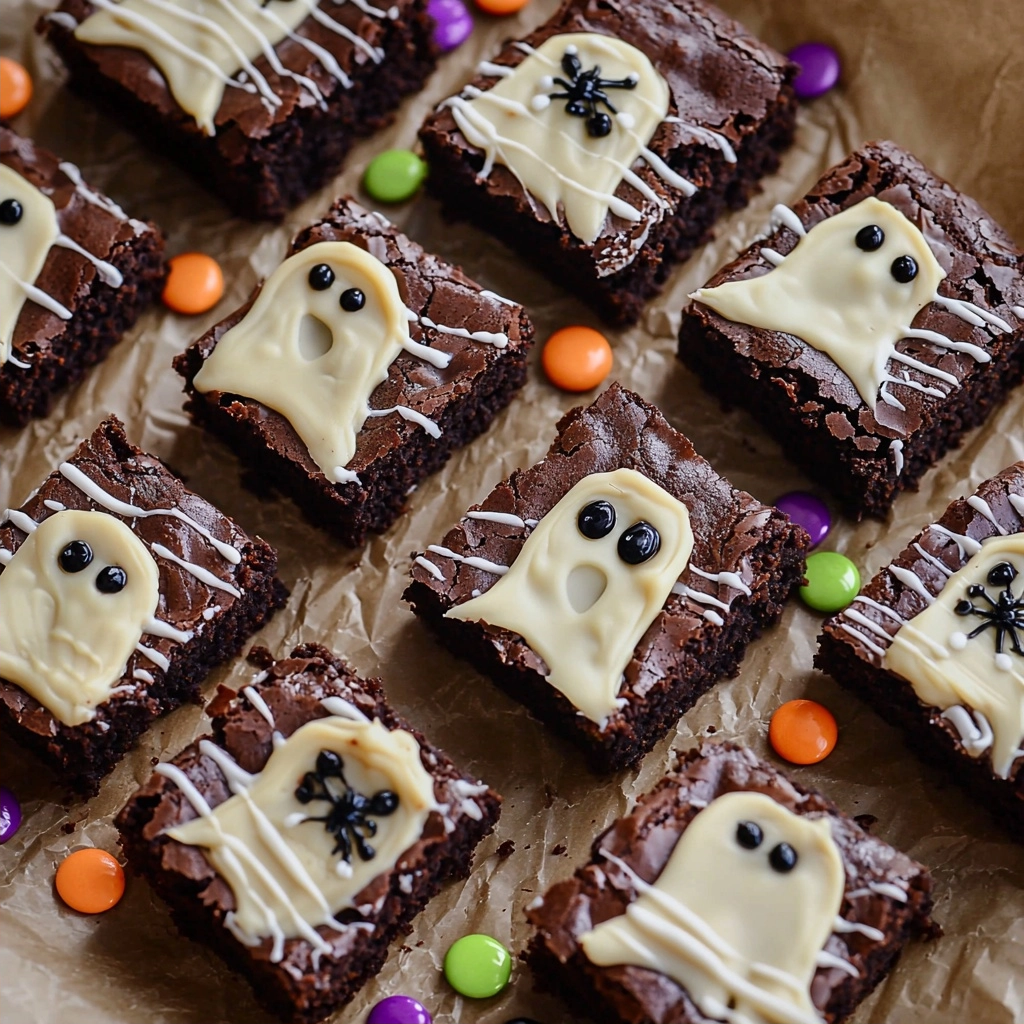
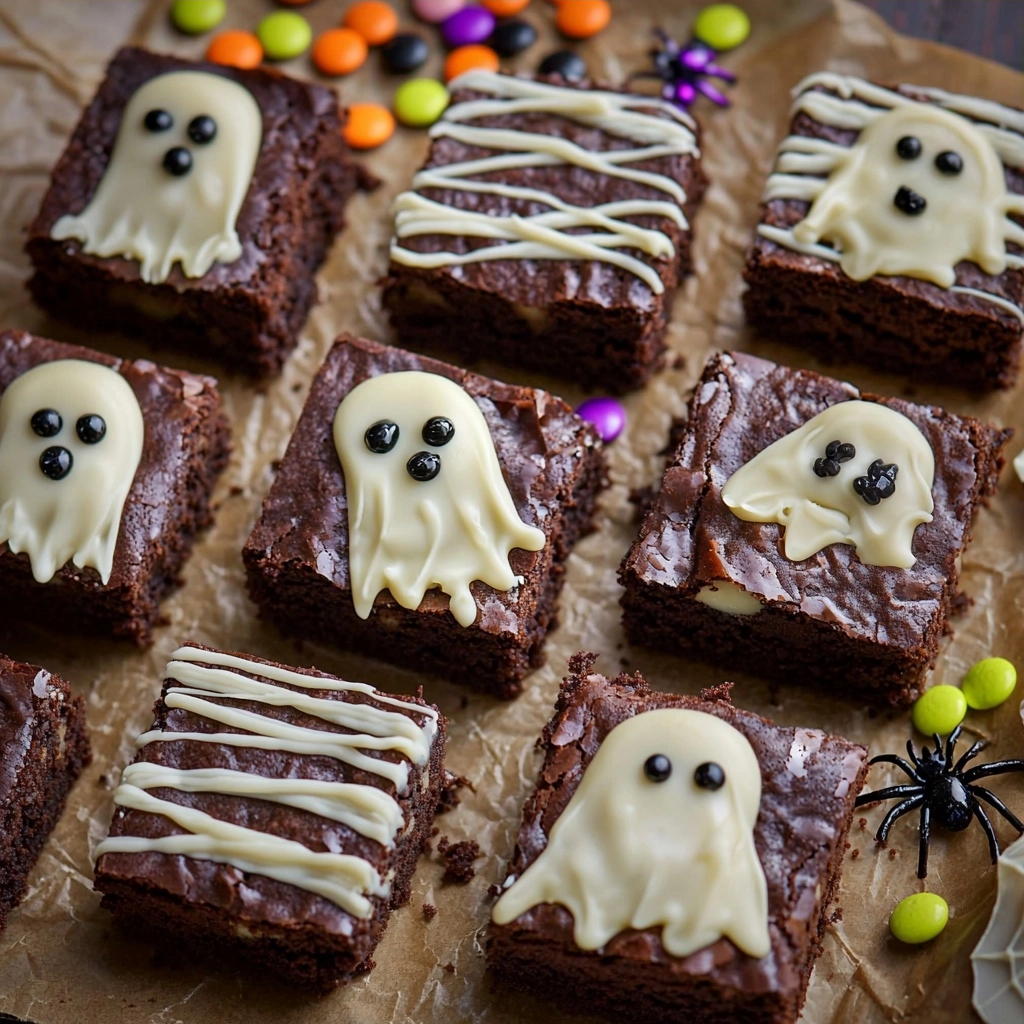
Every Halloween, my kitchen turns into a little spooky-sweet wonderland, and these brownies are always at the heart of the fun! There’s something so comforting about a rich, fudgy brownie, and when you can dress them up for all the ghosts and goblins, it just makes them extra special. This year, I’m so excited to share my secret for making super Easy Halloween Brownies 3 Ways that are not only delicious but also incredibly simple to decorate. They’re a true crowd-pleaser and perfect for any spooky gathering!
Why You’ll Love This Easy Halloween Brownies 3 Ways
- Super Fudgy Texture: These brownies are perfectly dense and moist, not cakey at all!
- Quick & Easy: The recipe comes together in one bowl, making cleanup a breeze.
- Customizable Fun: We’re making them three different ways, so there’s something for everyone.
- Perfect for Parties: They’re always a hit for Halloween gatherings, big or small.
Ingredients You’ll Need
- Salted Butter: Using salted butter balances the sweetness and adds richness. If you only have unsalted, just add an extra pinch of salt to the brownie batter.
- Unsweetened Cocoa Powder: This gives our brownies their deep, dark chocolate flavor. Make sure it’s unsweetened!
- All-Purpose Flour: The structure of our brownies! Don’t overmix once you add it.
- Granulated Sugar: Sweetens our brownies and helps create that wonderful fudgy texture.
- Large Eggs: Binds everything together and adds moisture.
- Baking Powder: Just a touch for a little lift, keeping them fudgy, not cakey.
- Salt: Essential for enhancing all the chocolate flavors and balancing the sweetness.
- Vanilla Extract: A must for any chocolate baked good – it really brings out the chocolate notes.
- Instant Espresso (for baking): This is totally optional, but trust me, it deepens the chocolate flavor without making the brownies taste like coffee. It’s a secret weapon!
- Powdered Sugar: The base for our smooth, creamy frosting. Don’t try to substitute with granulated sugar here!
How to Make Easy Halloween Brownies 3 Ways Step by Step
First things first, let’s get your oven ready! You’ll want to preheat it to 350°F (175°C). Then, grab a 9×13 inch baking pan. Line it with parchment paper or tin foil, and make sure to spray that lining with non-stick spray. This step is super important for easy brownie removal later!
Now for the brownie batter! In a large bowl, or the bowl of your stand mixer, combine the melted salted butter, unsweetened cocoa powder, granulated sugar, large eggs, salt, vanilla extract, and that optional instant espresso powder. Give everything a good mix until it’s well combined. This is where all the delicious flavors start to come together!
Next, add your all-purpose flour and baking powder to the wet ingredients. Mix just until everything is incorporated – don’t over-mix here! Overmixing can make your brownies tough, and we want them nice and fudgy. The batter will be quite thick, and that’s perfectly normal. Pour the thick batter into your prepared pan and use a spatula to spread it out evenly. Bake for 25-28 minutes, or until a toothpick inserted into the center comes out clean. Once baked, remove the brownies from the oven and let them cool for about 15 minutes. They should be warm, but not hot, before you frost them.
My Top Tips for Success
- I always use a light-colored metal pan for baking brownies; it conducts heat evenly and prevents overbrowning.
- In my experience, lining the pan with parchment paper with an overhang makes lifting the cooled brownies out incredibly easy.
- Trust me on this one: don’t overbake! A slightly underbaked brownie is fudgy; an overbaked one is dry.
- For the fudgiest brownies, let them cool completely before cutting. I know it’s hard to wait!
- If you can, use good quality cocoa powder. It really makes a difference in the chocolate flavor.
Common Mistakes to Avoid
- Overmixing the batter: This develops the gluten in the flour too much, leading to tough, cakey brownies instead of fudgy ones. Mix only until the flour streaks disappear.
- Overbaking the brownies: This is the most common mistake! Brownies continue to cook a little after they come out of the oven. If a toothpick comes out with moist crumbs, they’re perfect. If it’s completely clean, they might be slightly overbaked.
- Cutting warm brownies: Warm brownies are soft and crumbly. They are much easier to cut into neat squares once they are completely cooled.
- Not lining the pan: Without parchment or foil, your brownies are much more likely to stick, making them difficult to remove and potentially ruining their presentation.
How to Store Easy Halloween Brownies 3 Ways
- Countertop: Store unfrosted brownies in an airtight container at room temperature for up to 3-4 days.
- Refrigerated: Frosted brownies can be stored in an airtight container in the refrigerator for up to 5 days. Bring to room temperature before serving for best texture.
- Frozen: Unfrosted brownies can be wrapped tightly in plastic wrap and then foil, and stored in a freezer-safe bag for up to 3 months. Thaw at room temperature before frosting and serving.
Frequently Asked Questions
What kind of cocoa powder should I use?
Use unsweetened cocoa powder for these brownies. Either natural or Dutch-processed will work, but natural cocoa powder will give a slightly lighter, tangier brownie, while Dutch-processed yields a darker, less acidic flavor.
Can I make these brownies ahead of time?
Absolutely! You can bake the brownies a day or two in advance. Store them unfrosted at room temperature, then frost and decorate just before serving.
How do I know when the brownies are done?
Insert a toothpick into the center of the brownies. If it comes out with moist crumbs attached, they are perfect. If it comes out completely clean, they might be slightly overbaked, but still delicious!
Can I add mix-ins to the brownie batter?
Yes, you can! Feel free to fold in chocolate chips, chopped nuts, or even Halloween-themed sprinkles into the batter before baking for extra texture and flavor.
I hope these Easy Halloween Brownies 3 Ways bring a little extra magic and deliciousness to your spooky season! They’re truly a joy to make and even more fun to share. If you whip up a batch, please let me know how they turn out – I’d love to hear about your Halloween creations!
