Oh, these treats! Every time I whip up a batch of these Fruity Pebbles Rice Krispies Treats, I’m instantly transported back to Saturday mornings as a kid, watching cartoons with a colorful bowl of cereal in hand. There’s just something so wonderfully nostalgic and joyful about them. They’re such a fun twist on a classic, and honestly, they always bring a huge smile to everyone’s face. They’re bright, they’re chewy, and they’re just pure, unadulterated fun, perfect for any occasion!
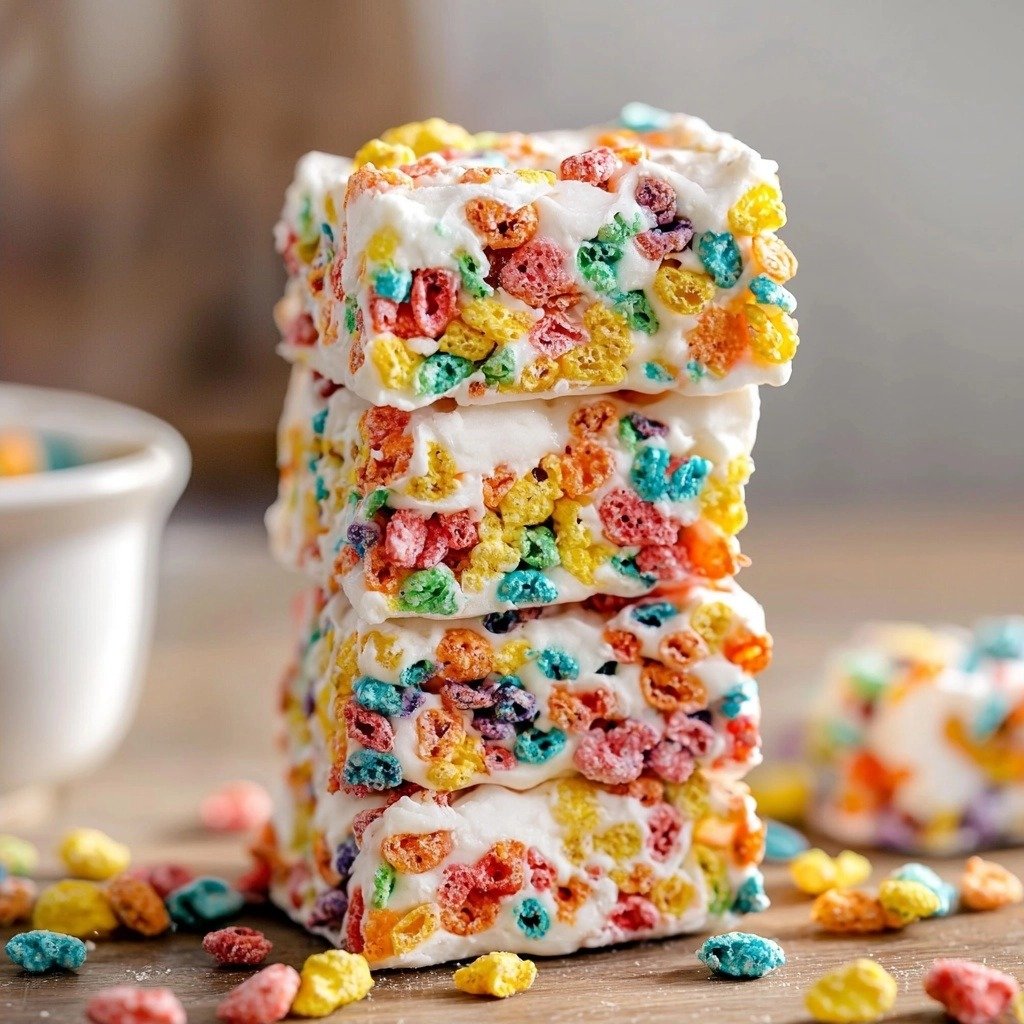
Why You’ll Love This Fruity Pebbles Rice Krispies Treats
- They’re incredibly quick to make – seriously, hardly any time at all!
- The vibrant colors and fruity flavor are a total party for your taste buds.
- No baking required, so they’re perfect for a last-minute treat or a hot day.
- They’re a fantastic crowd-pleaser for kids and adults alike, always a hit!
Ingredients You’ll Need
- Unsalted Butter: This is key for that rich, creamy base. Unsalted gives you control over the overall saltiness, but if you only have salted, just reduce the added salt slightly.
- Miniature Marshmallows: Mini marshmallows melt so much more smoothly and evenly than larger ones. They’re crucial for that perfect gooey texture! We’ll be saving some for later for extra chewiness.
- Salt: Just a tiny pinch of salt balances out the sweetness and really makes the flavors pop. Don’t skip it!
- Vanilla Extract: Pure vanilla adds warmth and depth to the flavor profile. It’s a must-have for any sweet treat.
- Fruity Pebbles Cereal: This is where all the fun, fruity flavor and color comes from! No substitutes here if you want that classic taste.
- Rice Krispies Cereal: The original crispy base! It provides that essential crunch and a nice contrast to the fruity flavor.
How to Make Fruity Pebbles Rice Krispies Treats Step by Step
First things first, let’s get your pan ready. Grab a 9×9-inch pan and give it a good spray with cooking spray. Then, line it with parchment paper, making sure to leave some overhang on the sides. This little trick makes lifting the finished treats out of the pan so much easier, trust me!
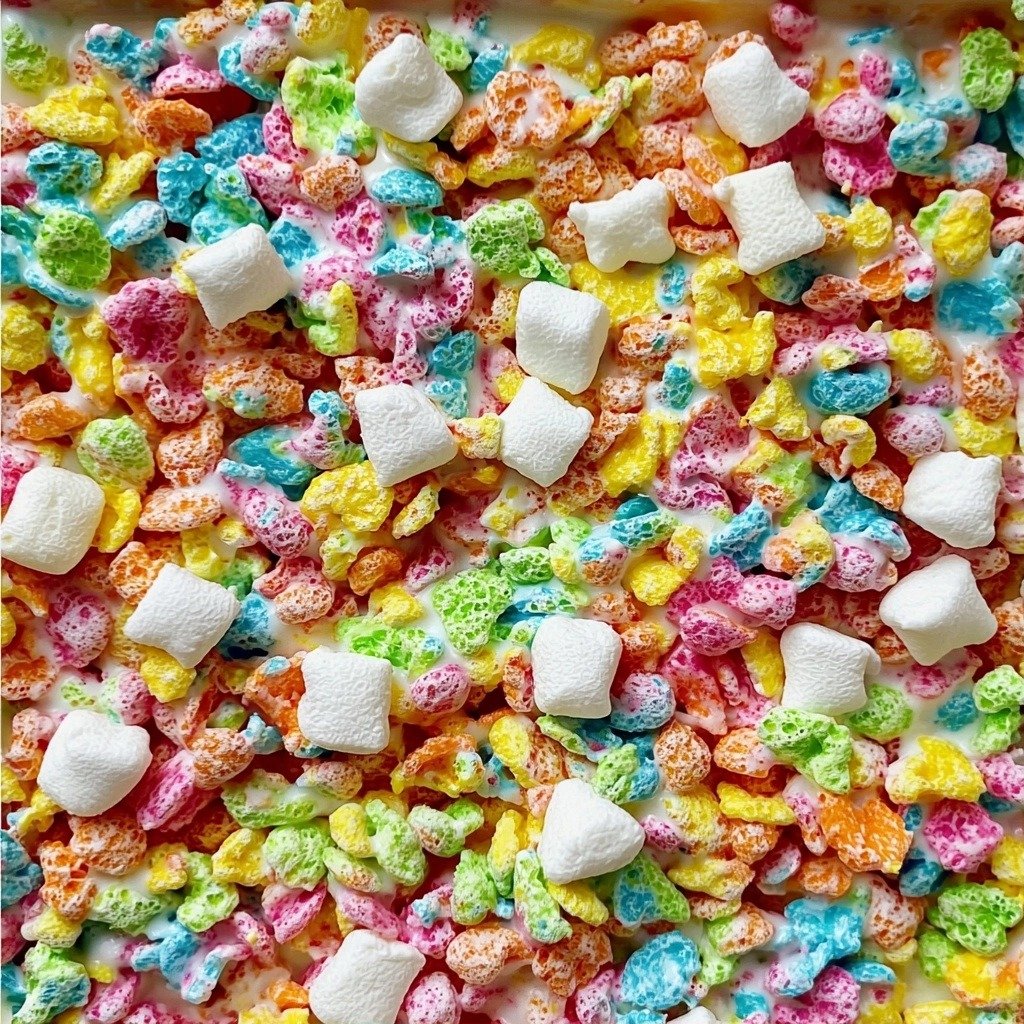
Now, measure out 2 and 1/2 cups of miniature marshmallows from your bag and set them aside. These are going to be added at the end for extra pockets of gooey goodness. In a large nonstick pot, melt your butter over low heat. Once it’s all liquidy and beautiful, add the rest of the marshmallows to the pot. Keep stirring constantly over that low heat until they’ve completely melted into a smooth, shiny marshmallow sauce. This takes a little patience, but it’s worth it!
Once your marshmallows are perfectly melted, take the pot off the heat. Stir in the salt and vanilla extract – give it a good mix to combine. Now for the cereals! Gently fold in both the Rice Krispies and the Fruity Pebbles. Be careful not to mash the cereal too much here; we want to keep those crispy textures intact. Finally, add in those reserved 2 and 1/2 cups of marshmallows and continue to stir until everything is nicely coated and combined. This is where the magic happens and everything comes together!
Pour the warm mixture into your prepared pan. Lightly spray your hands with a little cooking spray – this prevents sticking! Then, gently press the mixture into an even layer in the pan. Remember, don’t press too hard, or your treats will end up dense instead of wonderfully chewy. Now, all that’s left is to let them cool and set for at least an hour. Once they’re firm, use that parchment paper overhang to lift them out, and cut them into perfect squares with a sharp knife. Enjoy!
My Top Tips for Success
- I always use a nonstick pot for melting the marshmallows; it makes cleanup so much easier.
- In my experience, low heat is key for melting the marshmallows. Don’t rush it, or they can get tough.
- Trust me on this one: don’t over-press the mixture into the pan. A light touch keeps them soft and chewy.
- Using parchment paper with an overhang is a game-changer for easy removal and clean cuts.
- Fresh marshmallows make a huge difference in texture; older ones can make the treats harder.
Common Mistakes to Avoid
- Melting marshmallows over high heat: This can make the marshmallows seize up and become hard, resulting in brick-like treats. Always use low heat and stir constantly.
- Over-mixing the cereal: If you stir too vigorously or for too long, the cereal can break down, leading to a denser, less crispy treat. Fold gently until just combined.
- Pressing too hard into the pan: This is a common culprit for dense, hard Rice Krispies treats. Lightly press them into the pan to keep them soft and chewy.
- Not greasing your hands or spatula: The mixture is super sticky! Always spray your hands or the back of a spatula with cooking spray before pressing the mixture.
How to Store Fruity Pebbles Rice Krispies Treats
- Countertop: Store in an airtight container at room temperature for up to 3 days.
- Freezer: Wrap individual treats tightly in plastic wrap, then place in a freezer-safe bag or container for up to 6 weeks. Thaw at room temperature.
Frequently Asked Questions
Can I make these ahead of time?
Absolutely! These treats are perfect for making a day or two in advance. Just store them properly, and they’ll be ready to enjoy.
Why are my treats hard?
They might be hard if you melted the marshmallows too quickly over high heat, or if you pressed the mixture too firmly into the pan. Gentle heat and a light touch are best!
Can I use different cereals?
While this recipe specifically calls for Fruity Pebbles and Rice Krispies for that iconic flavor, you can certainly experiment! Just be aware the texture and taste will change.
Do I need to refrigerate them?
No, these treats actually stay softer and chewier at room temperature. Refrigerating them can make them firm up too much.
How do I get clean cuts?
A sharp, lightly greased knife works best! For extra clean cuts, you can run the knife under hot water and wipe it dry between slices.
I hope these Fruity Pebbles Rice Krispies Treats bring a burst of colorful joy and deliciousness to your day, just like they do for me. They’re such a simple yet delightful treat to share with loved ones. If you make them, I’d absolutely love to hear how much you (and everyone else!) enjoyed them!
PrintFruity Pebbles Rice Krispies Treats
A fun and colorful twist on a classic, these no-bake treats combine the crunch of Rice Krispies with the fruity flavor of Fruity Pebbles.
- Prep Time: 10
- Cook Time: 5
- Total Time: 75
- Yield: 9 servings
- Category: Dessert
- Method: No-Bake
- Cuisine: American
- Diet: Vegetarian
Ingredients
- 5 tablespoons unsalted butter
- 16 ounces miniature marshmallows
- 1/4 teaspoon salt
- 1 teaspoon vanilla extract
- 4 cups Fruity Pebbles cereal
- 2 cups Rice Krispies cereal
Instructions
- Spray a 9 x 9-inch pan with cooking spray.
- Line the pan with parchment paper, leaving an overhang on the sides.
- Separate 2 1/2 cups (120 grams) of miniature marshmallows from the bag and set aside.
- In a large nonstick pot, melt the butter over low heat.
- Add all but the reserved 2 1/2 cups of marshmallows to the pot.
- Stir constantly over low heat until the marshmallows are completely melted.
- Remove the pot from the heat.
- Stir in the salt and vanilla extract.
- Gently fold in the Rice Krispies cereal.
- Gently fold in the Fruity Pebbles cereal.
- Add the reserved 2 1/2 cups of marshmallows to the mixture.
- Stir gently until everything is well combined, being careful not to mash the cereal.
- Pour the mixture into the prepared pan.
- Lightly spray your hands with cooking spray.
- Gently press the mixture into an even layer in the pan.
- Allow the bars to cool and set for at least one hour.
- Use the parchment-paper overhang to lift the bars out of the pan.
- Cut the bars into squares with a sharp knife.
Notes
Use fresh marshmallows for the best soft and chewy texture.
Always melt marshmallows over low heat to prevent them from becoming tough.
Lightly grease your hands or spatula before pressing the mixture into the pan.
Don’t press too hard into the pan to keep the treats soft, not dense.