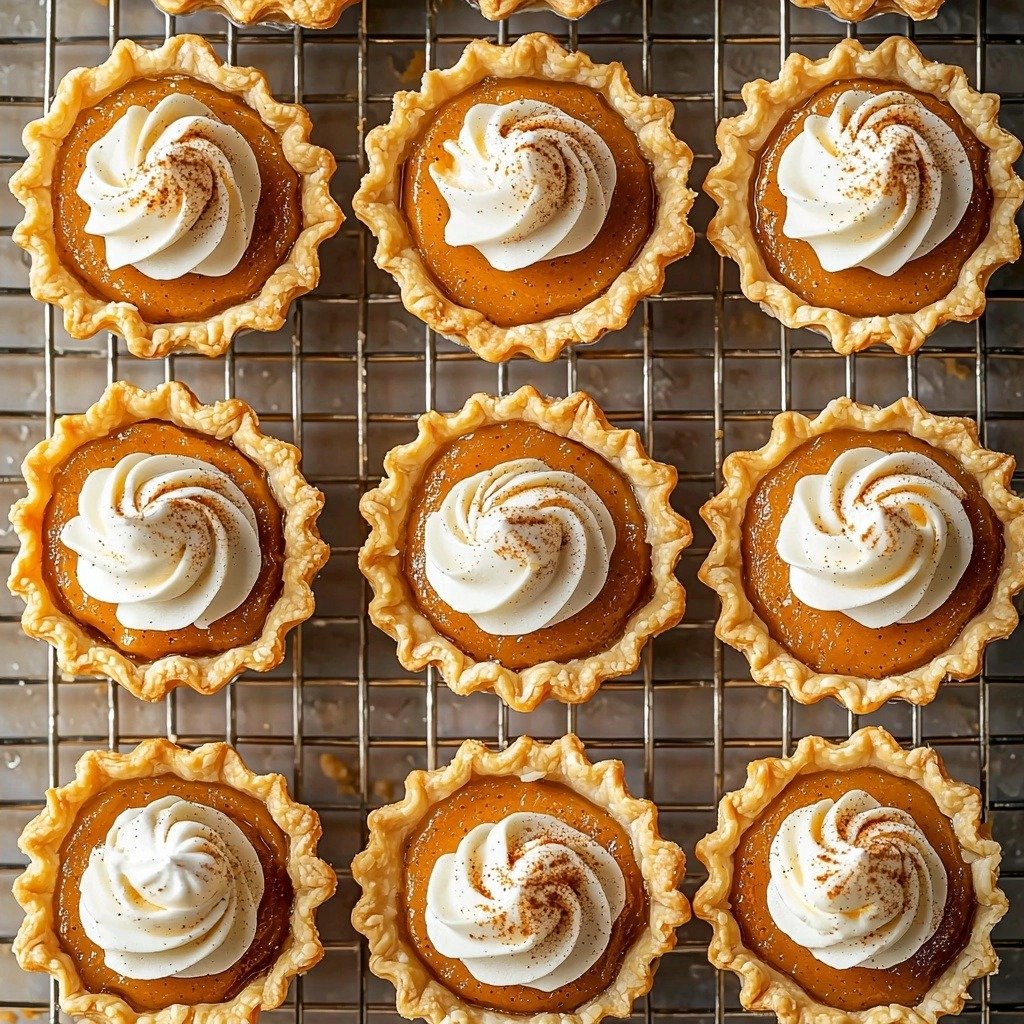
There’s just something magical about autumn, isn’t there? The crisp air, the changing leaves, and of course, all things pumpkin! For me, pumpkin pie has always been the star of the show. But let’s be honest, making a whole pie can be a bit much sometimes. That’s why I absolutely adore these Mini Pumpkin Pies – they give you all that classic fall flavor in individual, adorable servings!
Why You’ll Love These Mini Pumpkin Pies
- They’re perfectly portioned! No need to cut slices, just grab one and enjoy.
- Super easy to make with store-bought pie crusts, making baking a breeze.
- The filling is wonderfully spiced and creamy, just like your favorite classic pumpkin pie.
- They’re a crowd-pleaser for any fall gathering, from Thanksgiving to a cozy weeknight dessert.
Ingredients You’ll Need
- Refrigerated Rolled Pie Crusts: Using store-bought crusts saves so much time and effort! You’ll need two 9-inch crusts for this recipe.
- Brown Sugar & Granulated Sugar: This combination gives a lovely depth of sweetness and helps with the pie’s texture.
- Pumpkin Pie Spice: This is your flavor powerhouse! It’s usually a blend of cinnamon, ginger, nutmeg, and cloves.
- Canned Pumpkin Puree: Make sure you grab pumpkin puree, NOT pumpkin pie filling. They’re very different!
- Evaporated Milk: This gives the filling its incredibly creamy, rich texture without adding extra liquid.
- Large Egg: The egg acts as a binder, helping the filling set beautifully.
- Vanilla Extract: Just a touch enhances all those warm, cozy flavors.
How to Make Mini Pumpkin Pies Step by Step
First things first, you’ll want to get your oven ready. Preheat it to 400°F (200°C) and grab two standard 12-count muffin pans. Give them a light spray with nonstick spray – this makes removing your mini pies so much easier later on!
Now for the crusts. Lightly flour your counter and roll out your pie dough to about 1/8-inch thick. Use a 3 1/2-inch cookie cutter or even a cup to cut out 18 circles. Don’t worry if you have to re-roll the scraps; that’s totally normal! Gently press each circle into a muffin slot, making sure it fits snugly. Pop those pans into the fridge while you whip up the filling.
This is where the magic happens! In a mixing bowl, combine the brown sugar, granulated sugar, pumpkin pie spice, and salt. Whisk them together until they’re nicely blended. Then, add in your pumpkin puree, evaporated milk, egg, and vanilla. Whisk it all until it’s super smooth and fully combined. Grab your chilled muffin pans and evenly spoon the filling into each pie crust, about 2 tablespoons per mini pie. Bake them for 16-20 minutes, or until the filling is set and the crusts are golden. Keep an eye on them so they don’t get too dark!
My Top Tips for Success
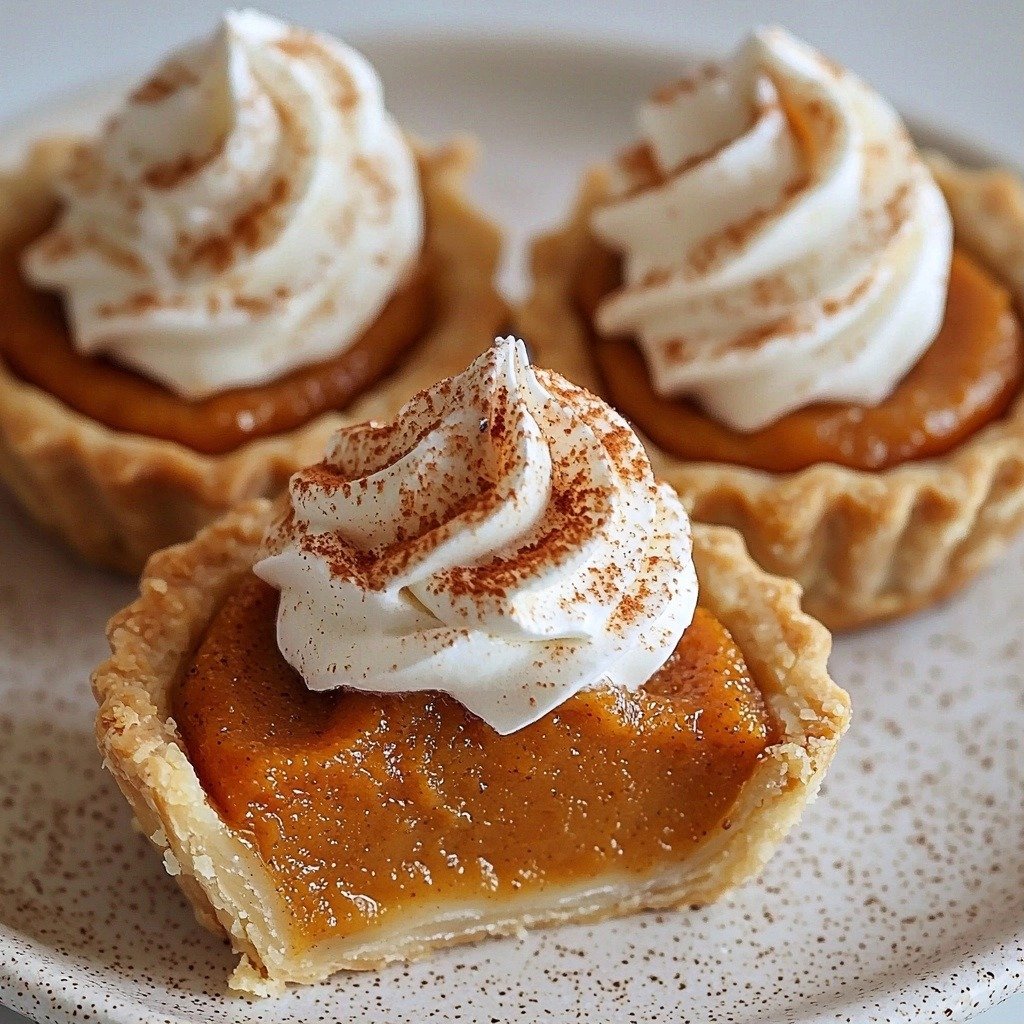
- I always make sure to use canned pumpkin puree, not pie filling. It makes a huge difference in flavor and texture!
- In my experience, chilling the pie crusts in the muffin tins before adding the filling helps prevent shrinkage.
- Trust me on this one: don’t overfill the crusts! About 2 tablespoons per mini pie is just right to prevent overflow.
- Keep a close watch on the oven during the last few minutes of baking. These little pies can go from perfect to burnt quickly!
Common Mistakes to Avoid
- Overfilling the crusts: This can lead to messy spills in your oven and unevenly baked pies. Stick to about 2 tablespoons of filling per crust.
- Using pumpkin pie filling instead of puree: Pie filling has added sweeteners and spices, which will throw off the flavor and texture of these mini pies. Always use 100% pumpkin puree.
- Not chilling the crusts: If you skip chilling the crusts, they can shrink more during baking, leaving you with less pie and more crust.
- Overbaking the pies: This can result in a dry, cracked filling. Bake just until the centers are set and the crusts are lightly golden.
How to Store Mini Pumpkin Pies
- Countertop: Not recommended for extended periods due to the dairy in the filling.
- Refrigerator: Cover tightly with plastic wrap and store for up to 3-4 days.
- Freezer: Once completely cooled, wrap individual pies in plastic wrap, then aluminum foil. Store in an airtight container for up to 1 month. Thaw in the refrigerator before serving.
Frequently Asked Questions
Can I use homemade pie crust?
Absolutely! If you have a favorite homemade pie crust recipe, feel free to use it. Just make sure it’s rolled thin enough to cut out the circles.
What if I don’t have pumpkin pie spice?
You can make your own! A good blend is typically 1 teaspoon cinnamon, 1/4 teaspoon ground ginger, 1/4 teaspoon nutmeg, and a pinch of ground cloves.
How do I know when the mini pumpkin pies are done?
The tops of the mini pies should appear set and slightly firm when gently jiggled. The crusts will be a light golden brown around the edges.
Can these be made ahead of time?
Yes, they are perfect for making ahead! Once cooled, chill them in the refrigerator for at least 3 hours or overnight. They taste even better the next day!
I genuinely hope these Mini Pumpkin Pies bring a little extra warmth and joy to your kitchen this season. They’re such a delightful treat, and I promise you’ll love how easy and delicious they are. If you give them a try, please let me know how they turn out!
PrintMini Pumpkin Pies

Adorable, perfectly portioned pumpkin pies with a creamy, spiced filling and crisp crust, perfect for any fall gathering.
- Prep Time: 20
- Cook Time: 20
- Total Time: 260
- Yield: 18 mini pies
- Category: Dessert
- Method: Baking
- Cuisine: American
- Diet: Vegetarian
Ingredients
- 2 9-inch refrigerated rolled pie crusts
- 1/3 cup brown sugar
- 2 tablespoons granulated sugar
- 1 1/2 teaspoons pumpkin pie spice
- 1/4 teaspoon salt
- 1 cup canned pumpkin puree (not pumpkin pie filling)
- 3/4 cup evaporated milk
- 1 large egg
- 1/2 teaspoon vanilla extract
- Homemade whipped cream for topping
Instructions
- Preheat your oven to 400 degrees F (200°C).
- Lightly coat two standard 12-count muffin pans with nonstick spray.
- On a lightly floured surface, roll out the pie crusts to 1/8-inch thickness.
- Use a 3 1/2-inch cookie cutter or a cup to cut out 18 circles from the pie crusts.
- Re-roll any scraps of pie dough to cut out additional circles if needed.
- Place each pie crust circle into 18 muffin slots.
- Gently press the dough down and around the sides, ensuring it fits snugly in each cavity.
- Transfer the muffin pans with the crusts to the refrigerator.
- In a mixing bowl, whisk together the brown sugar, granulated sugar, pumpkin pie spice, and salt until well combined.
- Whisk in the pumpkin puree until smooth.
- Add the evaporated milk, egg, and vanilla extract to the pumpkin mixture.
- Whisk all ingredients until fully combined and the filling is smooth.
- Remove the muffin pans from the refrigerator.
- Evenly distribute the pumpkin pie filling between all 18 pie crusts in the muffin pans (approximately 2 tablespoons per pie crust).
- Bake for 16-20 minutes.
- Bake until the tops of the mini pumpkin pies are set.
- Bake until the crust is lightly golden brown.
- Watch them carefully during baking to prevent burning.
- Cool the mini pies completely at room temperature.
- Cover the cooled pies.
- Transfer to the refrigerator to chill for at least 3 hours or overnight.
- Carefully remove the chilled mini pies from the muffin tins.
- Serve chilled or at room temperature, plain or with homemade whipped cream.
Notes
Ensure you use pumpkin puree, not pumpkin pie filling, for the correct flavor and texture.
Chilling the pie crusts in the muffin tins helps them hold their shape better during baking.
Do not overfill the crusts; about 2 tablespoons of filling per pie is ideal.
Keep an eye on the pies during the last few minutes of baking to prevent the crusts from burning.