There’s just something magical about a no-bake treat, isn’t there? Especially when it involves chocolate, peanut butter, and those adorable little marshmallows. I remember the first time I whipped up a batch of these M&M’s Marshmallow Dream Bars for a potluck. They disappeared faster than I could say “seconds!” Everyone was asking for the recipe, and honestly, it’s one of those crowd-pleasers that feels so special but is deceptively simple to make. It’s become my go-to for last-minute gatherings or just a sweet pick-me-up.
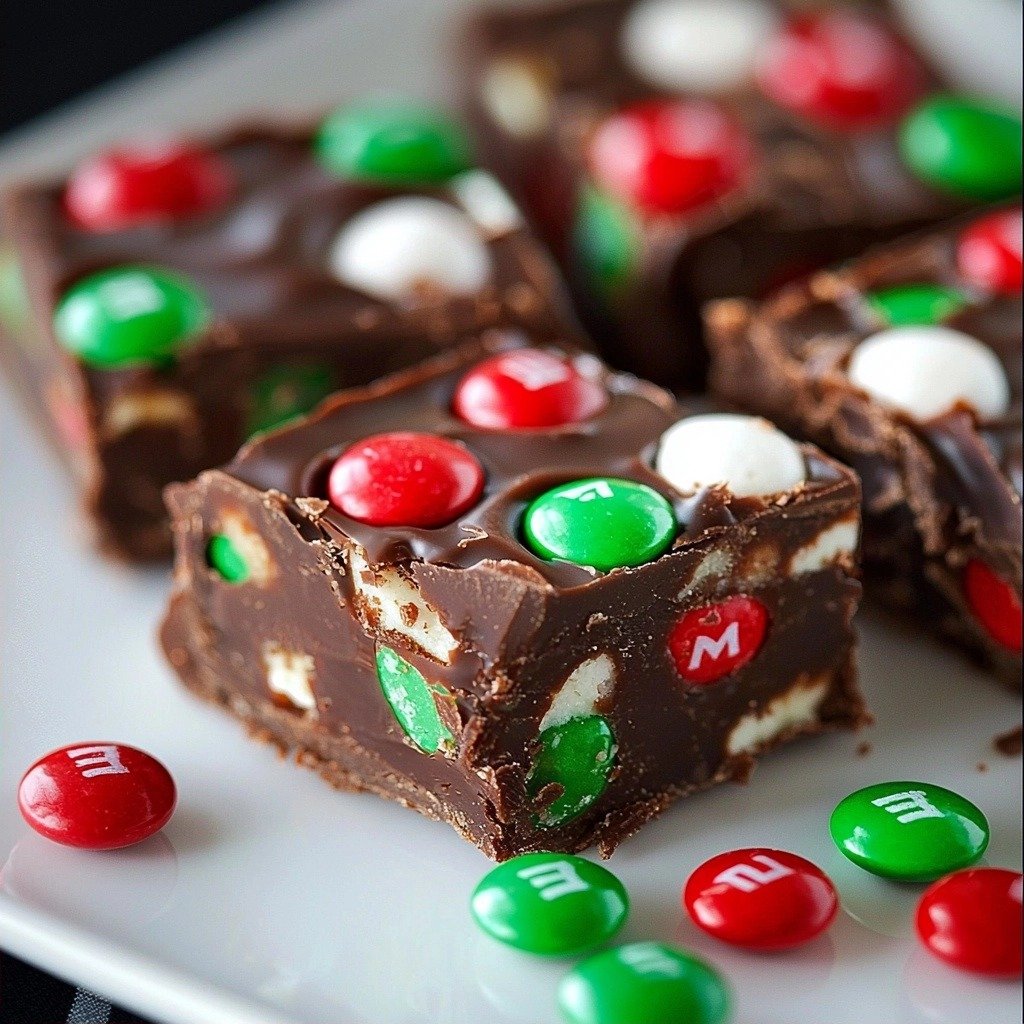
Why You’ll Love These M&M’s Marshmallow Dream Bars
- They’re incredibly easy to make – no oven required!
- The perfect balance of sweet, salty, and chewy.
- A total crowd-pleaser for parties, potlucks, or just a cozy night in.
- So versatile! You can easily change up the M&M’s for any holiday or occasion.
Ingredients You’ll Need
- Semi-sweet chocolate chips: These form the rich, chocolatey base. Don’t skimp on quality here; it really makes a difference in flavor.
- Butterscotch chips: These add a lovely, unique caramel-like sweetness that pairs wonderfully with the chocolate and peanut butter.
- Creamy peanut butter: Go for a classic creamy peanut butter here, not the natural, oily kind. It helps bind everything together and adds that irresistible salty-sweet balance.
- Mini marshmallows: These are essential for that dreamy, chewy texture. Make sure they’re fresh for the best results!
- M&M’s: Besides adding a pop of color, they give a fun candy crunch. Feel free to use your favorite variety!
How to Make M&M’s Marshmallow Dream Bars Step by Step
First things first, grab your 9×13 baking dish. We want to make sure it’s ready for our delicious mixture, so line it with non-stick foil. This makes cutting and serving so much easier later on, trust me!
Now for the fun part! In a large, microwave-safe bowl, combine your semi-sweet chocolate chips, butterscotch chips, and creamy peanut butter. Pop it in the microwave and heat it on high in 30-second bursts. After each burst, give it a good stir. Keep doing this until everything is beautifully melted and smooth. This is where the magic happens as all those flavors come together!
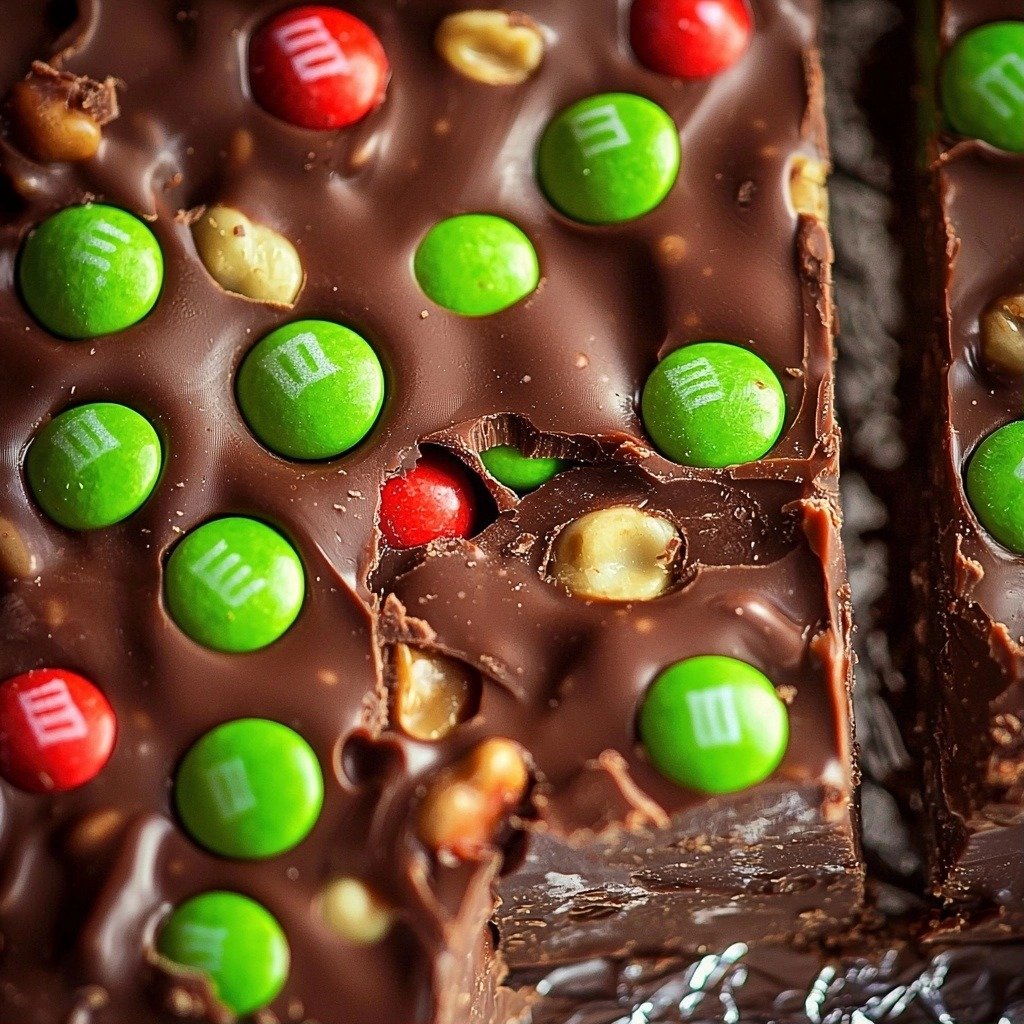
Once your chocolate mixture is silky smooth, it’s time for the marshmallows. Stir them in until every single mini marshmallow is fully coated in that glorious chocolatey goodness. Don’t worry if it seems a little sticky; that’s exactly what we want! Then, pour this delightful mixture into your prepared baking dish and spread it out evenly. Sprinkle those colorful M&M’s all over the top and gently press them down so they stick. Now, the hardest part: pop it in the fridge for about 2 hours, or until it’s completely set. Then, just cut into bars and enjoy!
My Top Tips for Success
- I always use non-stick foil for lining the pan; it makes removal and cleanup a breeze.
- In my experience, stirring the chocolate mixture every 30 seconds prevents it from scorching in the microwave.
- Trust me on this one: let the bars chill completely! It makes them much easier to cut and gives them that perfect firm-but-chewy texture.
- Don’t be afraid to press the M&M’s down gently; it helps them adhere to the bars.
Common Mistakes to Avoid
- Over-microwaving the chocolate mixture: This can cause the chocolate to seize or burn. Heat in short intervals and stir frequently.
- Not lining the baking dish: This makes the bars very difficult to remove and can lead to a messy cleanup. Always use non-stick foil or parchment paper.
- Cutting before fully set: If the bars aren’t completely firm, they will be sticky and fall apart when you try to cut them. Patience is key!
- Using natural or oily peanut butter: The consistency of natural peanut butter is often too thin and can make the bars greasy or not set properly. Stick to creamy, processed peanut butter.
How to Store M&M’s Marshmallow Dream Bars
- Countertop: Not recommended for extended periods due to the marshmallow and chocolate.
- Refrigerator: Store in an airtight container for up to 5-7 days. They’re extra chewy when chilled!
- Freezer: Wrap individual bars tightly in plastic wrap, then place in a freezer-safe bag or container for up to 2-3 months. Thaw at room temperature for a few minutes before eating.
Frequently Asked Questions
Can I use different types of chocolate chips?
Absolutely! You can swap out the semi-sweet or butterscotch chips for milk chocolate, dark chocolate, or even white chocolate to customize the flavor. Just be sure to use the same total quantity.
Do I have to use mini marshmallows?
Mini marshmallows work best for even distribution and melting, but you could chop larger marshmallows into smaller pieces if that’s all you have. Just make sure they’re small enough to stir in easily.
Can I make these ahead of time?
Yes, these M&M’s Marshmallow Dream Bars are perfect for making ahead! They need a couple of hours to set, and they actually get chewier and even more delicious after a day or two in the fridge.
What if my chocolate mixture won’t melt smoothly?
Ensure your microwave-safe container is completely dry, as even a tiny bit of water can cause chocolate to seize. Also, make sure you’re stirring thoroughly between each 30-second interval.
I hope these M&M’s Marshmallow Dream Bars bring a little extra joy and sweetness to your day! They’re such a simple treat to whip up, and they always bring smiles. If you give them a try, I’d absolutely love to hear how they turned out for you!
PrintM&M’s Marshmallow Dream Bars
These no-bake bars are packed with chocolate, peanut butter, marshmallows, and colorful M&M’s, making them a perfect easy treat.
- Prep Time: 15
- Cook Time: 3
- Total Time: 138
- Yield: 24 bars
- Category: Dessert
- Method: No-Bake
- Cuisine: American
- Diet: Vegetarian
Ingredients
- 12 oz package semi-sweet chocolate chips
- 11 oz package butterscotch chips
- 1 cup creamy peanut butter
- 10.5 oz bag mini marshmallows
- 1 cup M&Ms
Instructions
- Line a 9×13 baking dish with non-stick foil.
- Set the lined baking dish aside.
- Combine semi-sweet chocolate chips, butterscotch chips, and creamy peanut butter in a large microwave-safe container.
- Microwave the mixture on high heat for 30 seconds.
- Remove from microwave and stir the mixture thoroughly.
- Repeat microwaving for 30-second intervals, stirring after each, until the chips are fully melted and the mixture is smooth.
- Add the mini marshmallows to the melted chocolate mixture.
- Stir the marshmallows until they are fully coated.
- Pour the mixture into the prepared 9×13 baking dish.
- Spread the mixture evenly in the dish.
- Sprinkle the M&Ms over the top of the mixture.
- Press the M&Ms down slightly into the mixture.
- Refrigerate the dish until the bars are completely set, about 2 hours.
- Cut the set mixture into bars.
- Serve and enjoy!
Notes
Use non-stick foil for easy removal and cleanup.
Ensure the chocolate mixture is fully melted and smooth before adding marshmallows.
Allow bars to chill completely for best cutting results.
Store in an airtight container for lasting freshness.